I stared at the tattoo parlor menu in Bangkok after three weeks backpacking Thailand. Elephants, lotus flowers—every design screamed "tourist." None felt like my trip: the quiet ferries, rainy night markets, that one perfect beach sunrise. I walked out empty-handed, regretting not planning ahead.
Travel tattoos hit different when they're yours. But rushing leads to ink you hide under sleeves.
I've inked four now. Each one pulls me back to a place without the ache of bad choices.
How To Choose A Travel Tattoo Design That Fits You
This guide walks you through picking a design that matches your real travels. You'll end up with ink that feels right on your skin, years later. It's straightforward, done from a cafe table or hostel bunk.
What You’ll Need
- Moleskine Travel Journal Notebook, 5×8 inches, hard cover
- Prismacolor Premier Soft Core Colored Pencils, 24 pack
- Sakura Pigma Micron Fine Line Markers, set of 6 assorted sizes
- Temporary Tattoo Paper Kit for Inkjet Printers, 10 sheets A4
- Canon Pixma Inkjet Printer, compact photo model
- Simplehuman Mirror, 8x magnification, rechargeable LED
- Neutrogena Hydro Boost Water Gel Moisturizer, 1.7 oz travel size
Step 1: List Your Core Travel Memories

I start by jotting three to five moments that stuck. Not the Instagram spots—the quiet ones, like the salt air on a Welsh cliff walk or the spice market hum in Marrakech. This pins down what matters.
Your list shifts focus from generic symbols to personal anchors. Suddenly, a wave isn't just any wave; it's that dawn surf in Bali.
People miss how small details age best—skip sunsets everyone gets. Don't list more than five; it muddies choices.
Step 2: Collect Raw Visuals
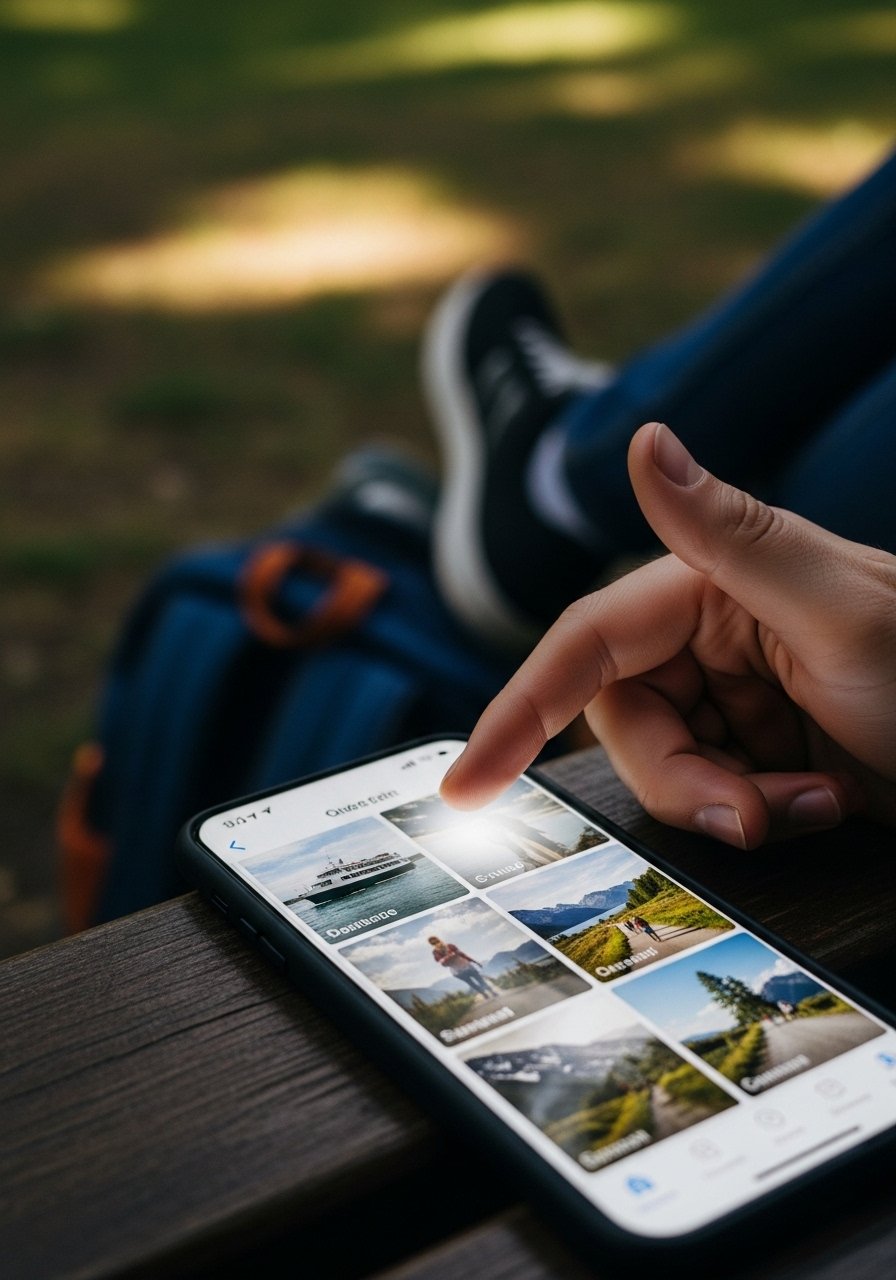
I pull photos from my phone, no edits. A ferry railing silhouette. Faded market tiles. Print a few small—size of a coaster. These beat stock images.
Now your design pulls from life, not trends. It feels worn-in already.
Folks overlook phone lighting tricks—shoot in natural light only. Avoid printing too many; pick five max to prevent overwhelm.
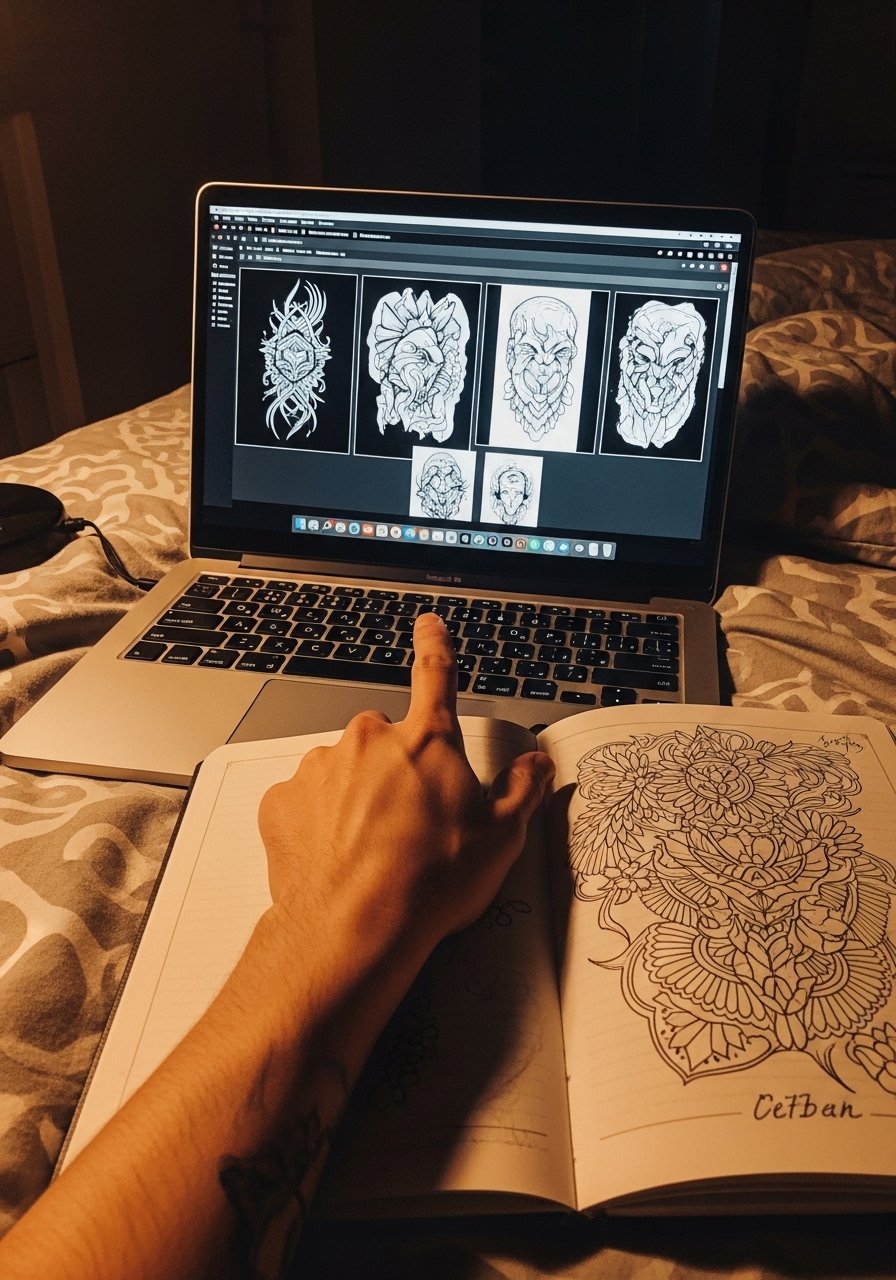
Step 3: Sketch Loose Versions
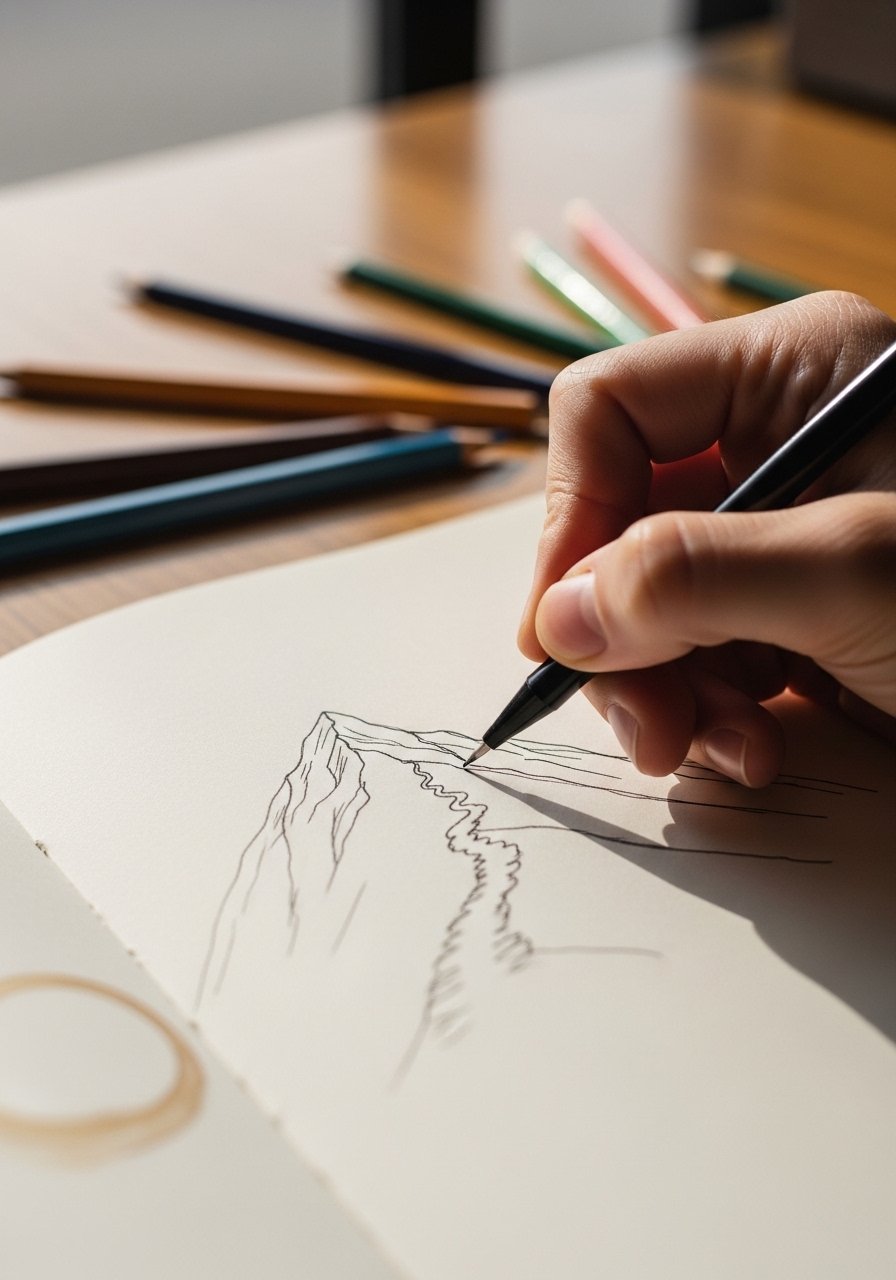
Grab pencil first, loose strokes. Trace photo edges, then tweak—add a path you hiked, fade a edge like memory. I do three versions per idea.
Sketches reveal what fits your skin's curve. One version always clicks.
Missed insight: curves flow better on arms than sharp angles. Don't press hard early; light lines let you erase without tears.
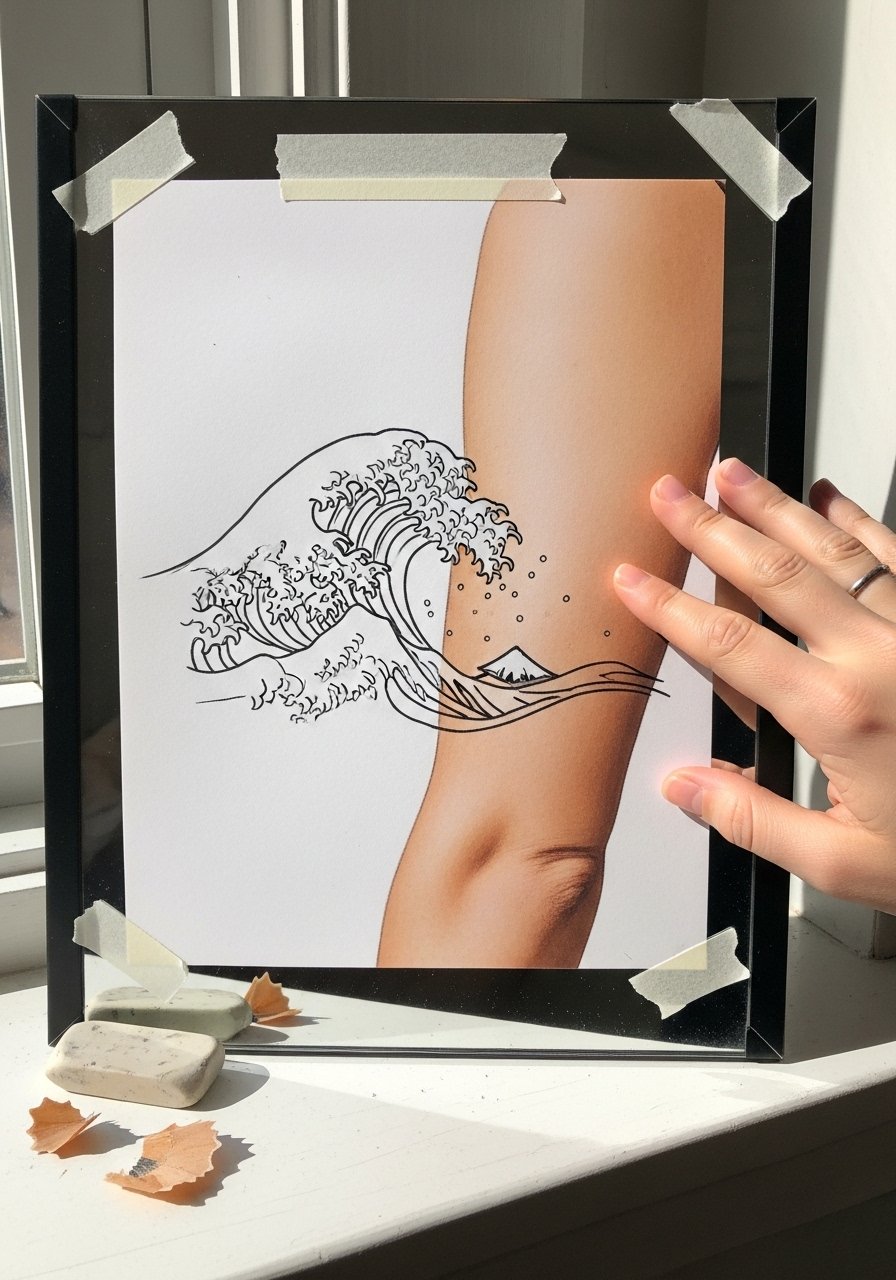
Step 4: Test Placement and Scale
Print temps from sketches, slap one on. Walk around, shower, sleep. See how it moves with your wrist flex or ankle bend.
Scale hits reality—tiny on paper shrinks weird. Placement shows daily wear.
People forget motion—test flexing. Avoid full color temps first; black line tests shape clean.
Step 5: Refine for Longevity
I clean lines, simplify. Drop extras that blur in five years. Check against skin tone—darker inks pop on pale.
Now it's future-proof, fading graceful. Feels like an old photo.
Overlook skin changes—travel tans shift tones. Don't chase detail; bold lines hold up through sun and salt.
Step 6: Match to Artist Style
Scan local artists' work. Pick one whose lines match your sketch's weight. Book a consult, bring prints.
This locks compatibility—no redraw surprises. Your vision stays yours.
Rookies pick flash walls over portfolios. Avoid rushing—wait for the right match, even months.
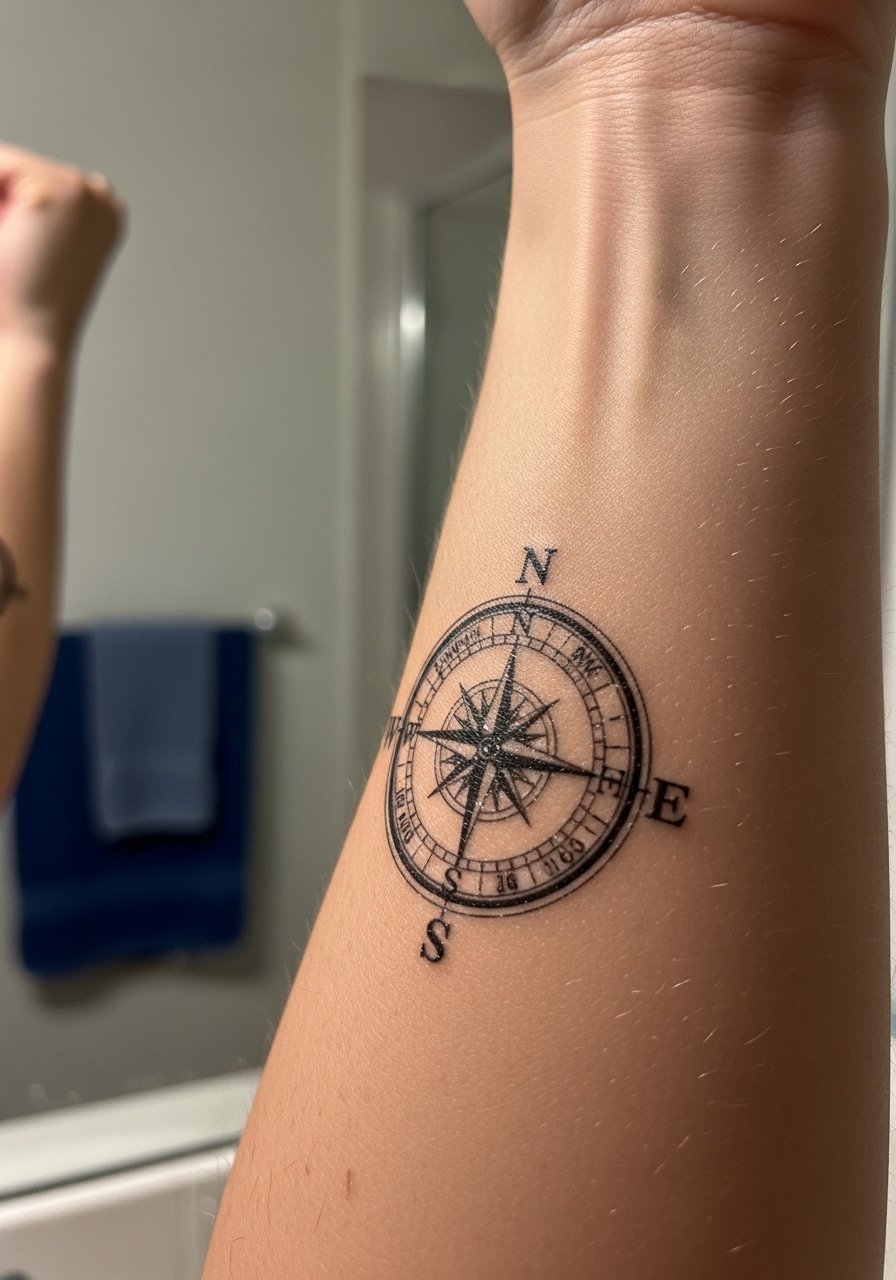
Travel Tattoos That Aged Well On The Road
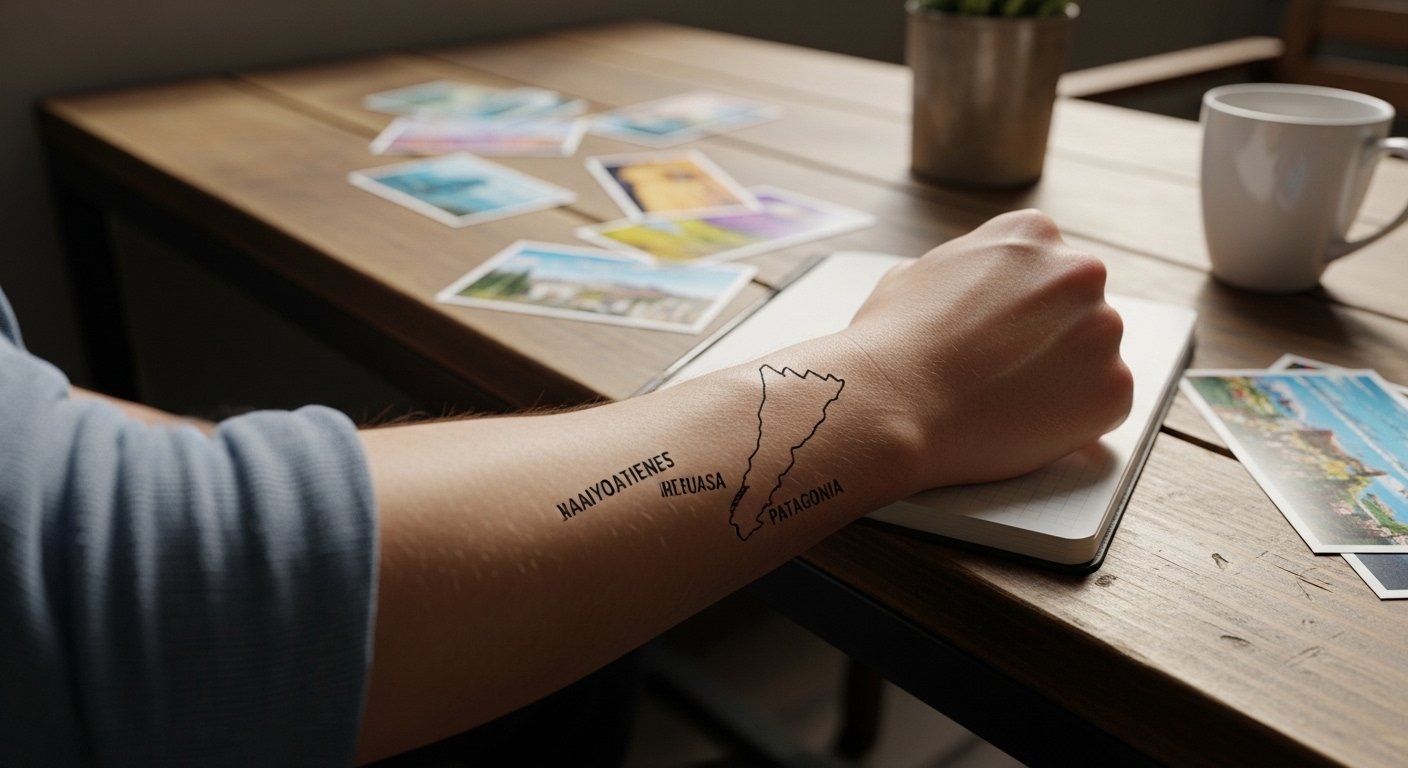
My Patagonia map on my wrist has seen sand, salt water, 20-hour buses. Simple lines mean no cracking worries.
- Black ink over color—fades even, stays sharp.
- Wrist spots get sun; test fade with lotion first.
- Small size (2 inches) hides under watch if needed.
They pull memories without pain. Practical choice.
Getting Inked Abroad: Worth It or Wait?
I've done two overseas. Lisbon after a month roaming Portugal—fresh, immersive.
But Vietnam? Jet-lagged regret. Hygiene varies.
- Research studios via Google reviews and recent pics.
- Budget extra for translation apps.
- Home ink lets you heal calm.
Weigh trip vibe against recovery drag.
Budgeting Without Skimping
First tattoo ran $150—size, artist skill. Temps saved reprints.
Break it down:
- Design time: free, your journal.
- Artist consult: $20-50.
- Ink session: $100-300 for palm-sized.
Add aftercare kit. Worth every bit for no-regrets ink.
Final Thoughts
Start with one memory. Sketch it small. Test a temp on your commute.
You'll know when it fits—quiet confidence, no second-guessing.
Your tattoo becomes a map only you read. Pack light; this one's forever.