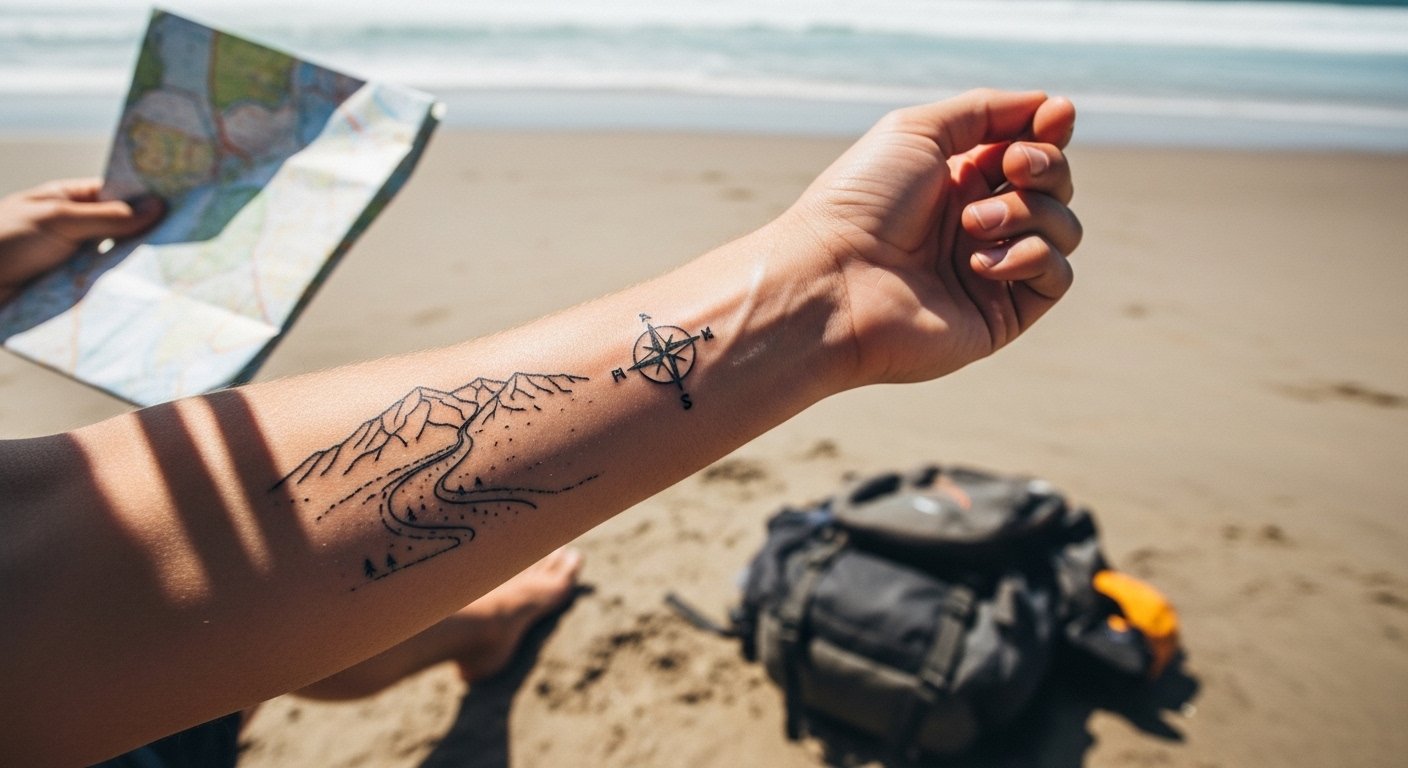
I remember staring at generic compass tattoos online after my first solo trip through Iceland. None felt like the raw wind on the black sand beaches or the midnight sun hikes. I wanted something mine, but sketching felt overwhelming.
Design apps promised quick fixes, but they spat out crowded, cliché maps. My travels deserved better—quiet moments, like fog over fjords.
This hit me on a layover: I needed a way to pull real memories into ink without the guesswork.
How To Design Your Own Travel Tattoo Step By Step
This guide walks you through building a tattoo design straight from your trips. You'll end up with a clean, personal sketch ready for any artist. It's straightforward, even if you've never drawn before.
What You’ll Need
- Moleskine Travel Sketchbook, 5×8 inches, plain pages
- Sakura Pigma Micron Pen Set, sizes 005-08, archival ink
- World map scratch-off poster, 24×36 inches, gold foil
- Leather travel journal, A5 size, refillable pages
- Tattoo stencil transfer paper, 11×14 inches, 25 sheets
- Fine-tip eraser pencil, Staedtler Mars, 2mm lead
- Portable tracing light pad, A4 size, adjustable brightness
Step 1: Pick One Core Travel Memory

I start with my travel journal. Flip to a page from that one trip that sticks. For me, it was Patagonia trails—sharp peaks, endless wind.
Why? A single memory keeps the design simple, not a jumble. It changes everything: suddenly, you're not inventing; you're capturing.
People miss how broad "travel" is—pick narrow, like a specific hut or path. Avoid cramming multiple trips; it muddies the lines.
I do this over coffee, 10 minutes max. Feels grounded right away.
Step 2: List Key Elements From That Memory
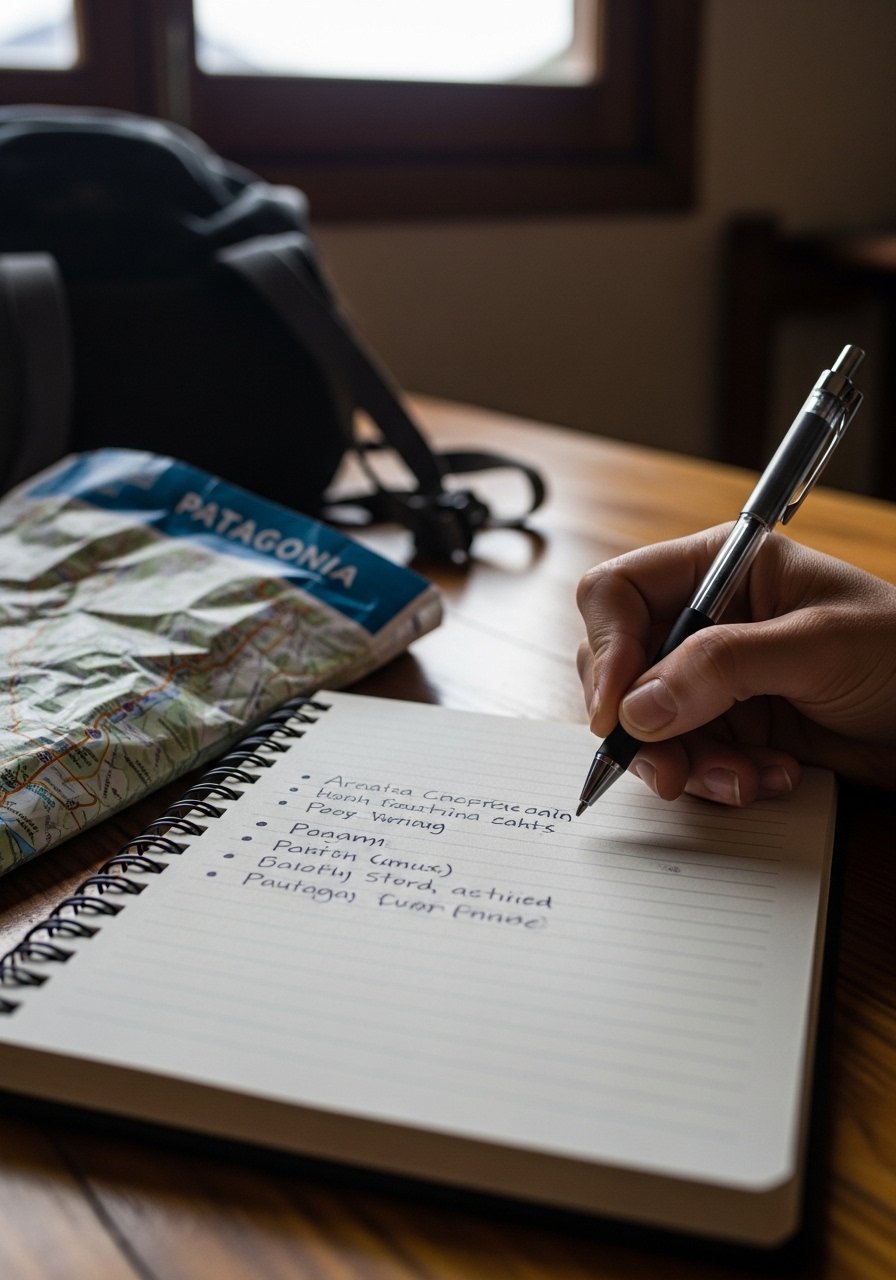
Next, I list 3-5 elements: jagged peaks, boot prints, wind lines. No more—keeps it balanced.
This shifts the design from vague to visual. You see shapes forming.
Insight: travelers overlook senses—add implied motion, like curving wind. Mistake: too many details; sketch fades to clutter.
I keep it loose, pencil only. Takes 15 minutes. Comfortable rhythm sets in.
Step 3: Rough Sketch the Layout
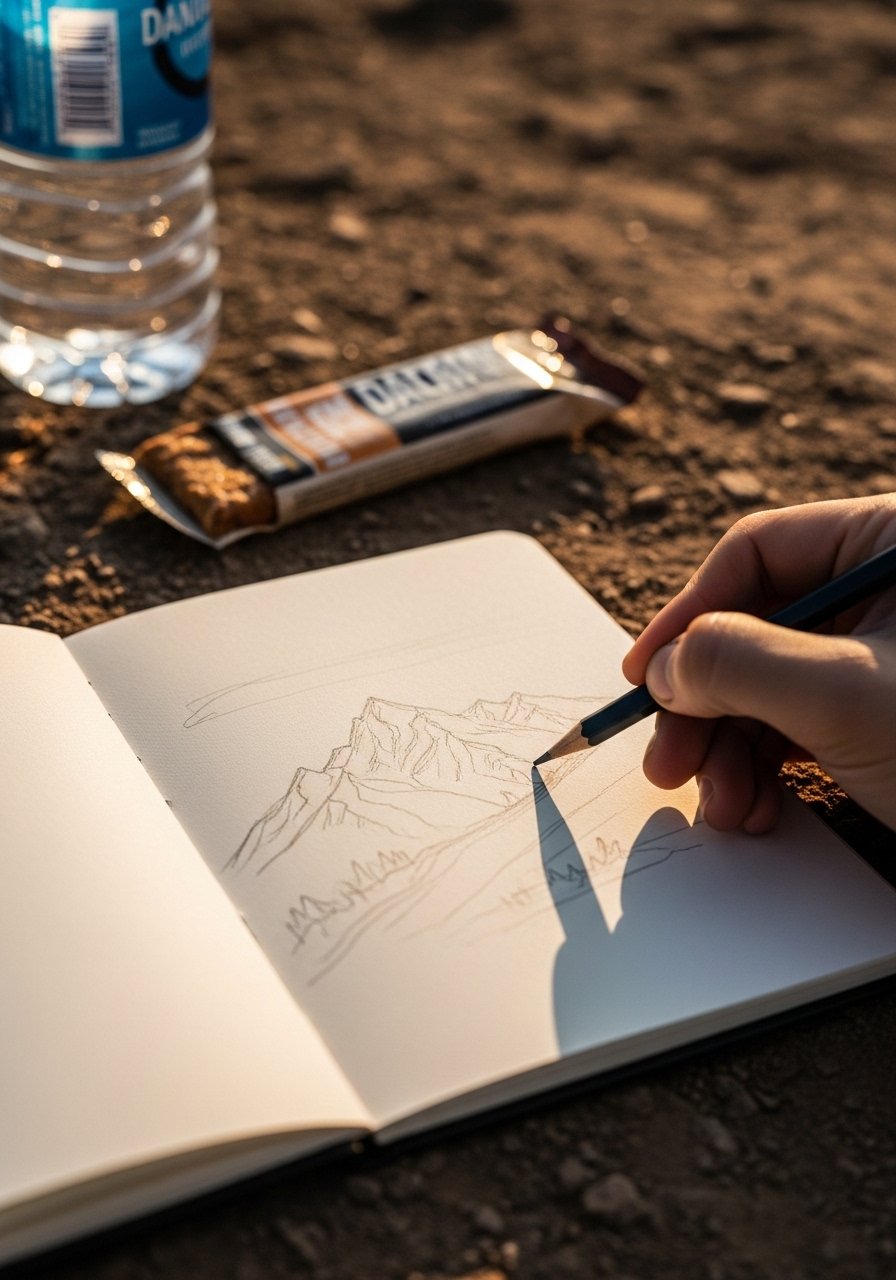
Grab pencil, trace elements lightly. I connect peaks to a faint compass base—my Patagonia wind became swirling lines.
Why? Layout decides flow; it feels alive now.
Most miss scale early—test thumb-sized first. Avoid erasing too much; light lines forgive.
On a trail bench, 20 minutes. Hands move easy, ideas click.
Step 4: Ink the Clean Version
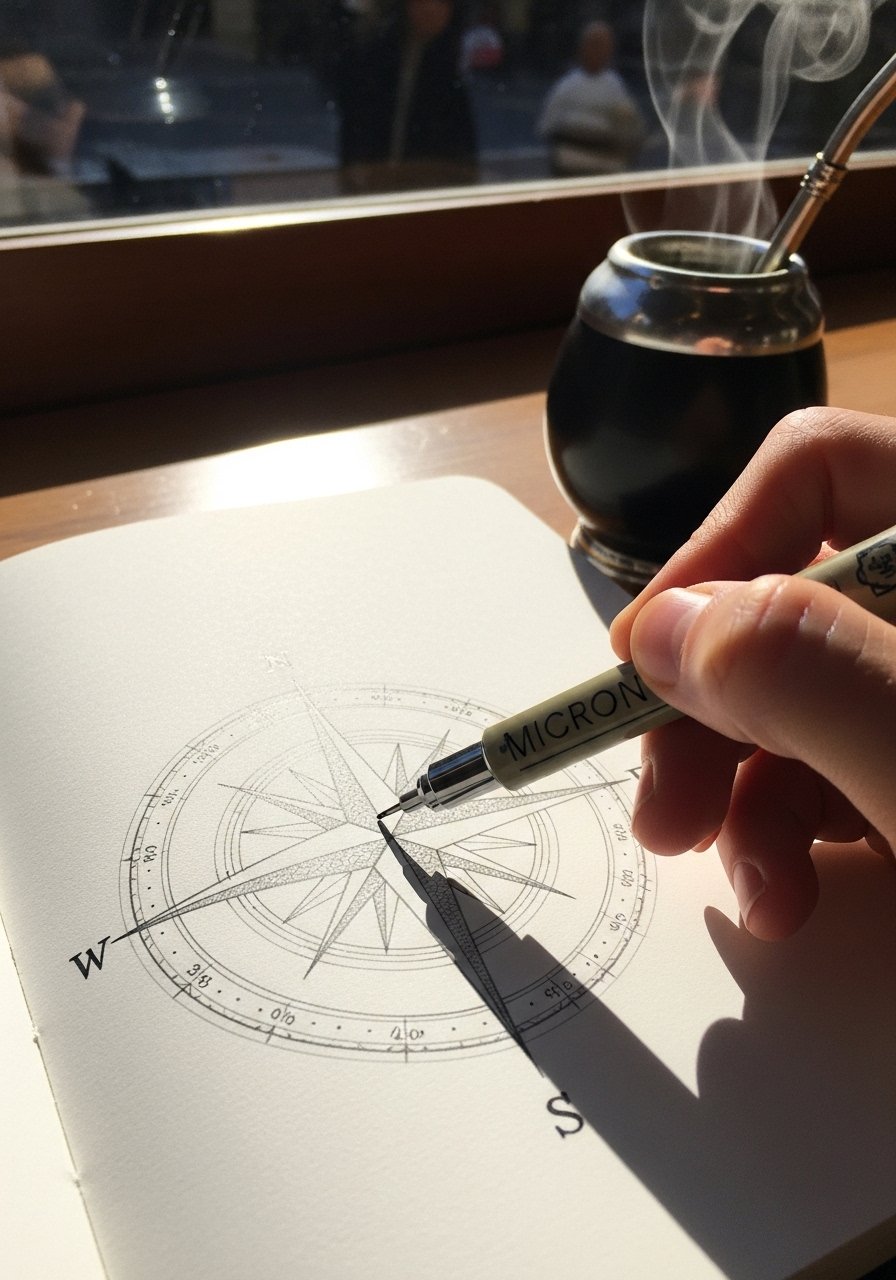
Switch to pens. Outline bold, fill subtle. My peaks got texture from cross-hatch.
This locks it: ready to scan or trace.
People forget negative space—let skin breathe. Don't rush ink; dry time matters.
Quiet evening, 25 minutes. Tattoo takes shape, personal.
Step 5: Mock Up Size and Placement
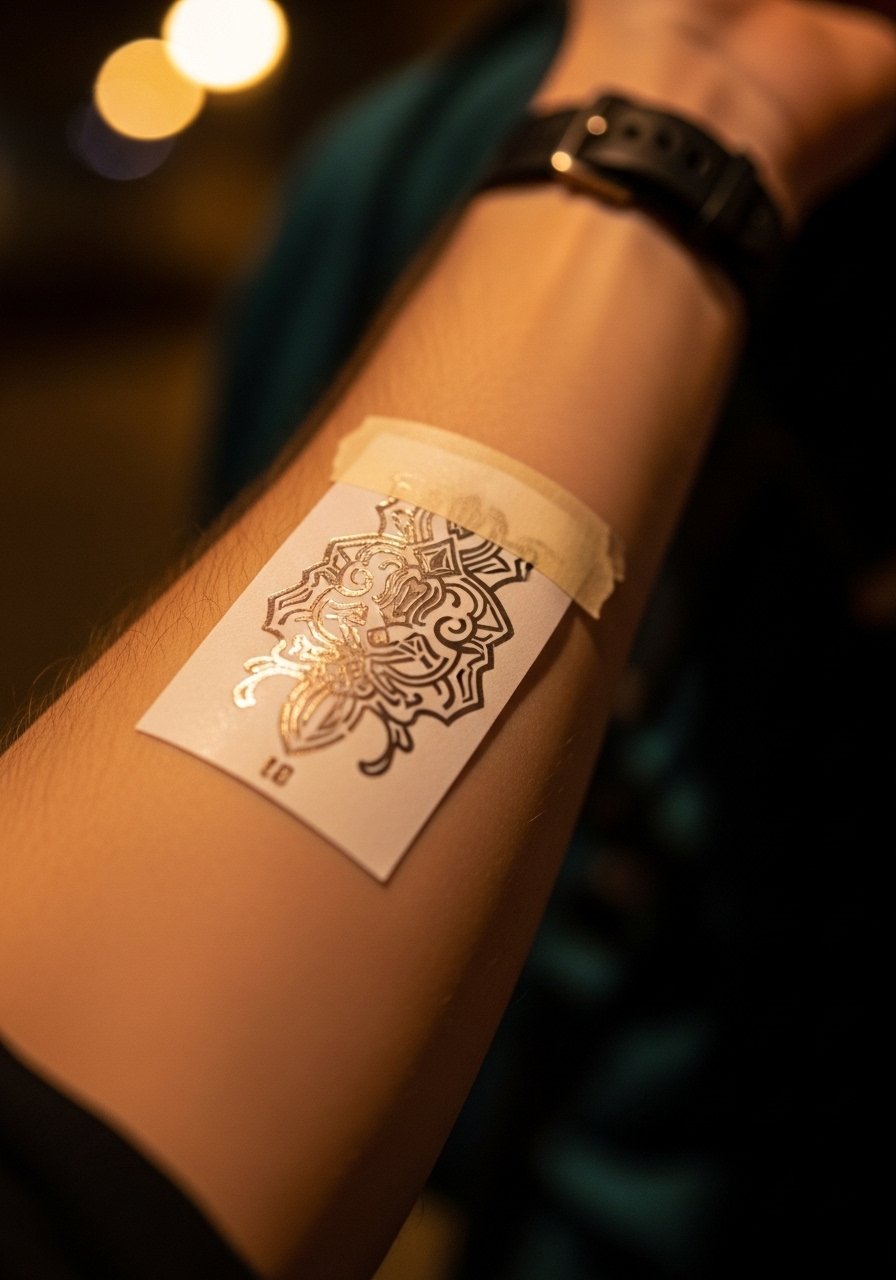
Trace to stencil paper, cut, wet-transfer to arm. Walk around.
Why? Real feel—too big? Adjust.
Insight: mirror tricks; check both angles. Avoid permanent spots first-time.
Final 10 minutes. Design lives on skin.
Step 6: Scan and Finalize Digital Backup
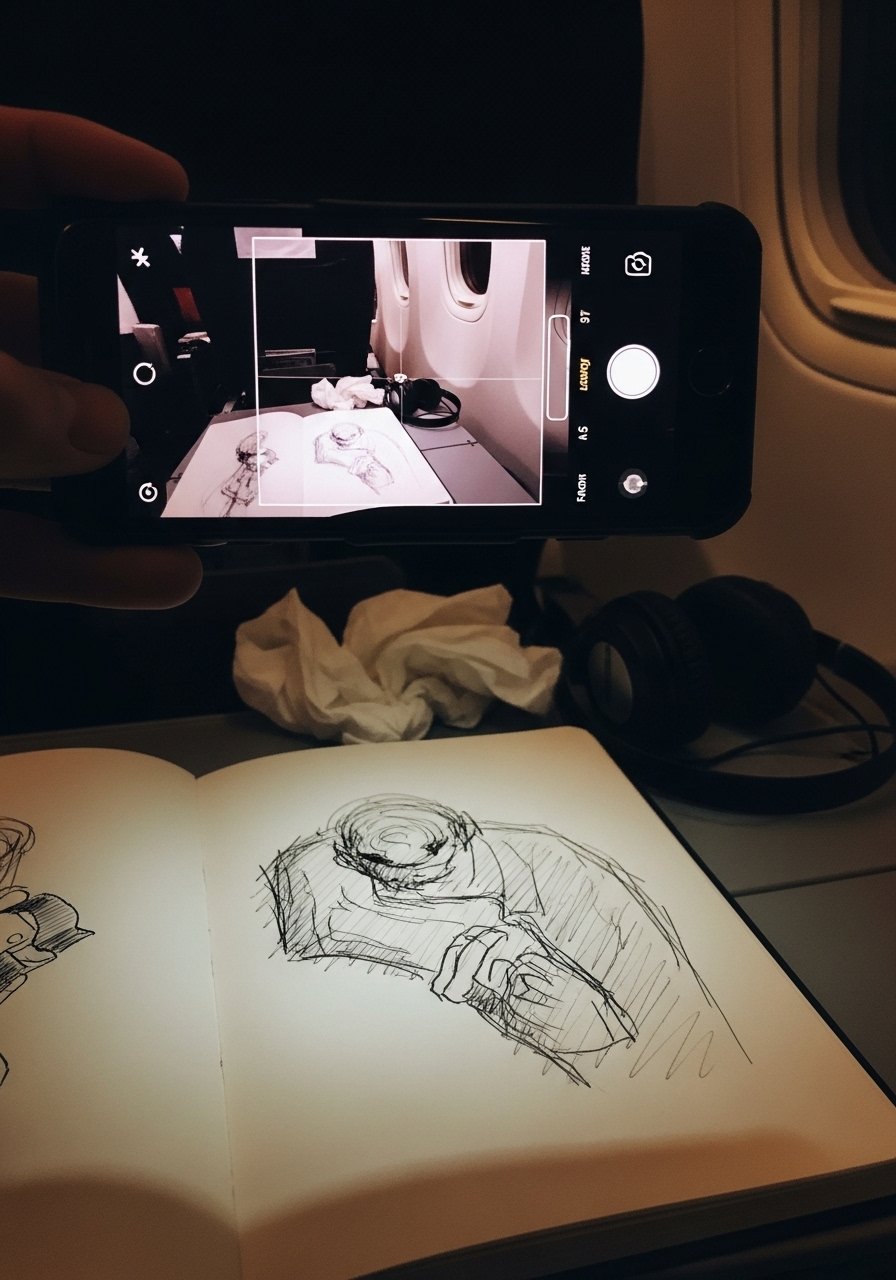
Phone scan app captures it clean. Email to self.
Secures it forever, easy for artist.
Missed: high-res matters for pros. Don't crop tight.
Quick airport moment. Done, calm.
Making It Personal
I tweak designs with dates or initials from trips. Subtle, like faint coordinates under peaks.
This adds weight without busyness.
- Use Roman numerals for trip months.
- Layer a single passport stamp outline.
- Fade edges for memory feel.
Keeps it yours, wearable daily.
Placement Ideas for Travelers
Forearm for me—visible on hikes, hidden at work.
Ankle suits long flights; collarbone for beach stares.
Consider:
- Inner wrist: quick glances.
- Ribs: private stories.
- Shoulder: bigger maps.
Test with transfer; sleep on it.
Tattoo Safety on the Road
I get ink post-trip, home studio. Abroad? Reputable only.
Prep skin clean, no sun pre-ink.
After:
- Loose clothes.
- Fridge salve daily.
- No pools first week.
Heals balanced, worth it.
Final Thoughts
Start with one memory; the rest flows.
You've got the sketch—take it to an artist when ready.
These tattoos remind me of real paths walked. Simple ink, lasting pull. Yours will too.
Leave a Reply