I’ve stared at my closet before a camping trip, pulling out shirts that looked good at home but failed on the trail. They bunched up, got soaked, or weighed down my pack. One rainy weekend, half my clothes were useless mush.
Packing outfits isn’t about cramming everything. It’s choosing what works when you’re cold, wet, or moving all day.
This method keeps me dry, warm, and light. No more second-guessing at the trailhead.
How To Pack Camping Outfits For Any Trip
You’ll learn my simple way to select and pack outfits that layer for any weather. It fits in a standard backpack. You end up comfortable from dawn hikes to evening firesides, without bulk.
What You’ll Need
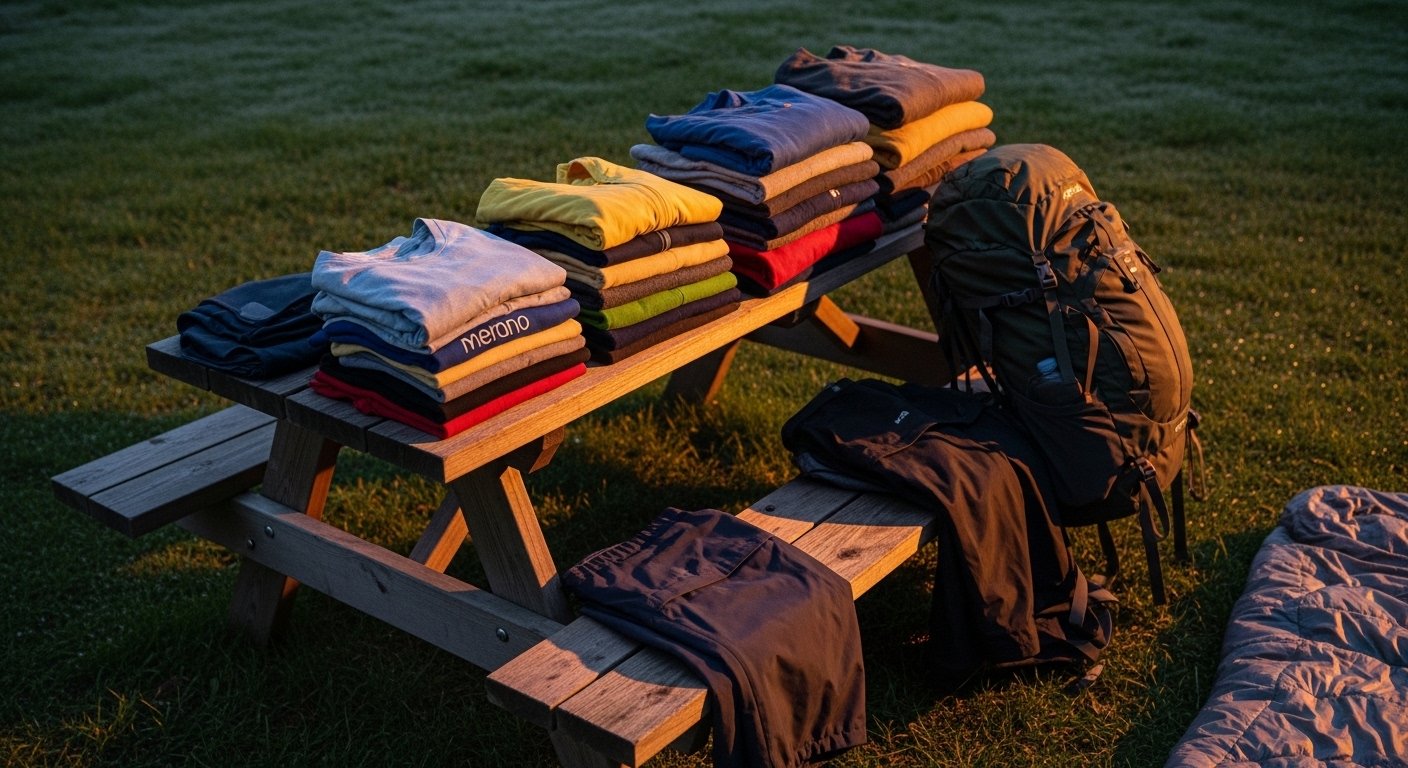
- Merino wool base layer shirt, medium weight, black
- Lightweight fleece mid-layer jacket, zip-up, gray
- Packable rain shell jacket, waterproof, olive green
- Quick-dry hiking pants, convertible to shorts, khaki
- Synthetic long underwear bottoms, midweight
- Wool-blend socks, cushioned, three pairs
- Compression packing cubes, medium size, earth tones
- Buff neck gaiter, multifunctional, neutral gray
Step 1: Check Your Trip’s Real Weather
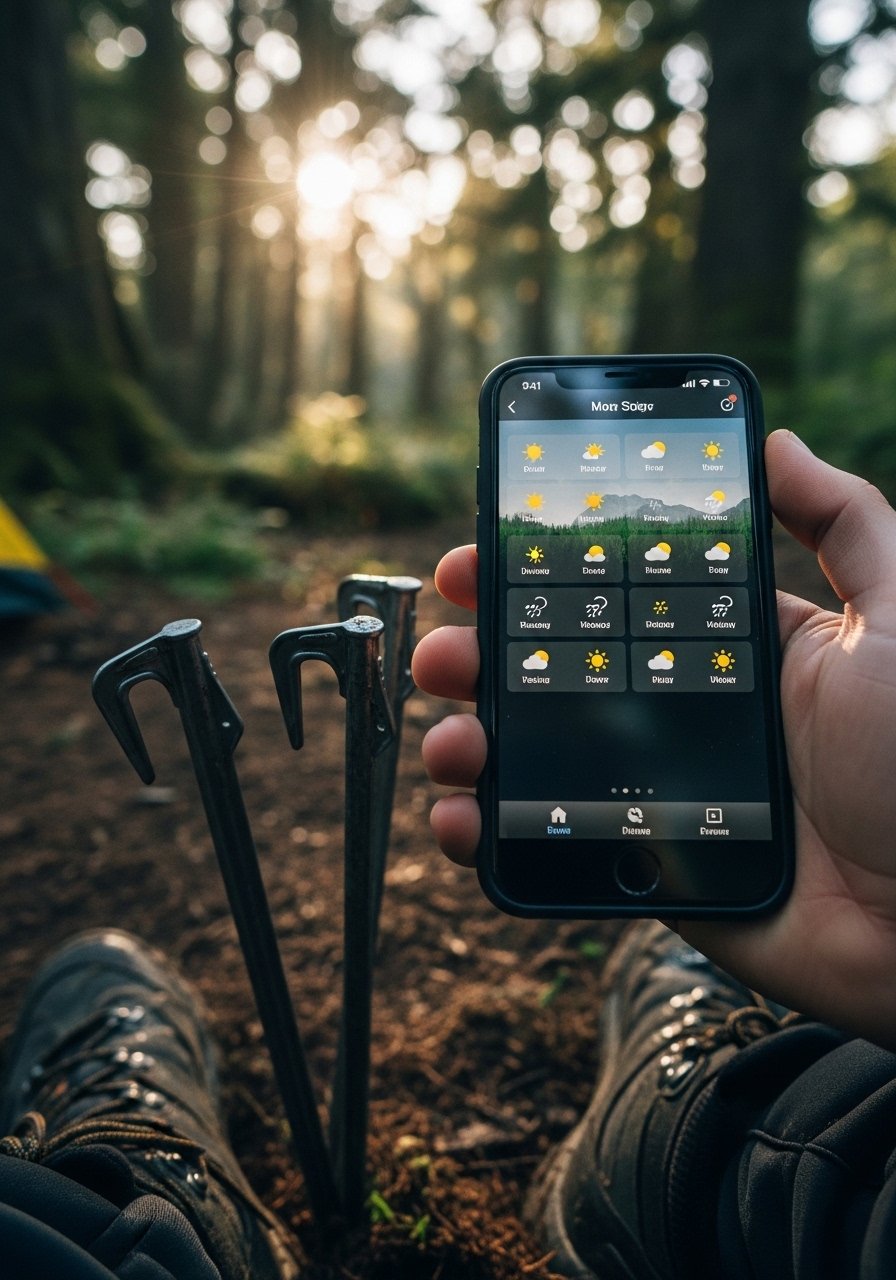
I pull up the forecast for the exact dates and spot. Not just averages—real temps, rain chances, wind. This tells me if it’s chill mornings or hot afternoons.
What changes: You pick outfits that match shifts, not guesswork. Insight most miss: Nights drop 20 degrees faster than apps predict. Pack one extra layer.
Avoid grabbing cotton tees—they hold sweat and wet. I stick to synthetics and wool. Feels balanced right away.
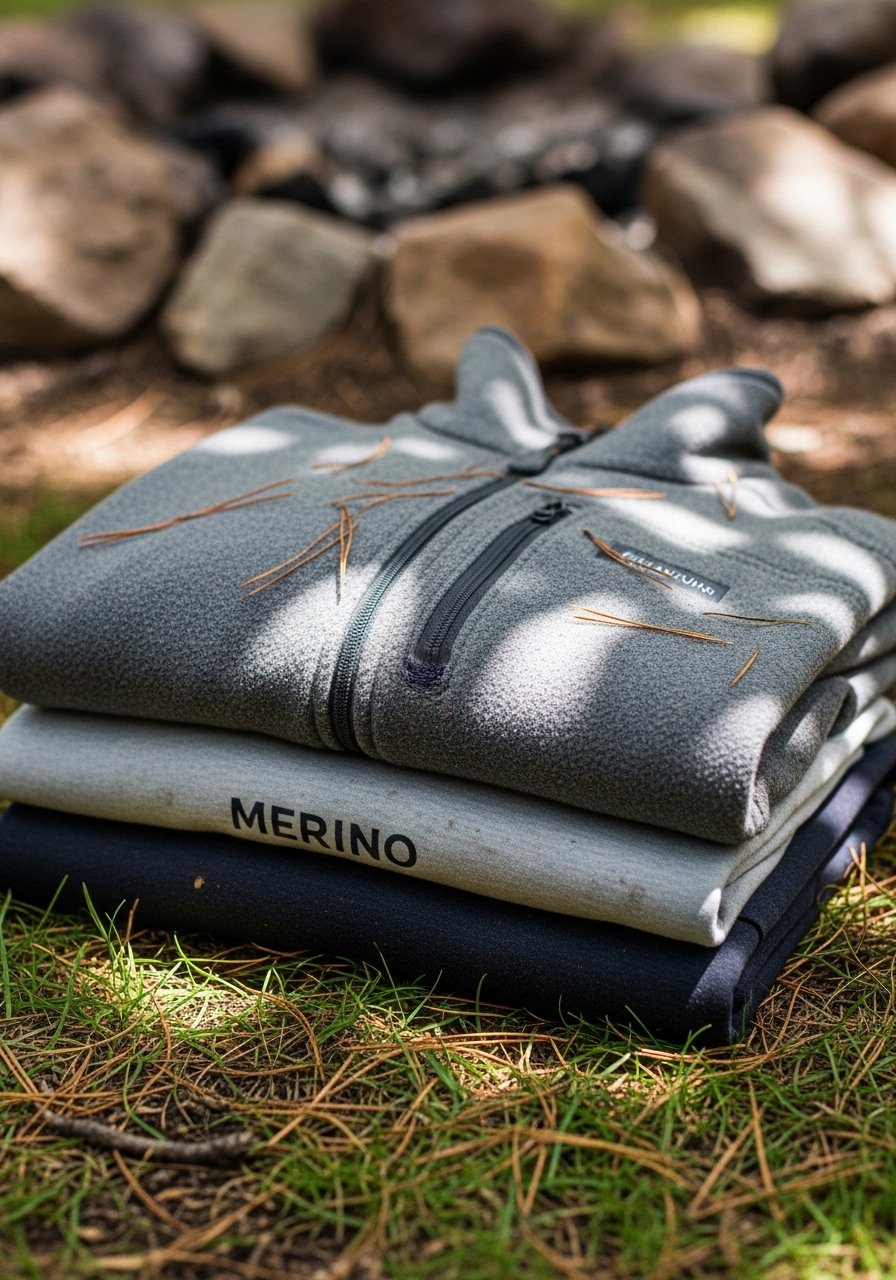
Step 2: Build Your Base Layer First
I start with two merino base layers. They wick moisture, stay odor-free after days. One for day one, one spare.
Now your pack has a dry foundation. People forget bases breathe both ways—cool when hot, warm when cold.
Don’t overdo it with heavy thermals early. Test by wearing it around the house. Comfort hits when it moves with you.
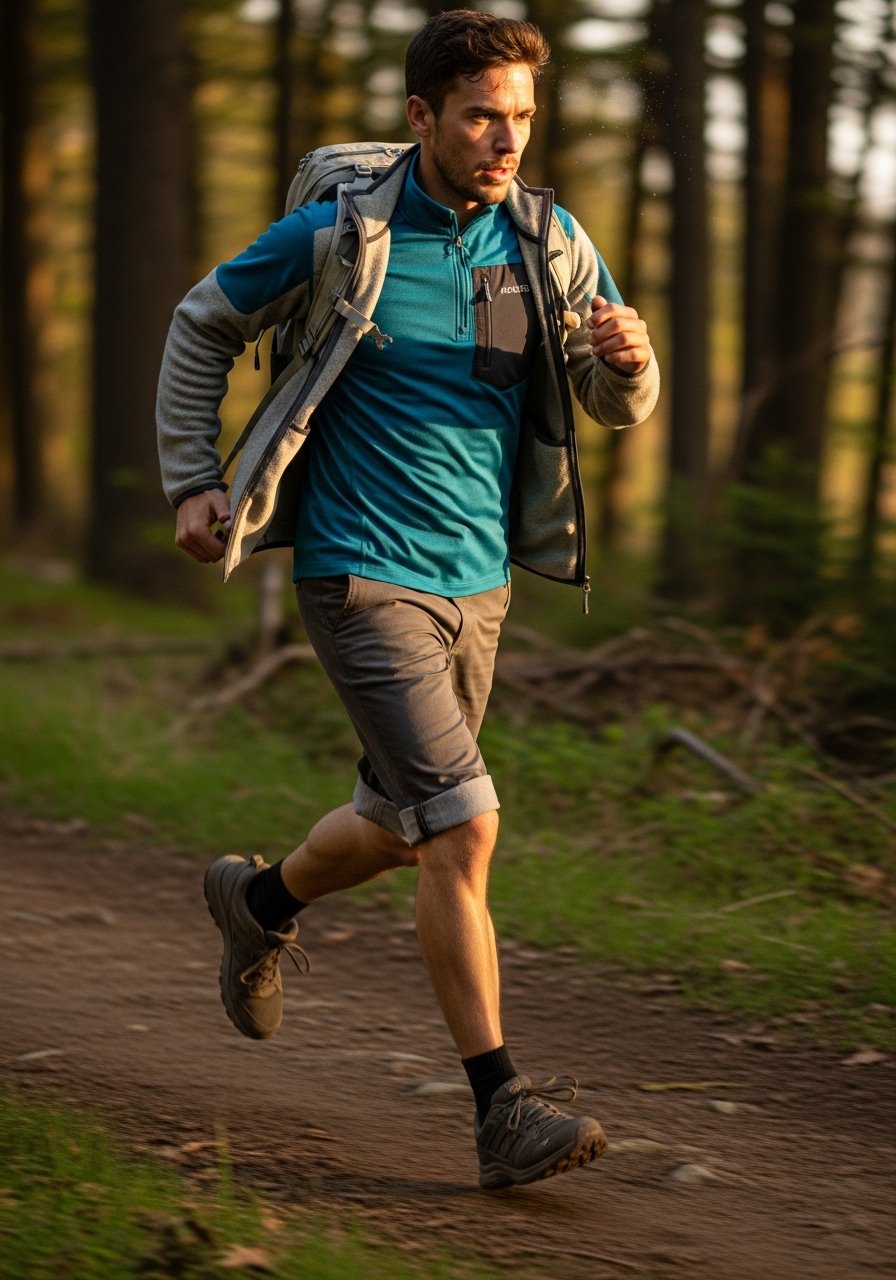
Step 3: Layer for Versatility
Next, fleece mid-layer and rain shell go in. Fleece zips for quick temp tweaks. Shell packs tiny, blocks wind.
Outfits now adapt—hike in base plus fleece, camp in all three. Missed insight: Layers trap air for warmth, not bulk.
Skip jeans or hoodies—they don’t layer well. I roll them tight in cubes. Pack feels lighter already.
Step 4: Add Bottoms and Feet
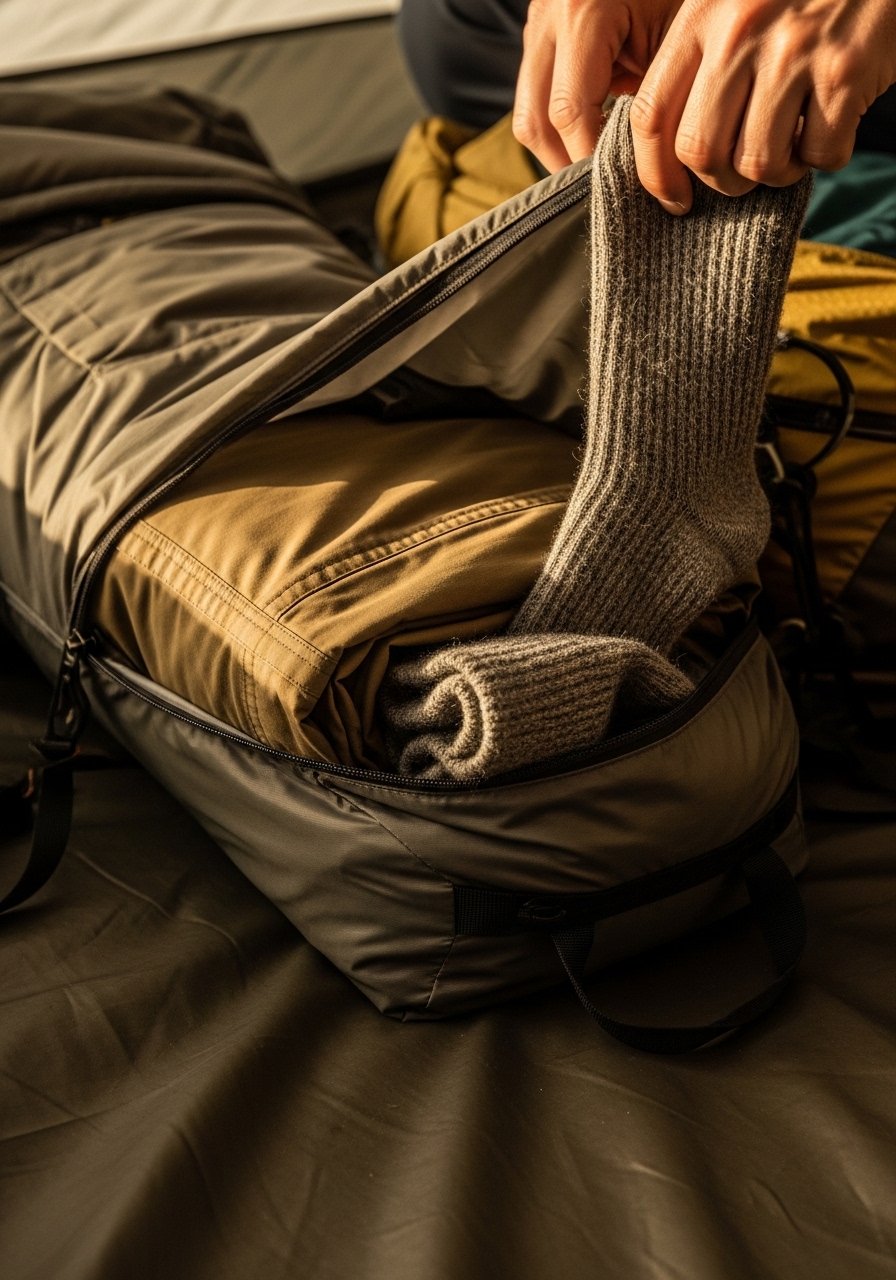
Pants convert to shorts for heat. Long johns underneath for cold. Three wool socks—feet stay dry, no blisters.
Bottom half is set for mud or chill. Folks overlook socks as outfits. They make or break your day.
Avoid thin cotton socks. Compress everything. Now it all fits without strain.
Step 5: Accessorize and Pack Smart
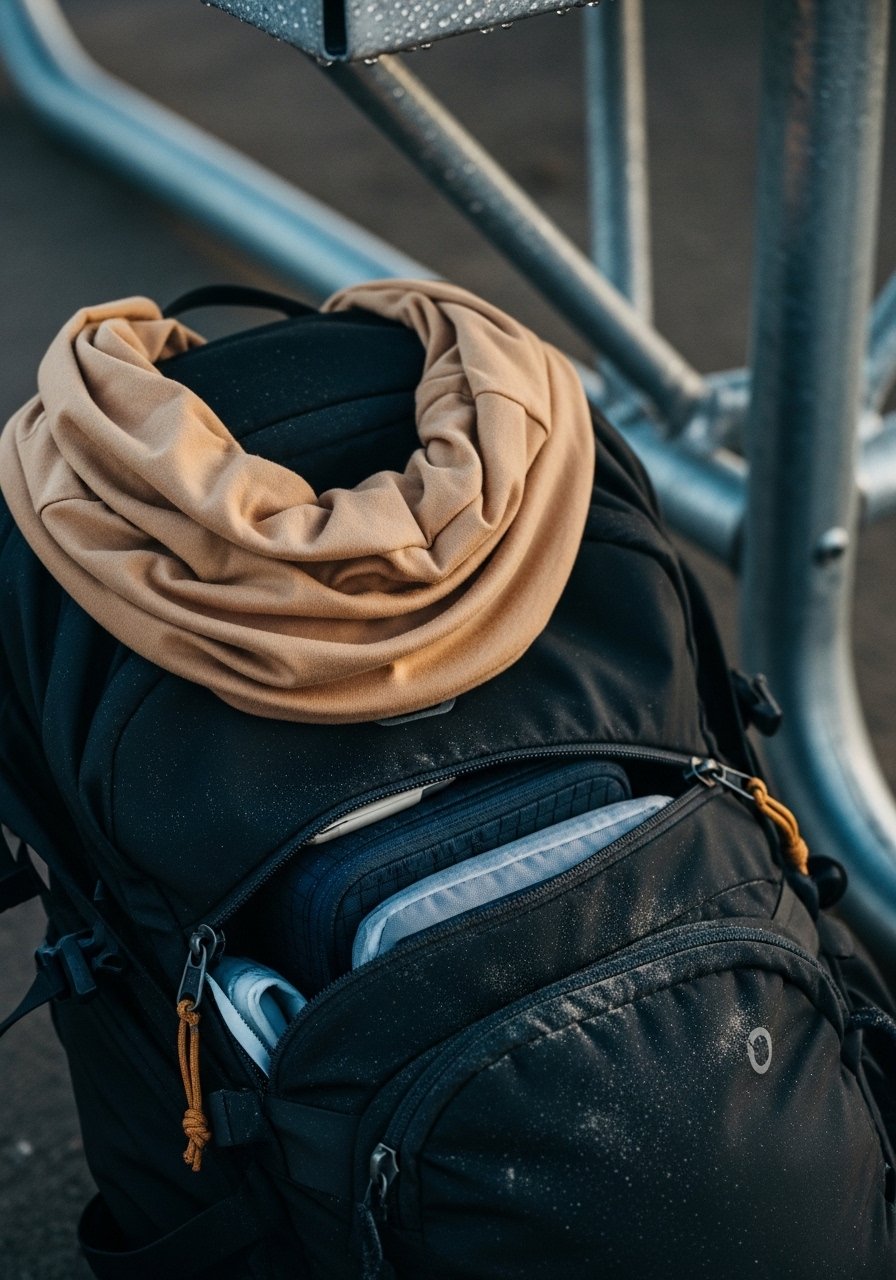
Buff for neck or hat sub. Cube it all—bases together, layers separate. Weigh your pack.
Everything’s organized, grab-and-go. Insight: Cubes prevent rummaging in rain. Mistake: Forgetting to wear bulkiest on travel day.
Test by simulating a day. You’re ready, calm.
Step 6: Do a Wear Test
Wear the full combo around your yard or local walk. Move, sit, layer up/down.
Reveals rubs or gaps. Most skip this—then fix on trail. Adjust now.
Pack feels intentional. No surprises.
Outfit Ideas for Camp Days
I mix these for flow. Base always, then add as needed.
- Cool morning hike: Merino shirt + fleece + pants + buff.
- Hot midday: Base layer + pants as shorts, sleeves rolled.
- Rainy evening: Full layers + shell + long johns.
Keeps decisions easy. You stay ahead of weather.
Handling Dirt and Laundry
Trails get you grubby. Wool and synthetics shake off most.
- Spot clean with biodegradable soap and stream water.
- Hang dry overnight—sun does the work.
- Rotate outfits to air out.
No stink buildup. Packs lighter on return.
Weather Tweaks on the Fly
Forecasts shift. My layers flex.
Cold snap? Double socks, buff as hat.
Heat wave? Ditch fleece, wet buff for cool.
Buff stays versatile. Always room to adjust without unpack.
Final Thoughts
Start with one trip’s worth. See how light you travel.
You’ll trust your choices more each time.
Camping outfits done right mean less stress, more views. It’s worth the upfront think.
Leave a Reply