
I remember landing in Tokyo, surrounded by intricate ink on every arm. Mine was bare. I wanted a piece of that energy—a mark from the trip—but permanent? Too risky for two weeks.
Back in my hotel, I sketched ideas on napkins. Needed something that stuck through humidity and subways, gone when I flew home.
Temporary tattoos solved it. I make mine at home now. Simple process, real feel.
How To Make A Temporary Travel Tattoo At Home
This guide walks you through creating a waterproof temporary tattoo that lasts your whole trip. You'll get clean lines, no smudges, ready for beach or city. It's straightforward—I do it the night before packing.
What You’ll Need
- Inkjet Printable Temporary Tattoo Paper (A4, 20 waterproof sheets)
- Fine Point Precision Scissors (stainless steel, 4.5-inch curved blade)
- Natural Sea Sponge (medium size, 4-inch diameter)
- Unscented Baby Powder (14 oz shaker bottle)
- Aerosol Clear Sealer Spray (matte finish, 6 oz)
- Microfiber Cleaning Cloths (12-pack, 12×12 inch lint-free)
- Fine Tip Permanent Markers (black, set of 5 assorted sizes)
Step 1: Choose and Prep Your Design

I start with a design that fits the trip—a compass for hikes, a skyline for cities. Size it to 3-4 inches; bigger fades unevenly. Use free software or hand-draw, mirror the image.
This sets the feel right away. Your tattoo now matches the adventure ahead.
People miss flipping the design—print mirrored or it reads backward on skin. Avoid thin lines; they blur on curves.
Prep takes 10 minutes. Clean desk, breathe. It's calm from here.
Step 2: Print on Tattoo Paper
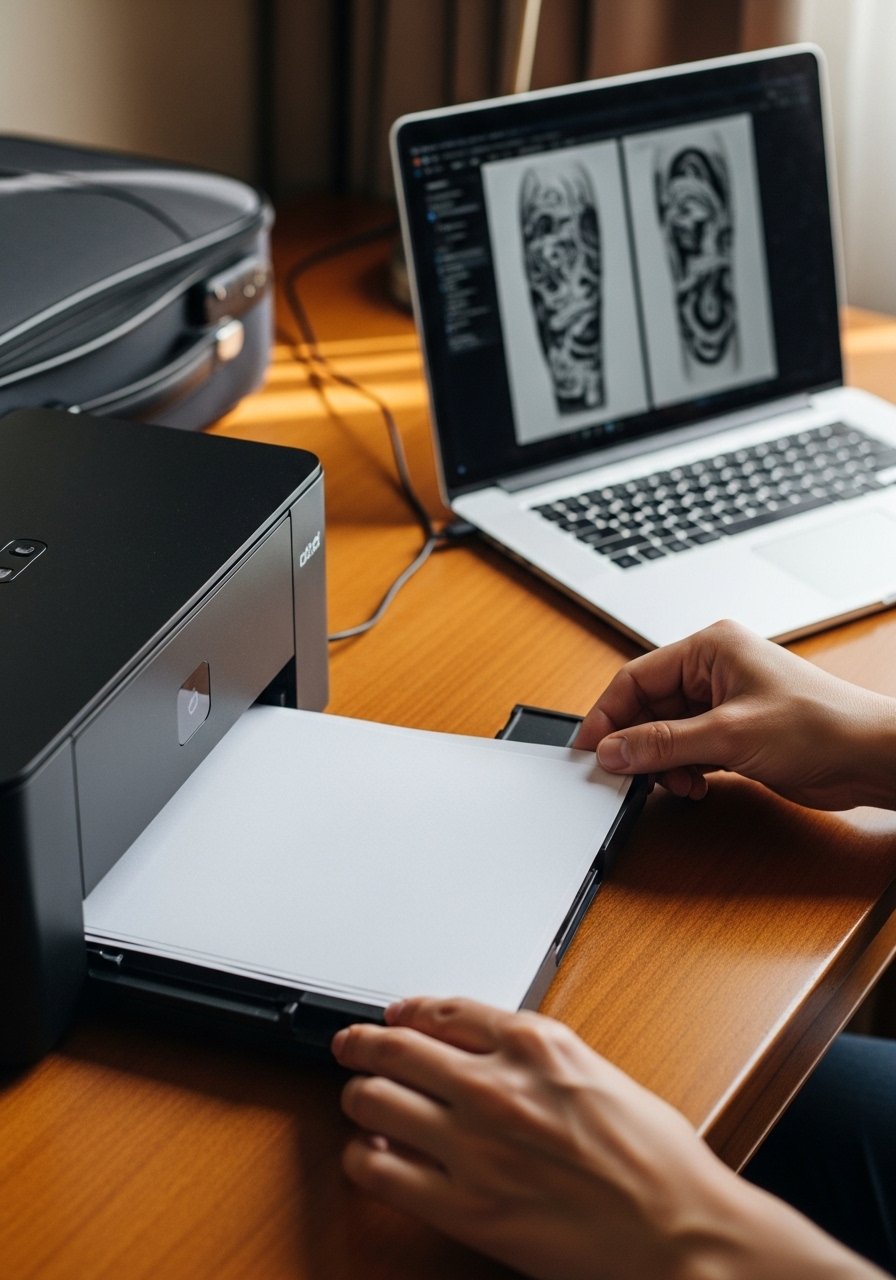
Feed the special paper into your inkjet printer. Glossy side up, print at high quality. I test on plain paper first to check size.
Colors pop now; it's yours. Changes the napkin sketch to something wearable.
Insight: Cheap paper ink runs in water—use waterproof sheets only. Mistake to skip test print; wastes sheets.
Dry 5 minutes. Smell the fresh ink. Trip excitement builds.
Step 3: Cut Out Precisely
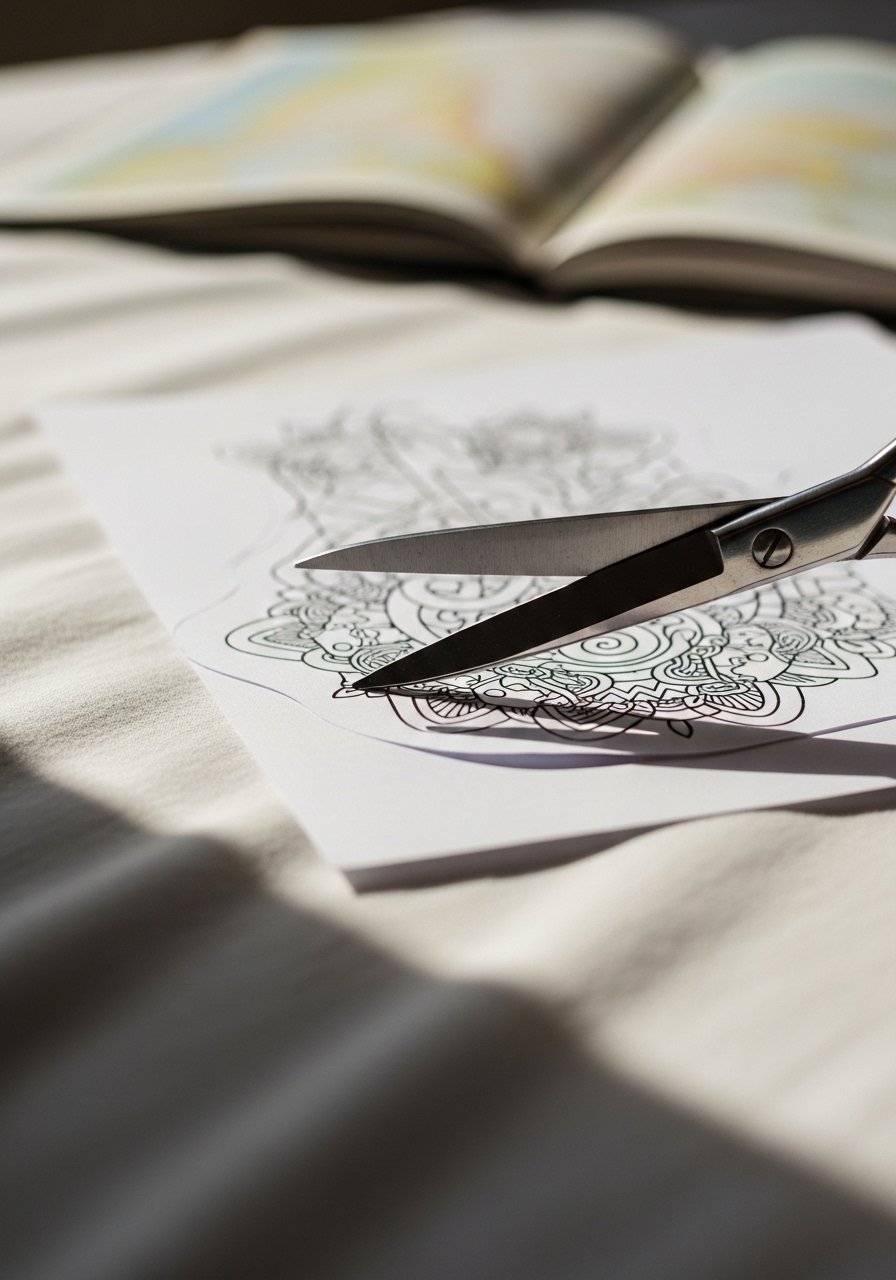
Use sharp scissors, leave 1/8-inch border. Cut smooth, no jagged edges—they show on skin.
Shape feels personal now. Precise cut means clean transfer.
Most overlook border width; too close, design lifts early. Avoid rushing—sit by window, steady hands.
Takes 2 minutes per tattoo. I make two, one backup. Practical.
Step 4: Prep and Place on Skin
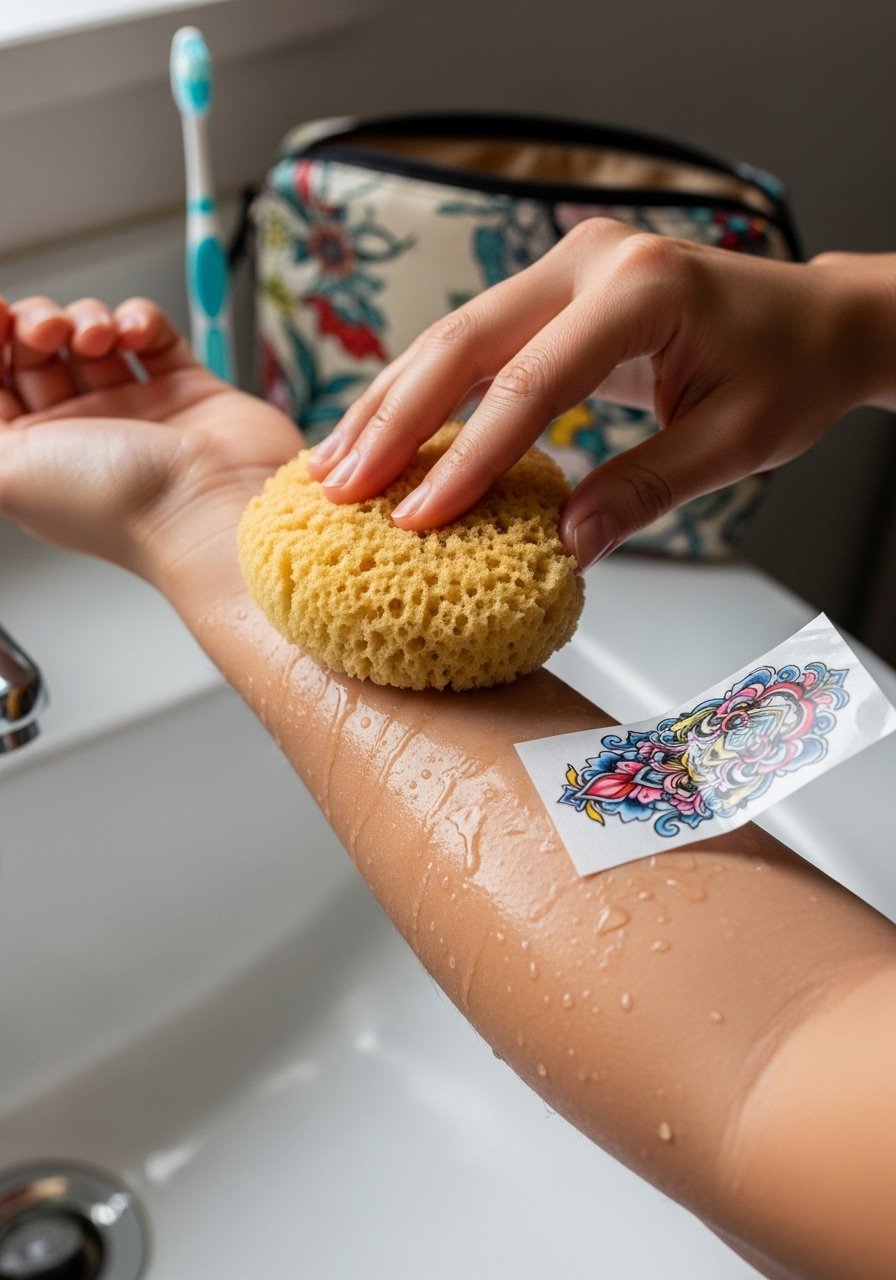
Clean skin with microfiber cloth, no lotion. Dampen sponge, place paper face-down, hold 30 seconds.
Skin tingles cool. Image transfers sharp.
Missed step: Dry skin grabs unevenly—always dampen well. Avoid alcohol wipes; dries too much.
Press firm but not scrub. Peel slow. First look thrills.
Step 5: Seal and Set
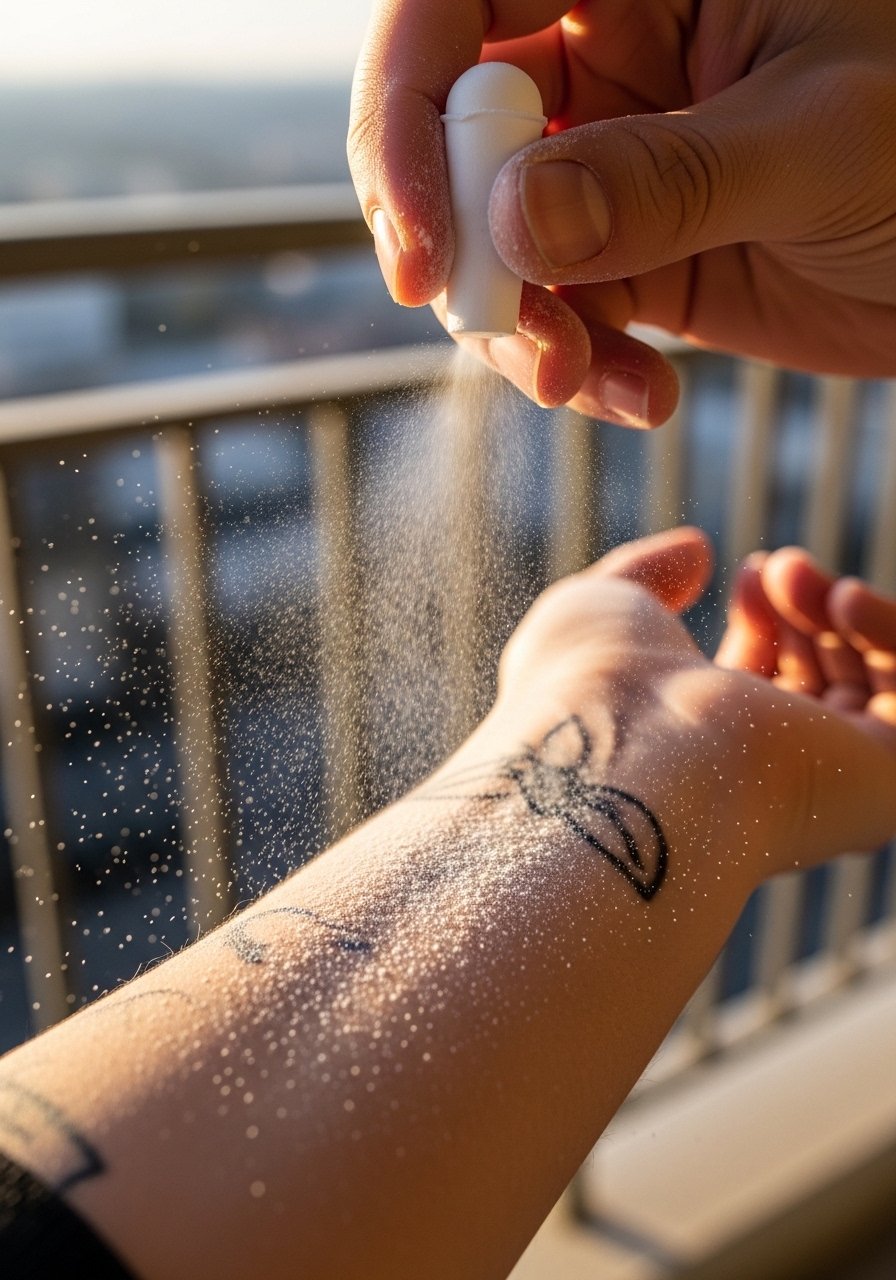
Dust baby powder lightly, pat off excess. Mist sealer from 8 inches, let dry 2 minutes.
It locks in now—swim-proof, sweat-proof. Feels set for the road.
People forget powder; sealer sticks without it. Mistake: Heavy spray blobs—light layers only.
Wear it 24 hours to cure. Rub daily. Lasts 5-7 days easy.
Why Temporary Tattoos Beat Souvenirs
I used to buy cheap necklaces or keychains. They break or clutter drawers. Temporary tattoos? Pure memory on skin.
They fit any mood. No packing bulk. Wash off, no regret.
- Compass for hikes—reminds me of that Sicilian trail.
- Wave outline after surf trips—fades just right.
- City script for urban wanders.
Simple mark, deep feel. Worth the 20 minutes.
Quick Travel Design Ideas
Keep them small, meaningful. I draw from the place—landmarks, paths walked.
Works on arm, ankle, shoulder. Rotate spots.
- Mountain silhouette for Alps.
- Palm frond for beaches.
- Street sign from your favorite walk.
Print black for bold, color for detail. Test mirror every time.
Making Them Last on the Road
Mine survive planes, pools, rain. Reapply powder mornings.
Avoid oil sunscreens; eat them off. Swim? Pat dry, no rub.
Lasted 10 days once in Vietnam heat. Fades naturally, like the trip.
Final Thoughts
Start with one design. Your first will feel off, second perfect.
You've got the tools now. Calm process, real results.
Pack light knowing it's there. A quiet trip companion.
Leave a Reply