Category: Essentials

  • How To Care For A Travel Tattoo While On The Go

    How To Care For A Travel Tattoo While On The Go

    I got my tattoo in Bangkok, right before a 12-hour flight home. The fresh ink itched under the bandage, and airport bathrooms felt grimy. Sweat mixed with ointment, turning it sticky.

    Travel makes healing tricky. Planes dry the air. Beach days tempt sun exposure. One wrong move, and your new art scars.

    I've learned a simple way to keep it clean and calm. No panic. Just steady care.

    How To Care For A Travel Tattoo While On The Go

    This guide shows you how to tend a fresh tattoo through flights, hotels, and outings. You'll end up with smooth, even healing—no fading or infection. It's straightforward, even on the move.

    What You’ll Need

    Step 1: Protect It Right After Inking

    I cover the tattoo loosely with plastic wrap as soon as I leave the shop. It keeps ink and blood off my clothes during transit. Why? It blocks bacteria from hotel sheets or plane seats.

    This changes everything—my arm stays dry and safe for the first 24 hours. Most miss how sweat builds under tight clothes; loose wrap breathes better.

    Avoid pressing it flat. Air needs to circulate a bit. I learned that on a bumpy bus ride.

    Step 2: Clean Gently Once Home Base Settles

    Once settled, I wash it morning and night with fragrance-free soap and cool water. Pat dry—no rubbing. This removes crust without stripping moisture.

    The skin feels cleaner, less tight. People forget travel water varies; hard water dries it out faster.

    Skip hot showers. They inflame it. I did once in a hostel—redness lasted days.

    Step 3: Moisturize Without Overdoing It

    I dab on unscented ointment two to three times a day, thin layer only. It locks in moisture amid dry plane air. Feels soft, not greasy.

    Healing speeds up; no cracking. Insight: less is more—thick globs trap bacteria in humid spots.

    Don't use your regular lotion. Scents irritate. Ruined a friend's design on a beach trip.

    Step 4: Shield from Sun and Friction

    Before going out, I layer mineral SPF 50, wait 15 minutes, then cover with light clothing. Sun fades fresh ink quick.

    Skin stays even-toned, no burns. Travelers miss reapplying after swims—do it every two hours.

    Avoid tight straps or sand. They rub. I switched to loose sleeves after one hike.

    Step 5: Handle Itch and Peel Phases Calmly

    When it itches around day 4, I pat lotion gently, no scratching. Peel comes natural—let it flake off.

    Colors brighten as dead skin sheds. Most pick too soon, causing spots. Wait it out.

    Steer clear of pools till week 3. Chlorine stings open areas. Patience pays off.

    Handling Airport and Flight Challenges

    Dry cabin air hits hard. I mist my arm lightly with water before moisturizing.

    Pack everything in a clear TSA bag. No delays.

    • Wipe surfaces before resting arm.
    • Use a neck pillow to avoid leaning pressure.
    • Drink extra water—dehydration slows healing.

    What to Do If It Looks Off

    Redness is normal first days. But pus or heat means infection.

    I check daily with my mirror.

    • Swelling beyond 48 hours? Cool compress.
    • Fever? Find a clinic.
    • No self-treatment—ask locals for English-speaking docs.

    Stays calm if caught early.

    Tips for Multi-Week Trips

    Extend care past two weeks. Sun protection ongoing.

    Rotate sleeves for airflow.

    • Laundry soap: Fragrance-free only.
    • Sleep position: Arm up if swollen.
    • Photos track progress—motivates.

    Keeps it looking sharp.

    Final Thoughts

    Start with these basics on your next ink-and-go trip. It feels manageable, even rushed.

    Your tattoo holds its lines clear.

    One habit at a time builds confidence. Worth the calm effort.

  • How To Find A Tattoo Artist While Traveling Safely

    How To Find A Tattoo Artist While Traveling Safely

    I was in Bali, staring at a sketchy walk-up tattoo sign in a night market. My arm itched for ink, but stories of infections flashed in my head. Heart racing, I walked away empty-handed.

    Travel tattoos pull you in—they mark the place, the moment. But one wrong choice ruins the trip.

    I've inked up safely in Thailand, Mexico, Portugal. It doesn't have to feel risky.

    How To Find A Tattoo Artist While Traveling Safely

    This guide walks you through picking a solid artist on the road. You'll end up with clean ink that lasts, no regrets or hospital runs. It's straightforward when you know where to look.

    What You’ll Need

    Step 1: Scout Reputable Shops Online Before Committing

    I start with Instagram and Google Maps right when I land. Search "best tattoos [city]" and filter for recent posts. Look for clean lines, healed tattoos—not just fresh ones.

    This shifts your mindset from impulse to choice. You spot patterns in work that matches your style.

    People miss checking artist-specific hashtags. Follow the person, not just the shop. Avoid rushing—wait a day, let options settle.

    One mistake: Ignoring low follower counts. Good artists build quietly; numbers don't mean quality.

    Step 2: Verify Hygiene and Credentials In-Person

    Walk in during daylight hours. Ask to see their health license and autoclave. Watch them unwrap new needles—sealed packs only.

    Now you feel the space: Is it organized, tubes labeled? Comfort level rises when it smells clean, not smoky.

    Travelers overlook asking about ink brands. Go for top ones like Intenze. Skip if they dodge questions.

    Don't book same-day. Give yourself 24 hours to sleep on it—jet lag clouds judgment.

    Step 3: Consult and Customize Your Design

    Sit down, share your idea. I bring a printed reference or sketch from my journal. Talk size, placement—keep it palm-sized for travel healing.

    The vibe clicks here: Do they listen, suggest tweaks? Your confidence builds.

    Missed insight: Placement matters for sweat and sun. Forearm or calf hides under clothes easier.

    Avoid over-customizing. Stick close to their strengths—custom flash travels better.

    Step 4: Get Inked and Start Aftercare Right Away

    Lie back, breathe steady. They stencil, you nod. Session flies when you're relaxed—30-60 minutes tops.

    Skin feels tight post-needle, but clean wrap soothes. You walk out marked, but cared for.

    People forget: No swimming for two weeks. Pack your kit immediately.

    Mistake to dodge: Picking at scabs. Hands off—use your pads and lotion instead.

    Step 5: Monitor Healing on the Move

    Day two, peel wrap gently. Wash with antibacterial soap, pat dry with microfiber towel.

    Travel changes: More movement, less routine. But consistent checks keep it smooth—no big peels in hostels.

    Insight: Humidity speeds healing; dry air slows. Adjust lotion ups.

    Skip public showers bare. Cover with sleeve—avoids stares and rubs.

    Red Flags to Watch For

    I've backed out twice. Trust your gut.

    • No visible licenses or needle demo.
    • Pushing big designs or add-ons.
    • Shop feels cluttered, artist rushed.

    These signal corner-cutting. Walk away calm—no tattoo beats a bad one.

    Tattoo Aftercare Essentials While Moving

    Keep it simple on the road.

    Wash twice daily. Moisturize lightly—your stick works anywhere.

    • Avoid sun: Sleeve up, SPF over it.
    • No pools or oceans: Bacteria loves ink.
    • Sleep elevated: Less swelling.

    I pack light, heal fast. Yours will too.

    Designing for Travel Life

    Small, meaningful lines hold up.

    Think symbols of the place—a tiny anchor from Greece.

    • Meaningful, not trendy.
    • Placement for clothes cover.
    • Black ink only—heals even.

    It becomes part of your stories, not a souvenir scar.

    Final Thoughts

    Start with a tiny piece your first travel ink. Build from there.

    You've got the steps—now it's just timing and trust.

    Clean tattoos from the road feel earned. Safe, simple, yours.

  • How To Make A Temporary Travel Tattoo At Home

    How To Make A Temporary Travel Tattoo At Home

    I remember landing in Tokyo, surrounded by intricate ink on every arm. Mine was bare. I wanted a piece of that energy—a mark from the trip—but permanent? Too risky for two weeks.

    Back in my hotel, I sketched ideas on napkins. Needed something that stuck through humidity and subways, gone when I flew home.

    Temporary tattoos solved it. I make mine at home now. Simple process, real feel.

    How To Make A Temporary Travel Tattoo At Home

    This guide walks you through creating a waterproof temporary tattoo that lasts your whole trip. You'll get clean lines, no smudges, ready for beach or city. It's straightforward—I do it the night before packing.

    What You’ll Need

    Step 1: Choose and Prep Your Design

    I start with a design that fits the trip—a compass for hikes, a skyline for cities. Size it to 3-4 inches; bigger fades unevenly. Use free software or hand-draw, mirror the image.

    This sets the feel right away. Your tattoo now matches the adventure ahead.

    People miss flipping the design—print mirrored or it reads backward on skin. Avoid thin lines; they blur on curves.

    Prep takes 10 minutes. Clean desk, breathe. It's calm from here.

    Step 2: Print on Tattoo Paper

    Feed the special paper into your inkjet printer. Glossy side up, print at high quality. I test on plain paper first to check size.

    Colors pop now; it's yours. Changes the napkin sketch to something wearable.

    Insight: Cheap paper ink runs in water—use waterproof sheets only. Mistake to skip test print; wastes sheets.

    Dry 5 minutes. Smell the fresh ink. Trip excitement builds.

    Step 3: Cut Out Precisely

    Use sharp scissors, leave 1/8-inch border. Cut smooth, no jagged edges—they show on skin.

    Shape feels personal now. Precise cut means clean transfer.

    Most overlook border width; too close, design lifts early. Avoid rushing—sit by window, steady hands.

    Takes 2 minutes per tattoo. I make two, one backup. Practical.

    Step 4: Prep and Place on Skin

    Clean skin with microfiber cloth, no lotion. Dampen sponge, place paper face-down, hold 30 seconds.

    Skin tingles cool. Image transfers sharp.

    Missed step: Dry skin grabs unevenly—always dampen well. Avoid alcohol wipes; dries too much.

    Press firm but not scrub. Peel slow. First look thrills.

    Step 5: Seal and Set

    Dust baby powder lightly, pat off excess. Mist sealer from 8 inches, let dry 2 minutes.

    It locks in now—swim-proof, sweat-proof. Feels set for the road.

    People forget powder; sealer sticks without it. Mistake: Heavy spray blobs—light layers only.

    Wear it 24 hours to cure. Rub daily. Lasts 5-7 days easy.

    Why Temporary Tattoos Beat Souvenirs

    I used to buy cheap necklaces or keychains. They break or clutter drawers. Temporary tattoos? Pure memory on skin.

    They fit any mood. No packing bulk. Wash off, no regret.

    • Compass for hikes—reminds me of that Sicilian trail.
    • Wave outline after surf trips—fades just right.
    • City script for urban wanders.

    Simple mark, deep feel. Worth the 20 minutes.

    Quick Travel Design Ideas

    Keep them small, meaningful. I draw from the place—landmarks, paths walked.

    Works on arm, ankle, shoulder. Rotate spots.

    • Mountain silhouette for Alps.
    • Palm frond for beaches.
    • Street sign from your favorite walk.

    Print black for bold, color for detail. Test mirror every time.

    Making Them Last on the Road

    Mine survive planes, pools, rain. Reapply powder mornings.

    Avoid oil sunscreens; eat them off. Swim? Pat dry, no rub.

    Lasted 10 days once in Vietnam heat. Fades naturally, like the trip.

    Final Thoughts

    Start with one design. Your first will feel off, second perfect.

    You've got the tools now. Calm process, real results.

    Pack light knowing it's there. A quiet trip companion.

  • How To Start A Travel Journal And Keep It Going

    How To Start A Travel Journal And Keep It Going

    I remember landing in Lisbon after a red-eye flight. Everything blurred—cobblestone streets, pastel tiles, the smell of pastéis. By the next week, it all faded into "that one good trip." Trips pile up like that. Details slip. Without something to hold them, the real feel vanishes.

    I started journaling to fix it. Not fancy sketches or deep prose. Just enough to bring back the texture—the missed bus that led to a better view, the quiet cafe corner.

    Now, trips stick. Not as lists, but as lived moments.

    How To Start A Travel Journal And Keep It Going

    This guide shows you how to pick up a notebook on day one and make entries that last beyond the flight home. It's simple, fits any trip. You'll end up with pages that pull you right back into the calm and choices of the road.

    What You’ll Need

    Step 1: Choose Your Notebook on Day Zero

    I grab mine before wheels up. Feel the weight in my hand—smooth cover, pages that don't bleed. It fits in my bag without bulk. This sets the tone: portable, ready.

    Why? A good notebook invites you in. Changes the trip from blur to anchor. People miss how the paper quality affects flow—cheap ones crinkle and distract.

    Skip oversized ones. They stay packed.

    Step 2: Make Your First Mark at the Gate

    Right there, before boarding. Jot the flight time, seat, what's in my carry-on. Sketch the gate crowd. Takes two minutes.

    This kicks off momentum. Shifts mindset from rush to notice. Insight: starting small builds habit—no blank page stare later.

    Don't wait for the hotel. Gates are perfect—quiet edges amid noise.

    Step 3: Note One Sensory Hit Per Stop

    Each new spot—train, walk, meal—pick one sense. The ferry's salt sting. Bread's warm crust. Write it raw.

    Why? Captures feel over facts. Trip changes from checklist to texture. Most miss tying senses to spots—they fade first.

    Avoid full sentences. Fragments work best.

    Step 4: Glue In Real Bits Before Bed

    End of day, stick in tickets, wrappers. No scrapbook neatness—just press and note why.

    This grounds entries. Makes pages physical. Changes recall—you see the napkin, smell returns. Folks overlook how tactile anchors memory.

    Don't overglue. One or two per day.

    Step 5: Review Weekly, Tweak On the Fly

    Mid-trip, flip back. Add what connects. Adjust routine if skipped.

    Keeps it alive. Reveals patterns—like best writing spots. People forget review sparks consistency.

    Skip if tired. Morning pages catch up.

    Step 6: Carry It Home, Add One Post-Trip Entry

    Unpack, then one page: what lingers, what surprised. Date it.

    Closes the loop. Makes the journal live beyond. Insight: that entry cements it all.

    Don't force polish. Raw is right.

    When Trips Get Short or Long

    Short weekends blur easiest. I scale down—one sense, one ticket.

    For longer hauls:

    • Daily minimum: three lines.
    • Weekly: photo corner.
    • End: what shifted me.

    It stays balanced, no overwhelm.

    Keeping It Fresh Over Years

    Journals stack up. I label spines by year, spot.

    Mix it:

    • Rotate notebooks for variety.
    • Add a yearly index page.
    • Share one page with a friend.

    Feels intentional, not chore.

    What If You Miss Days

    Gaps happen—illness, jet lag. I don't stress.

    Catch up light:

    • Voice note first, transcribe later.
    • Bullet what stands out.
    • Skip guilt; forward only.

    Flow returns quick.

    Final Thoughts

    Start with one gate scribble. Build from there. It'll feel natural soon.

    Your trips gain edges—the quiet wins, small turns.

    Worth the two minutes. Memories hold shape.

  • How To Make A Travel Journal That Feels Personal

    How To Make A Travel Journal That Feels Personal

    I came back from that two-week trip through Italy last year, staring at my phone photos. The sights blurred together. No names of streets, no taste of that one pasta. Just flat images. I wanted the feel of it—the heat, the conversations—but it was slipping away.

    I'd tried journals before. Blank pages stayed blank. Too much pressure to write perfectly. Trips turned into stress.

    This time, I changed how I started. A journal that pulled me in, day by day. Memories stuck.

    How To Make A Travel Journal That Feels Personal

    This guide walks you through building a journal from everyday stuff you already like. You'll end up with pages that bring back the real trip—the smells, waits, small wins. It's simple, fits in your bag, and feels like yours alone.

    What You’ll Need

    Step 1: Choose a Notebook That Fits Your Hand

    I start at a quiet store or online, flipping through notebooks until one feels right. Not too thick—something that slips into my daypack without bulk. Dotted pages work for me; they guide sketches or lists without lines boxing me in.

    This changes everything early. The journal becomes familiar, like an old pocket. I carry it without thinking.

    People miss how size affects use—too big, and it stays home. Avoid buying fancy leather if it pinches your palm; test the weight first.

    I pack it that night. Ready for the airport.

    Step 2: Wrap It in Something Personal

    Before leaving, I add tape or a simple cover. Scraps from past trips—faded maps, fabric from a market buy. It marks the journal as mine, not store-fresh.

    Now it stands out in my bag. Pulls me to open it. Comfort builds here.

    Most skip this; journals look generic, blend into clutter. Don't overdo—two strips max, or it feels forced.

    I smile seeing it later. Ties to why I'm going.

    Step 3: Sketch a Loose Inside Map

    On the first flight, I outline basics. Front: trip dates, flights. Middle: daily spots. Back: notes pocket with glue-ready envelopes.

    This sets flow without rules. Pages wait for real life, not blank stares.

    Folks overload with grids—miss the empty space for surprises. Avoid dating every page; let gaps happen.

    It feels balanced now. Room to breathe.

    Step 4: Start Small Each Evening

    After dinner, wherever I land—hostel bunk or beach chair—I jot three things. One sight, one taste, one feeling. Sketch if words stick.

    Days stack naturally. Memories sharpen before they fade.

    The miss: waiting for "inspiration." Avoid long sits; five minutes shifts it to habit.

    Comfort grows. Trip feels captured, not chased.

    Step 5: Tuck in the Tangibles

    Mid-trip, I add bits—stubs, leaves, receipts. Glue light, washi to secure. Erasable pen for fixes.

    Journal thickens with proof. Turns flat words vivid.

    People glue too much—pages warp. Skip heavy photos till home.

    It lives now. Pull it out anywhere.

    Step 6: Close It with Reflection

    Homebound, I add a back page: what stuck, what next time. No polish needed.

    Whole trip fits in hand. Ready for shelf or share.

    Missed insight: no rush to finish daily. Gaps fill later.

    It's yours. Real.

    Keeping Momentum on Long Trips

    Long hauls test habits. I keep mine going by linking to routines—like coffee stops.

    • Tie entries to meals; easier recall.
    • Use phone pics as prompts if tired.
    • Share a page with a travel buddy; sparks ideas.

    It stays light, not chore.

    Handling Skipped Days

    Missed a night? No guilt. I catch up next morning, two lines max.

    • Note why skipped—jet lag, rain.
    • Bullet key moments from memory.
    • Skip perfection; fragments work.

    Journal forgives. Builds back easy.

    Making It Uniquely Yours

    Tweak for you. I add smells lists—markets, buses.

    • Doodle routes walked.
    • Rate foods simply: yes/no.
    • Pocket for future trips' seeds.

    Feels intentional. Lasts years.

    Final Thoughts

    Start tonight with one notebook. No big setup. Let it grow messy.

    You'll flip pages months later, smells and laughs back.

    It's worth the five minutes. Trips stay close.

  • How To Organize A Travel Journal Without The Mess

    How To Organize A Travel Journal Without The Mess

    I remember flipping through my journal after a two-week trip through Italy. Pages torn, tickets crumpled inside, ink smudged from rain. I couldn't relive the moments— just frustration. Why did capturing the trip make more mess?

    I've fixed that. Now my journals stay clean, easy to read years later. No glue sticks or loose scraps.

    You can too. It starts with simple choices before you leave.

    How To Organize A Travel Journal Without The Mess

    This method keeps your journal neat from day one. You'll end up with clear entries, secure mementos, and no chaos. It's the calm system I rely on every trip.

    What You’ll Need

    Step 1: Choose and Prep Your Notebook Base

    I grab my Leuchtturm1917 notebook before every trip. Its dotted pages handle ink without bleed, and back pocket holds extras. Why? It stays flat, no floppy covers in my bag.

    Prep it at home. Number the pages lightly in pencil. This changes everything—quick reference later, no flipping panic.

    People miss how pre-numbering saves time mid-trip. Avoid starting with a flimsy journal; it warps fast.

    I add tabs right away with Post-it strips. One for "Days," one for "Notes." Comfortable flow from the start.

    Step 2: Set Up Daily Entry Sections

    Before wheels up, I divide pages into sections with washi tape. One per week, labeled simply. Tickets go in Avery pockets, taped shut.

    This keeps entries chronological, no overlap mess. My Rome trip journal? Still crisp after years.

    Insight: Tape reinforces pages without bulk. Mistake to avoid—don't over-label; it crowds the feel.

    I jot a quick index on the first page: "Day 1: Florence Walk." Balanced, intentional from go.

    Step 3: Build a Simple Daily Routine

    Each evening, I spend 10 minutes. Sketch the day's route, note one smell or sound. Why? Anchors memories without overwhelm.

    Pages fill neatly now, no rushed scribbles. Changes the trip—more present, less stress.

    Missed insight: Use rolling ball pens; they glide on planes. Avoid gel pens—they smudge in humidity.

    End with a memento envelope. Manila ones hold maps flat. Comfortable close to the day.

    Step 4: Secure Mementos Without Bulk

    I slip tickets, leaves into pockets first. Tape edges lightly with washi. No glue—keeps pages turning smooth.

    Bulk drops; journal stays packable. My backpack thanks me.

    People forget photos curl paper. Print small, 2×3, slip in pockets. Avoid full glue sticks—too permanent if you shift.

    Colored markers highlight key spots. Practical, memorable without chaos.

    Step 5: Create an Index and Review Weekly

    Weekly, I update the index. List page numbers by place or theme. Takes five minutes over coffee.

    Journal becomes searchable, like a personal map. No more "where's that train ticket?"

    Insight: Review sparks better next entries. Avoid waiting till home—memories fade.

    I add a "Lessons" tab last. Balanced reflection, worth it every time.

    Handling Photos and Mementos

    Photos add life without wrecking pages. I print wallet-sized ones at local shops. Slip into pockets, note the why below.

    • Use photo corners if taping—removable.
    • Limit to three per day; keeps flow.
    • Back with dates for context.

    This method saved my Japan journal. No faded prints loose inside.

    Journaling in Tight Spaces

    Planes, buses—tight spots test neatness. I use the notebook's back pocket for extras till settled.

    • Clip pen to cover.
    • Write in short bursts.
    • Wipe pages if sweaty hands smudge.

    Stays comfortable, even on overnight trains.

    Long-Term Storage Tips

    Home, I wrap in paper, store flat. Dust-free shelf spot.

    • Add protective cover if humid.
    • Flip through monthly to relive.

    Keeps it practical, not forgotten.

    Final Thoughts

    Start with one trip. Use these steps loosely at first.

    You'll build the habit. Confidence grows with each neat page.

    Your memories stay clear, trips feel lighter. Simple as that.

  • How To Write A Travel Journal You Will Treasure

    How To Write A Travel Journal You Will Treasure

    I remember landing home from Italy, staring at photos, drawing a blank on half the days. Names of streets, tastes of meals—they faded fast. Trips blurred into one forgettable loop.

    I started jotting notes mid-trip. Simple stuff. It changed everything.

    Now, those pages pull me back. Clear, real. No more fuzzy regrets.

    How To Write A Travel Journal You Will Treasure

    This guide walks you through my simple way to capture a trip so it stays sharp and personal. You'll end up with a journal that feels like reliving the days, not just remembering them. It's straightforward. Anyone can do it.

    What You’ll Need

    Step 1: Pick Your Journal and Settle In

    I grab my Moleskine the night before leaving. Flip through blank pages. Feel its weight. This sets a calm tone—no rushing later.

    Why? A good journal invites you in. It changes vague plans into something tangible. People miss how the cover's texture grounds you amid airport chaos.

    Skip oversized ones. They bulk your bag. Start with the first page: date, flight details. Mistake avoided: don't overthink supplies. Use what fits your hand.

    Step 2: Log the Day's Frame Before You Dive In

    Right after settling—plane, train, hotel—I note basics: time landed, weather outside, what I packed that pinched. Takes two minutes.

    This frames the day. Shifts your mind from stress to presence. Most skip it, then mix up sequences later.

    Insight: it catches small comforts, like that perfect window seat. Avoid forcing full sentences. Bullets work. Keeps it light.

    Step 3: Capture Senses and Choices Mid-Day

    Mid-morning or lunch, I pull it out. Jot smells—bread baking—sounds—kids laughing—choices, like that left turn to the market.

    It makes the trip alive. What changes: memories stick through details, not just sights. Travelers miss tastes; they fade fastest.

    Tuck a ticket stub, tape it down. Don't write novels. One line per sense. Error: waiting till night. Details blur.

    Step 4: Add One Photo Cue and Reflection at Dusk

    As light fades, snap one photo. Paste or note it: "This arch, because shadows hit just right." Then, one line: what surprised me.

    This ties visuals to feelings. Journal feels balanced now. Common miss: no "why." It deepens later reads.

    Use the pouch for prints. Avoid digital-only. Screens forget. Keeps momentum without overwhelm.

    Step 5: Review Weekly and Seal It

    End of week, scan pages. Draw a line under. Note patterns—like best walks. Seal with washi across the spine.

    It cements the trip. What shifts: loose notes become a story. People overlook this; journals gather dust otherwise.

    Don't edit. Raw is best. Mistake: perfectionism. Just close it. You'll treasure the honesty.

    Handling Long Trips Without Burnout

    I once journaled a three-month hike. Kept it simple by themes, not daily.

    • Rotate colors of washi for months.
    • Skip days that blur; double up next.
    • Pack light—pen on cord stays handy.

    It stays comfortable. No pressure builds.

    Making It Work for Short Getaways

    Weekends demand quick hits. I focus on anchors.

    Morning: one choice noted.
    Evening: sense snapshot.
    Pack the pouch for wet hikes.

    Feels intentional, not forced. Memories punch harder.

    Reviving Old Journals at Home

    Post-trip, I revisit monthly. Pull one page, relive.

    • Brew the coffee from there.
    • Trace a route on map.
    • Share a line with a friend.

    Keeps trips alive. Practical way to extend the feel.

    Final Thoughts

    Start tonight. Grab a notebook. Jot last week's walk. Small wins build.

    You'll trust it soon. Trips won't slip away.

    The real gift: pages that bring back your calm choices. Worth carrying.

  • 24 Genius Travel Bag Essentials For Stress-Free Trips

    24 Genius Travel Bag Essentials For Stress-Free Trips

    I’ve learned the hard way that a trip goes sideways long before flight delays or bad weather — it’s in what I packed and where I put it. Overstuffed bags, leaky bottles, and tangled cables multiply small annoyances into a miserable travel day.

    This list is what I actually reach for when I’m rushing to pack. These travel bag essentials saved me time at checkpoints, headaches in hostels, and the scramble for replacement gear in foreign pharmacies.

    Use this as a practical checklist, not aspirational gear envy. It covers organization, comfort, security, and the small tools I always regret leaving behind.

    24 Genius Travel Bag Essentials For Stress-Free Trips

    These 24 practical travel bag essentials are the exact items I pack for carry-on or checked luggage trips. I focused on things that cut real friction: saving space, handling peeves, and keeping you moving when plans change. Expect 24 clear, usable ideas — each with what to buy and why it matters.

    Carry-On Backpack That Actually Meets Airline Rules (a core travel bag essential)

    I always start with a carry-on that truly fits airline limits. I’ve learned to measure and test it at home — not trust “personal item” claims. A good pack has a clamshell opening, a laptop sleeve, and external pockets for quick access.

    Pick one with durable zippers and a pass-through strap for the rolling case. I avoid compression-only bags that hide fragile contents. The right bag removes decision fatigue at check-in and keeps essentials reachable when plans change.

    Why It Makes the List

    • Keeps essentials organized and accessible.
    • Prevents last-minute gate-checking.
    • Useful for both short trips and long-term travel.

    What You’ll Want for This

    Compression Packing Cubes That Keep Everything From Becoming a Mess

    Packing cubes changed how I travel. I stop digging for a clean shirt at 7 a.m. and start pulling the right cube instead. Use different cube sizes and colors for underwear, shirts, and dirty clothes.

    Compression cubes help when you need to squeeze extra souvenirs into the bag. But don’t over-compress delicate items. The main mistake is folding everything flat; roll t-shirts and fold knits to avoid creases.

    Why It Makes the List

    • Keeps items visible and separated.
    • Saves space and reduces anxiety when unpacking.
    • Speeds up security checks if you remove toiletries cube by cube.

    What You’ll Want for This

    Leakproof Toiletry Kit With Refillable Bottles

    I once had a shirt ruined by shampoo leaking deep in my checked bag. Now I use a dedicated, leakproof toiletry kit and refillable bottles labeled with a sharpie. Keep liquids under 100 ml if you’re carry-on only.

    Choose a bag with a waterproof lining and an external pocket for wet swimwear or receipts. The underrated move: pack a small roll of plumber’s tape for leaky caps; it saved me in Morocco.

    Why It Makes the List

    • Stops leaks from ruining clothes.
    • Lets you breeze through TSA with pre-measured liquids.
    • Keeps daily items consolidated for quick hotel stays.

    What You’ll Want for This

    Universal Travel Adapter With USB Ports

    A universal adapter is the only thing I buy once and then rely on for years. Don’t buy cheap knockoffs; get one with fused protection and at least two USB ports. If it supports USB-C PD, you can charge laptops faster.

    I keep the adapter in the top pocket for quick coffee-shop charging. The common mistake is assuming hotels will have the right plug; they rarely do, even in supposedly modern places.

    Why It Makes the List

    • Lets you charge multiple devices safely.
    • Reduces the need for local buys.
    • Easier than hunting for compatible plugs at 2 a.m.

    What You’ll Want for This

    Compact High-Capacity Power Bank

    Dead phones ruin spontaneous plans. I carry a compact power bank with 20,000 mAh: enough for multiple charges without being a brick. Pick one that supports fast charging and USB-C in/out.

    I charge it nightly in hostels or during long travel days. I avoid cheap batteries that die fast or get flagged at airports. Keep the power bank in your carry-on — airlines prohibit these in checked luggage.

    Why It Makes the List

    • Keeps devices powered during long transit.
    • Avoids emergency charger hunts.
    • Useful for maps, translation, and boarding passes.

    What You’ll Want for This

    Lightweight Foldable Daypack for Daily Runs

    I don’t want my main bag everywhere. A foldable daypack fits inside and becomes my daily carry for markets, museums, and hikes. Look for water-resistant fabric and a zippered pocket for valuables.

    If you’ll be on guided tours or day trips, having a separate bag avoids dragging your full pack. Don’t underestimate padding — thin straps can hurt on long days.

    Why It Makes the List

    • Keeps daily essentials contained and light.
    • Saves your main bag from extra wear.
    • Handy for unexpected detours or last-minute purchases.

    What You’ll Want for This

    RFID-Blocking Neck Wallet or Slim Money Belt

    Pickpockets love crowds and open bags. I use a slim RFID-blocking neck wallet when I’m in busy transit hubs. It’s subtle and keeps my passport, cards, and emergency cash safe.

    Wear it under a shirt or jacket. The common mistake is storing everything in a back pocket or outer bag. If you have to use a hotel safe, still keep a photocopy of your passport elsewhere.

    Why It Makes the List

    • Protects documents and cards in crowded places.
    • Lowers stress on trains and markets.
    • Easy to stow under clothing and forget about.

    What You’ll Want for This

    Noise-Cancelling Earbuds or Headphones

    Sleepless flights and noisy hostels test patience. I carry compact noise-cancelling earbuds for flights and shared rooms. They make naps possible and block out snoring or train noise.

    Battery life matters — ensure the case charges quickly and carries extra charges. Cheap earbuds often lose connection during transit and are more stress than help.

    Why It Makes the List

    • Helps sleep and focus in noisy environments.
    • Reduces travel fatigue.
    • Useful for audio guides and calls.

    What You’ll Want for This

    Basic First-Aid Kit and Common Meds

    I learned that a blister kills a walking day. A tiny first-aid kit with plasters, blister pads, antihistamine, and painkillers lives in my bag. Include any prescription meds with copies of prescriptions.

    Pack items in a waterproof pouch and refresh after each trip. The mistake is assuming you can buy these easily abroad — you can, but not always in rural areas or on holiday weekends.

    Why It Makes the List

    • Keeps minor medical issues from derailing plans.
    • Saves time and money in places with limited pharmacy hours.
    • Compact and often lighter than buying replacements.

    What You’ll Want for This

    Packable Waterproof Rain Jacket With Hood

    Rain always arrives when plans are tight. I pack a lightweight, packable rain jacket with a hood that fits over a sweater. It’s lighter than an umbrella and won’t blow inside out.

    Make sure it’s breathable — otherwise you sweat and then shiver. The mistake is bringing bulky outerwear that you don’t end up using. A compressible jacket slips into a packing cube.

    Why It Makes the List

    • Keeps you dry without adding much weight.
    • Useful for sudden downpours and windy city days.
    • Packs small into outer pockets for easy access.

    What You’ll Want for This

    Quick-Dry Microfiber Towel

    Hostels and spontaneous swims require a towel that dries fast. Microfiber towels pack small and dry overnight. I keep a medium-size one in my daypack for beaches or sweaty hikes.

    Avoid giant hotel towels; they’re heavy and slow to dry. The common mistake is assuming laundry will be frequent — I wash small items by hand, and a good towel is essential.

    Why It Makes the List

    • Dries quickly and takes little space.
    • Doubles as a picnic blanket or scarf in a pinch.
    • Cuts laundry time on long trips.

    What You’ll Want for This

    Comfortable, Breathable Travel Socks (and a Spare Pair)

    Your feet set the day’s tone. I always pack two pairs of high-quality socks for walking days. Pick breathable, quick-drying blends with arch support to avoid blisters.

    A thin liner plus cushioned sock works well in varying temperatures. People underestimate how much foot discomfort ruins plans — and how quickly a bad pair of socks can cause blisters.

    Why It Makes the List

    • Keeps feet comfortable on long walking days.
    • Reduces blisters and foot fatigue.
    • Easy to wash and dry overnight.

    What You’ll Want for This

    Travel Laundry Kit: Sink Soap, Line, and a Travel Sink Stopper

    I avoid extra baggage weight by washing essentials on the go. A small laundry kit with a travel soap bar, sink stopper, and retractable clothesline keeps shirts and underwear usable for days.

    Pack this kit in a waterproof pouch. The mistake is underestimating drying time; hang items where a fan or sun reaches them.

    Why It Makes the List

    • Saves space and money on long trips.
    • Prevents overpacking.
    • Lets you extend outfits without laundry services.

    What You’ll Want for This

    Shoe Bag or Compression Shoe Sack

    Dirty shoes are a suitcase nightmare. A simple shoe bag separates mud and smells from clothes. I use one for daily trainers and a second for dress shoes.

    Look for bags with a ventilated panel. The mistake is stuffing shoes into corners of the main bag — they crush socks and spread grime.

    Why It Makes the List

    • Protects clean clothes from dirt.
    • Keeps footwear organized and accessible.
    • Small investment, big cleanliness payoff.

    What You’ll Want for This

    Lightweight Travel Blanket or Large Multipurpose Scarf

    Flights and cool evenings call for an extra layer. A thin travel blanket or large scarf packs small, doubles as a pillow, and covers shoulders in conservative sites.

    Choose materials that don’t smell after a day in a bag. I always pack one and have used it for warmth, privacy on overnight buses, and as a beach wrap.

    Why It Makes the List

    • Adds comfort without much weight.
    • Multi-use for warmth, privacy, or shade.
    • Small, easy to store in your bag.

    What You’ll Want for This

    Portable Luggage Scale So You Don’t Pay Surprise Fees

    I always weigh checked bags before leaving. Portable scales are cheap and spare you airport fines. Keep it in your pouch and weigh after packing gifts or new purchases.

    The common mistake is guessing weight — most suitcases hide pounds. A digital scale with a sturdy strap is more reliable than spring models.

    Why It Makes the List

    • Avoids surprise overweight fees.
    • Saves time repacking at the airport.
    • Gives confidence when buying gifts abroad.

    What You’ll Want for This

    Reusable Water Bottle (Collapsible or Insulated)

    Staying hydrated saves energy and prevents headaches. I carry an insulated bottle in cold climates and a collapsible one for city days when space matters. Fill at water stations to avoid buying single-use plastic.

    Note local water safety — bring a small filter bottle if you’re unsure about tap water. The mistake is relying on bottled water everywhere; it adds cost and waste.

    Why It Makes the List

    • Keeps hydration cheap and accessible.
    • Collapsible options save space.
    • Filters help in uncertain water conditions.

    What You’ll Want for This

    Travel Document Organizer — Not a Scrappy Plastic Folder

    Juggling boarding passes, confirmations, and tickets is easier with a slim document organizer. I keep passports, copies, and printed reservations in one zipped wallet. It sits by my hip in airports so I can access things without emptying the bag.

    Don’t cram every receipt — keep only what matters for the day. The mistake is trusting phone-only storage; battery failures happen.

    Why It Makes the List

    • Speeds up check-ins and border crossings.
    • Keeps documents secure and visible.
    • Reduces stress when you need quick access.

    What You’ll Want for This

    Compact Cable Organizer and Spare Cables

    I stopped frantically untangling cables with a small organizer. Include spare charging cables and a short USB-C cable for power banks. Label cables with tape if you share a bag.

    The real pain is lost cables at the last minute. Keep one in your daypack for coffee shops and one in checked luggage for backup.

    Why It Makes the List

    • Prevents cable chaos and lost cords.
    • Keeps chargers ready for transit days.
    • Small cost for huge convenience.

    What You’ll Want for This

    Portable Door Lock or Travel Security Device

    I once felt uneasy in a cheap guesthouse; a portable door lock gave me real peace. These devices add an extra barrier on inward-opening doors. They’re lightweight and work in rentals or dorms.

    They don’t replace common-sense security, but they make solo travel nights calmer. The mistake is assuming hotel locks are always solid.

    Why It Makes the List

    • Adds security in questionable accommodations.
    • Small, portable, and unobtrusive.
    • Gives psychological relief during solo travel.

    What You’ll Want for This

    Mini Sewing Kit and Travel Stain Pen

    Loose seams and coffee spills happen. A tiny sewing kit and stain pen buy you hours and avoid a ruined outfit. I stitch buttons back on in minutes and tackle spots before they set.

    Keep these in an easy-to-reach pocket. The mistake is leaving them behind and paying for expensive laundry or replacement clothes.

    Why It Makes the List

    • Fixes small clothing issues on the fly.
    • Saves outfits from being tossed.
    • Inexpensive and tiny.

    What You’ll Want for This

    Solid Toiletries: Shampoo Bars and Solid Sunscreen

    Solid toiletries save space and avoid liquid limits. I switched to a shampoo bar and a sunscreen stick for sunny days. They’re TSA-friendly and don’t leak.

    The only caveat: store bars dry between uses to avoid a soggy mess. The mistake is assuming solids aren’t as effective — good ones work just fine.

    Why It Makes the List

    • Reduces liquid weight and leaks.
    • Easier for carry-on travel.
    • Environmentally friendlier and durable.

    What You’ll Want for This

    Compact Travel Umbrella That Doesn’t Flip Inside Out

    Cheap umbrellas collapse in wind. I use a compact, windproof model that stands up to gusts in coastal cities. It’s heavier than the flimsies, but worth it for comfort.

    Store it in an outer pocket for sudden storms. The common error is relying on hotel umbrellas, which are rarely available.

    Why It Makes the List

    • Keeps you dry and mobile in bad weather.
    • More reliable than cheap models.
    • Packs small but saves a day.

    What You’ll Want for This

    Compact Travel Pillow That Actually Works

    A good travel pillow makes naps comfortable. I use a compressible memory-foam pillow that packs down small. Avoid inflatable versions that deflate mid-sleep.

    Pick one with a washable cover. I’ve endured neck aches from cheap pillows; investing in one prevents stiff mornings.

    Why It Makes the List

    • Improves rest on planes and buses.
    • Packs small and cleans easily.
    • Reduces neck strain during long transit.

    What You’ll Want for This

    Emergency Snack Kit and Reusable Snack Bags

    Flights and ferries often have no decent food. I carry compact, high-calorie snacks and reusable snack bags for fruit or sandwiches bought on the go. They save you from overpriced airport food and hunger meltdowns.

    Rotate snacks so they don’t expire. The mistake is assuming food is easy to find in remote stops; it’s not.

    Why It Makes the List

    • Keeps energy up during long travel stretches.
    • Avoids overpriced or unavailable food options.
    • Reusable bags reduce waste and fit small spaces.

    What You’ll Want for This

    Lightweight Multi-Port Travel Charger (USB-C PD)

    I replaced multiple chargers with a single multi-port USB-C PD charger. It charges laptop and phone faster and clears outlets. Look for at least one USB-C PD port and a couple of USB-A ports.

    Keep short cables handy for a tidy setup. The mistake is packing multiple bulky chargers that crowd outlets and weight.

    Why It Makes the List

    • Charges multiple devices faster and cleaner.
    • Reduces cable clutter.
    • Saves space and outlet fights.

    What You’ll Want for This

    Lightweight Day Shoes That Pack Small

    Shoes take up too much space. I carry one versatile pair of lightweight walking shoes that pack small and handle city miles. They should be break-in ready before travel.

    Avoid brand-new shoes on long walking days. The mistake is bringing multiple heavy pairs and then not wearing half of them.

    Why It Makes the List

    • Saves space and reduces weight.
    • Keeps you comfortable during long walks.
    • One good pair covers most trip needs.

    What You’ll Want for This

    Final Thoughts

    These travel bag essentials reflect what I actually pack on repeat trips. They solve small, repeat problems: leaks, lost chargers, tired feet, and slow security lines.

    You don’t need every item here for every trip. Pick the ones that match your style, climate, and luggage limits. Pack smart, leave room for souvenirs, and travel with fewer surprises.

  • 27 Must-Try Carry On Bag Essentials List For Easy Packing

    27 Must-Try Carry On Bag Essentials List For Easy Packing

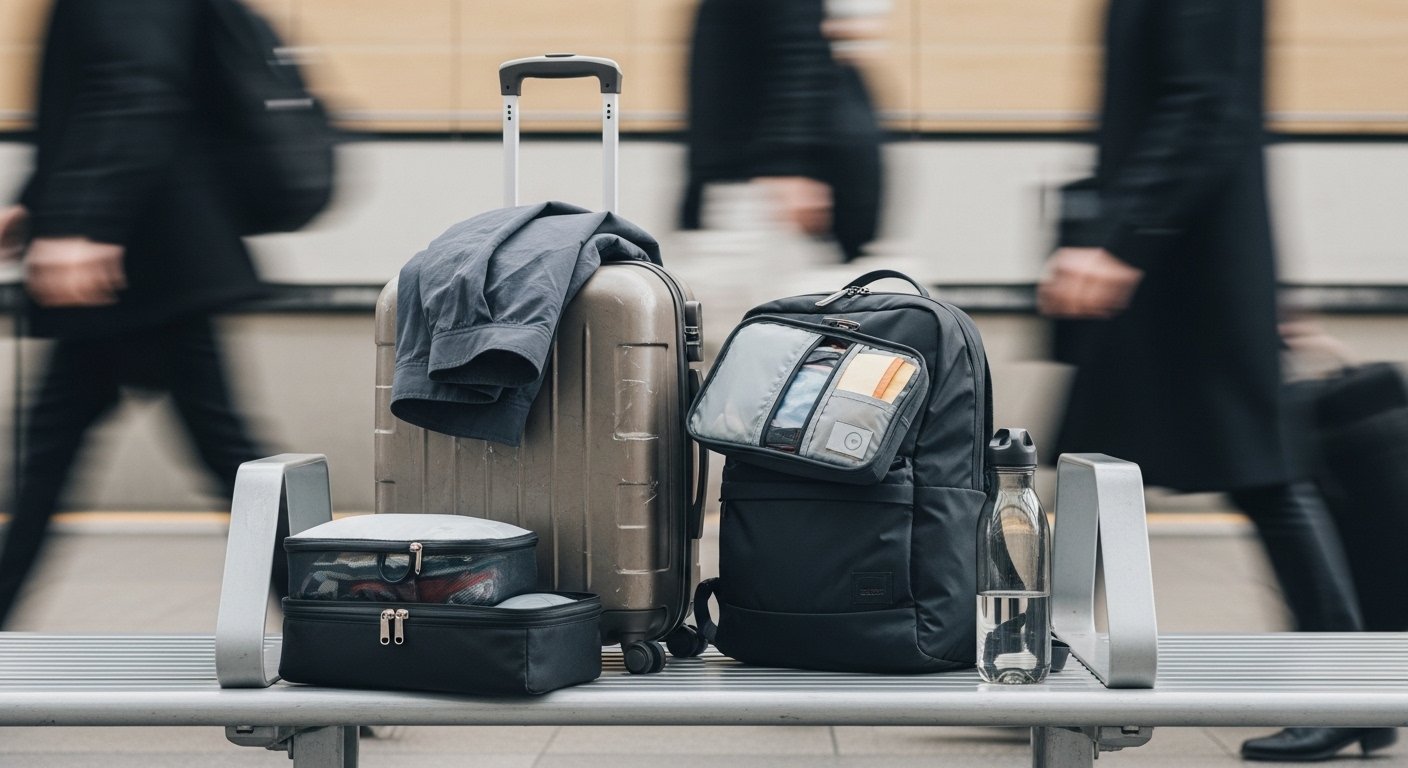
    I always overpacked until one delayed train and a tiny overhead bin taught me discipline. This carry on bag essentials list is what I wish I’d had on that trip.

    I write from trips where bags were opened mid-commute, hotel AC failed, and I needed a charger and a plan. These are practical items I actually reach for.

    Use this list to decide what to buy, what to skip, and how to fit it into one carry-on without getting stressed.

    27 Must-Try Carry On Bag Essentials List For Easy Packing

    These 27 items are the exact carry-on essentials I test on city trips, family weekends, and long flights. I include small product suggestions and packing notes so you can pick what matters. This is practical, not a random shopping spree. There are 27 clear items to help you pack smarter.


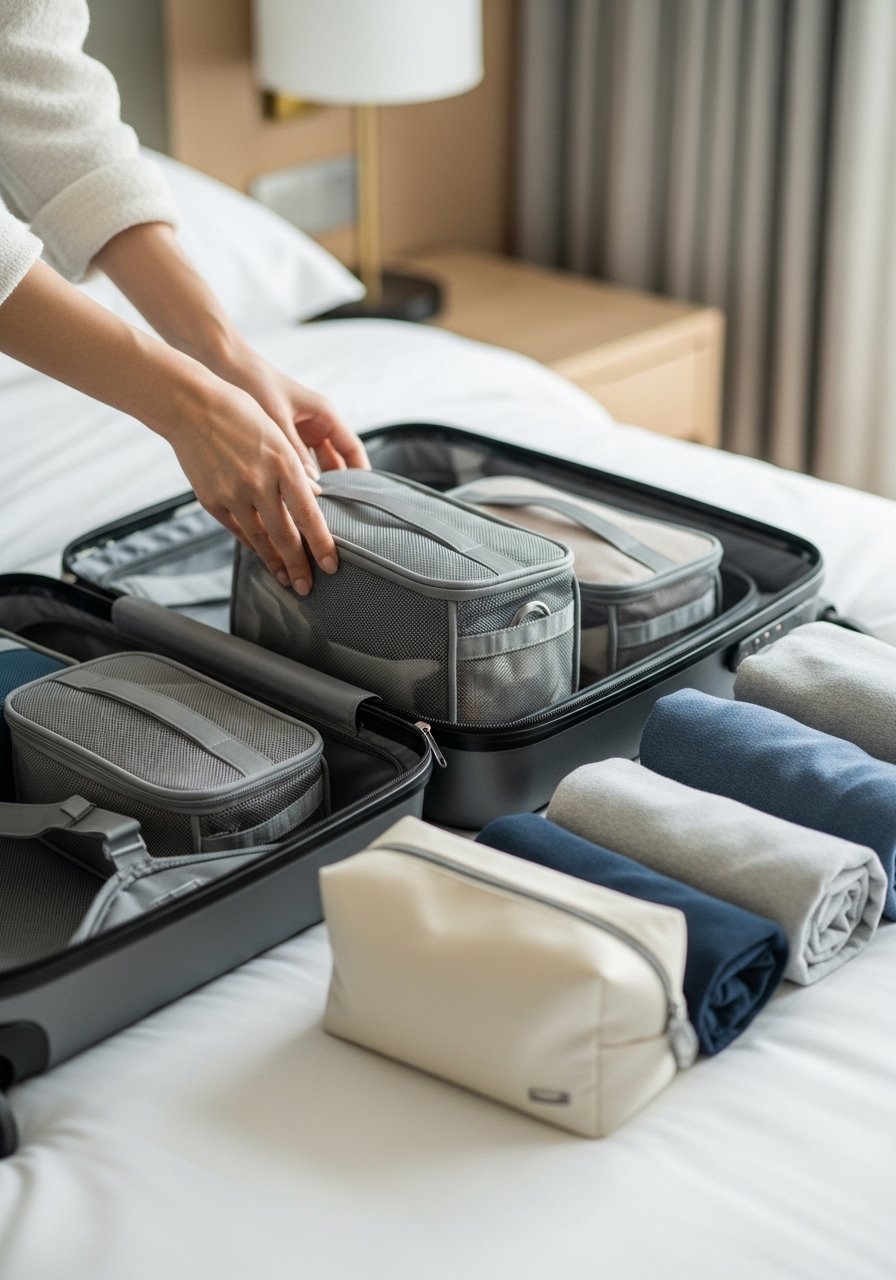
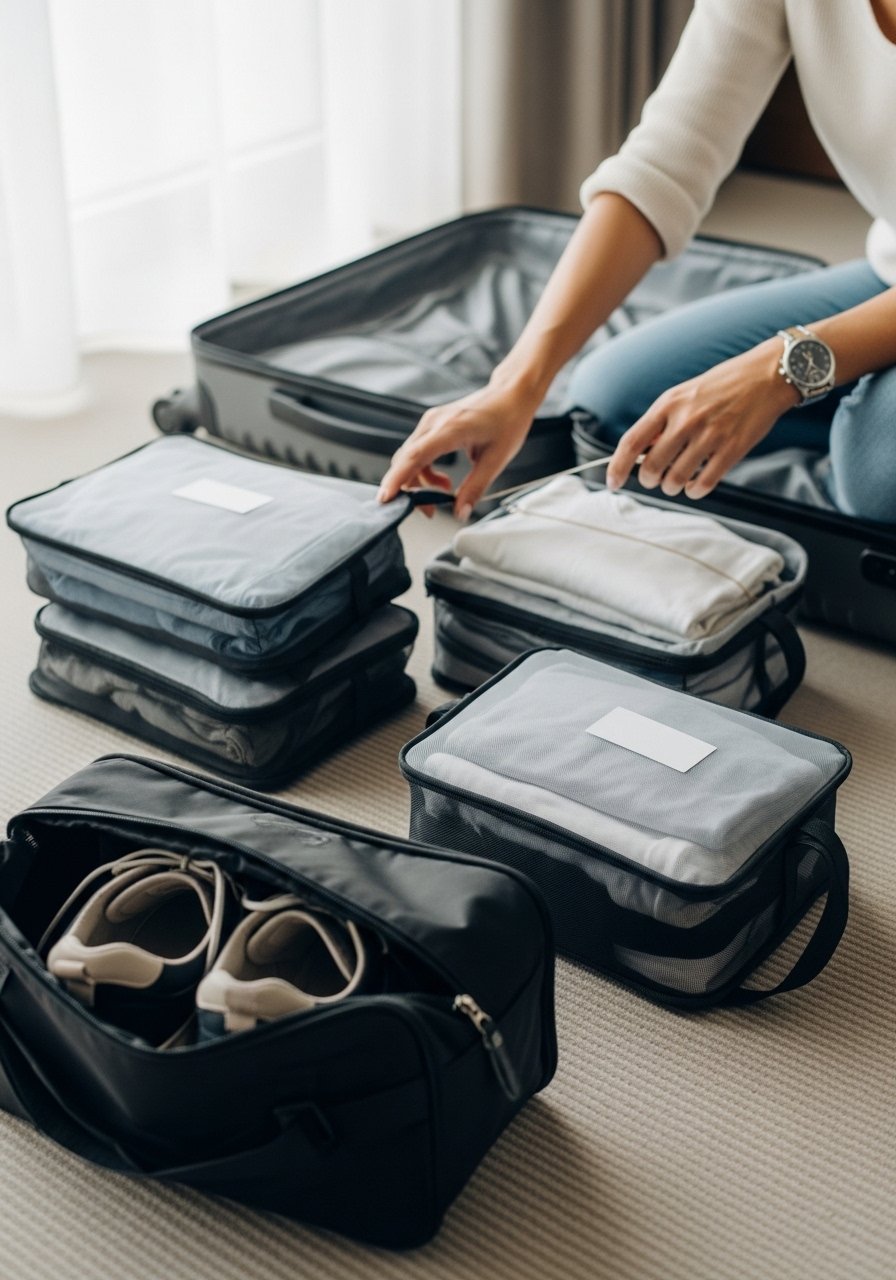
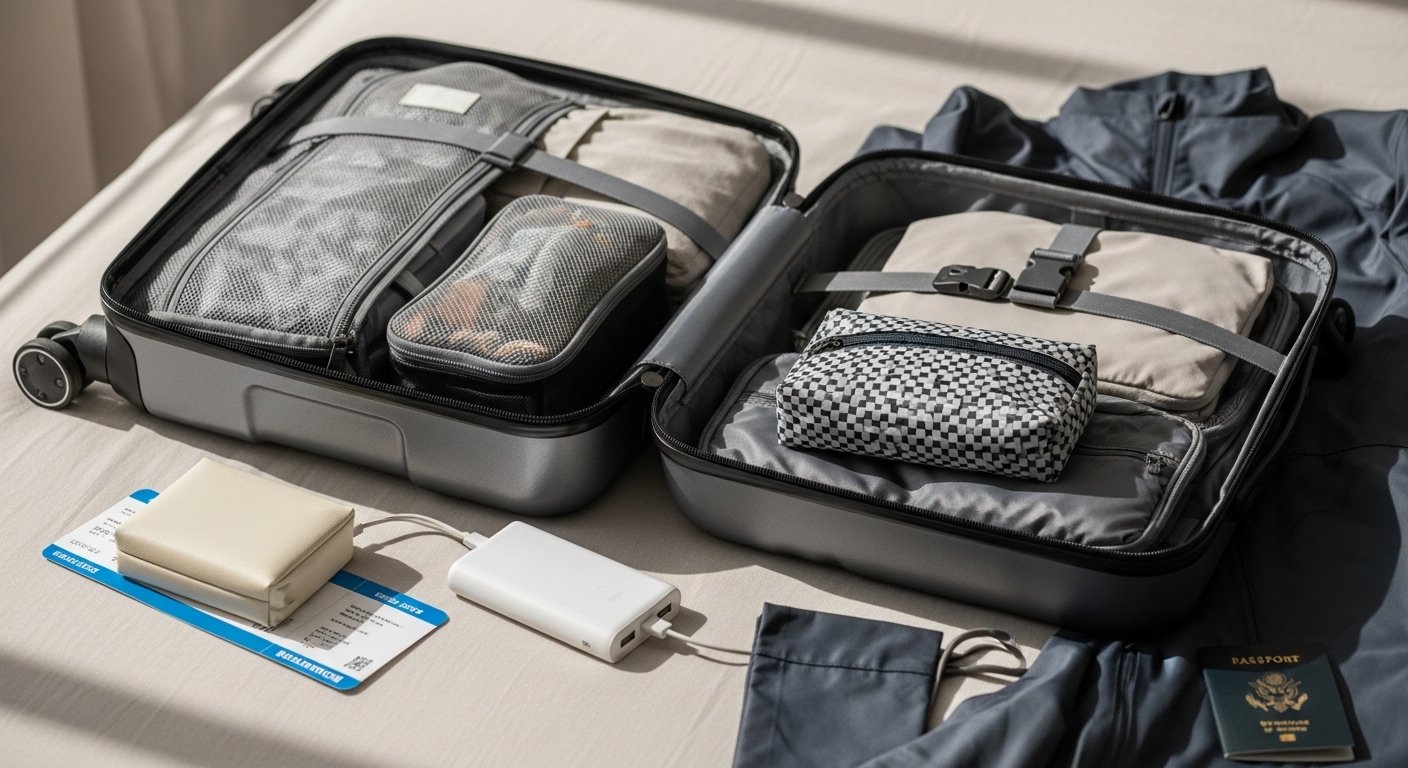
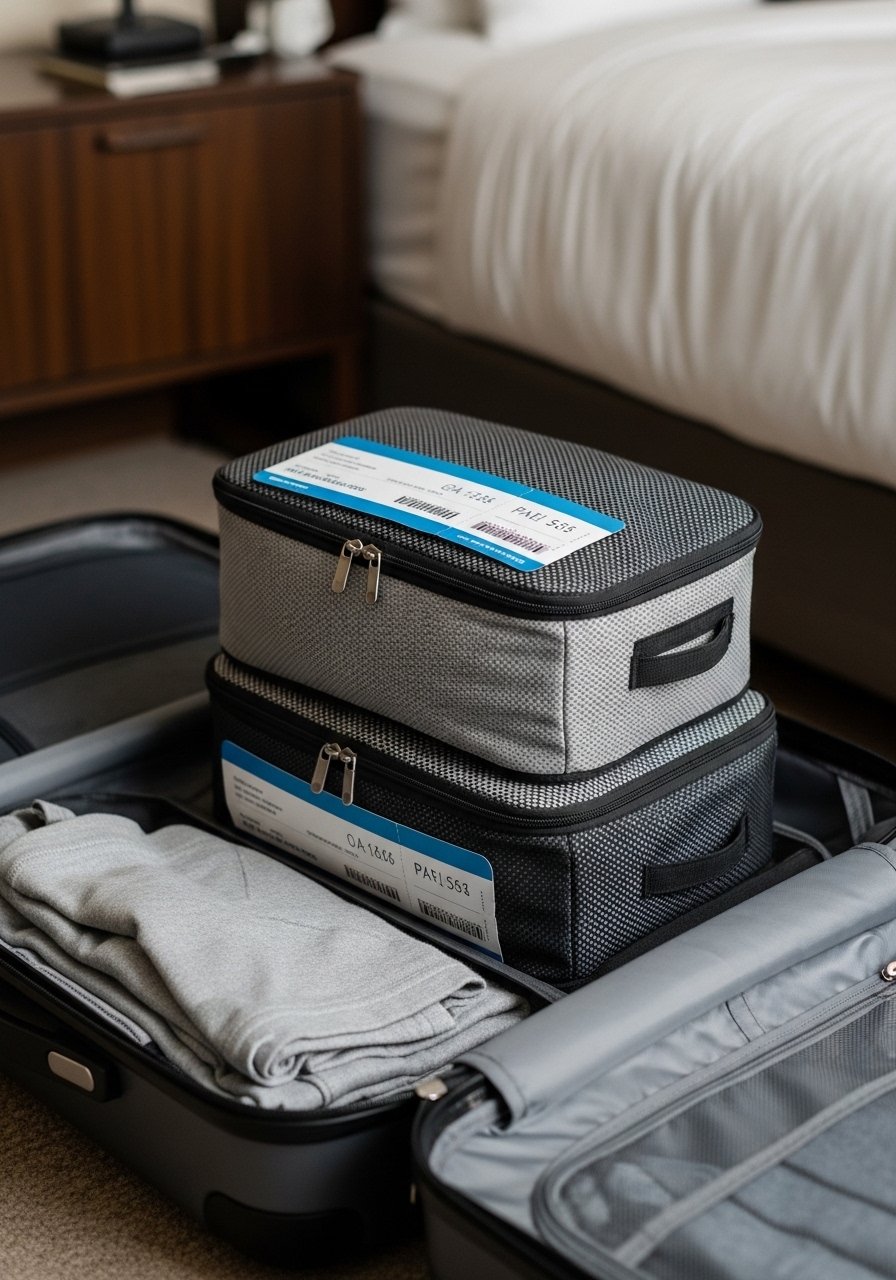
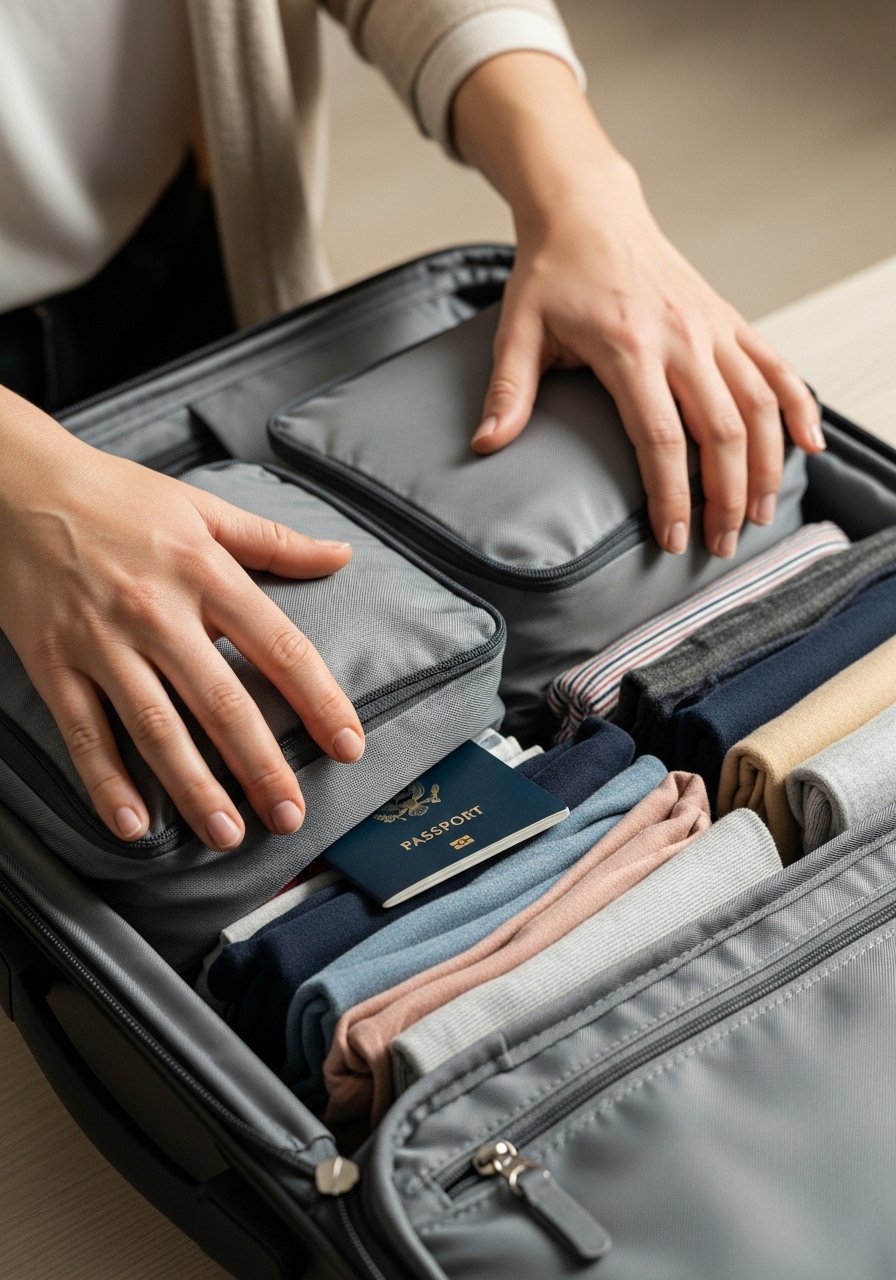
    1. carry on bag essentials list — Slim Packing Cubes That Keep a Carry-On From Becoming a Mess

    I stopped digging for socks when I started using slim packing cubes. I keep shirts, underwear, and tech cables in separate cubes. They compress enough that I can fit one more layer without overstuffing.

    Look for lightweight nylon with a firm zipper and a slim profile that matches carry-on dimensions. I avoid huge bulky cubes that waste space.

    Most people underestimate how much a few cubes speed up hotel mornings. They also make security checks faster when I need to pull out toiletries or electronics.

    Why It Makes the List

    • Keeps clothing organized and easy to refresh mid-trip.
    • Saves time when repacking or grabbing an outfit.
    • Prevents full-bag spills when I’m in a rush.

    What You’ll Want for This


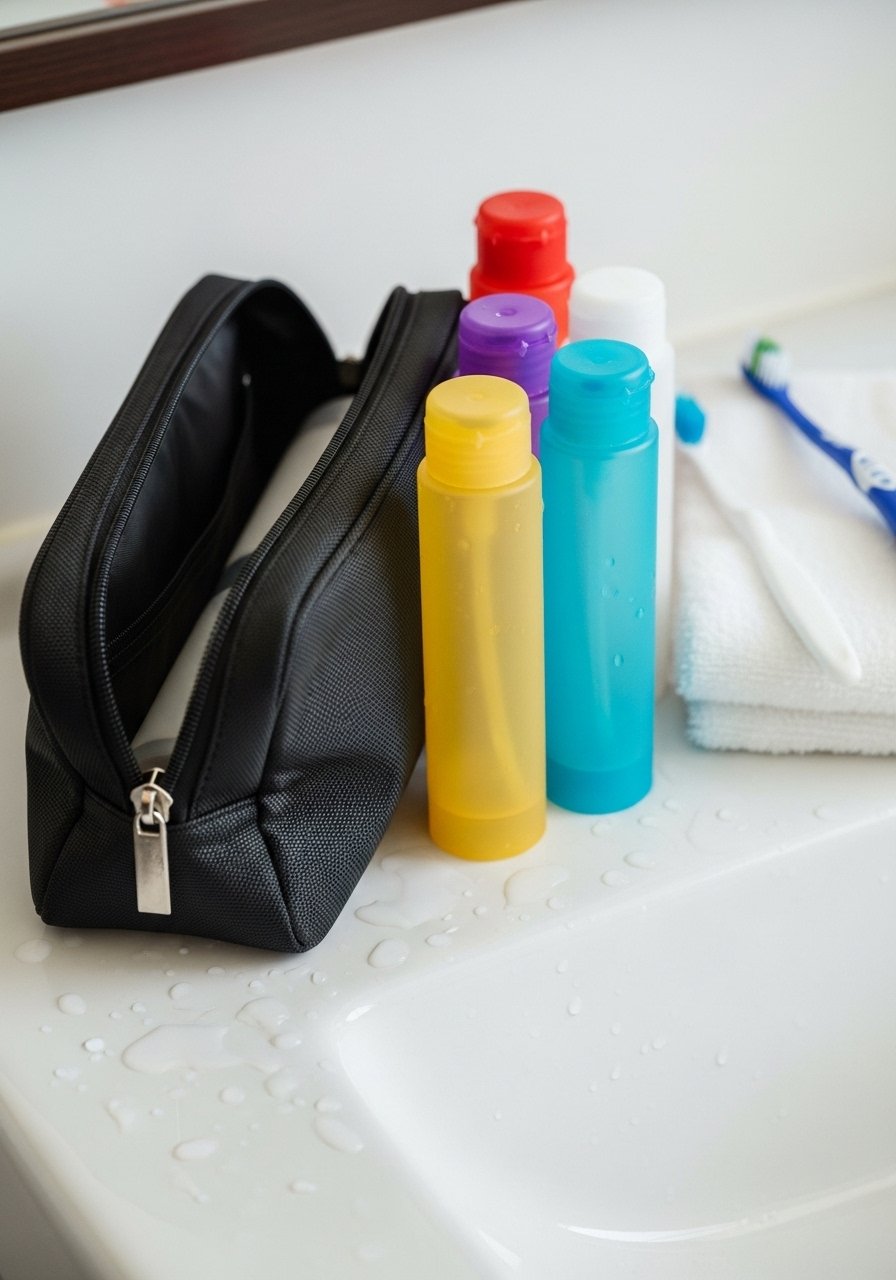
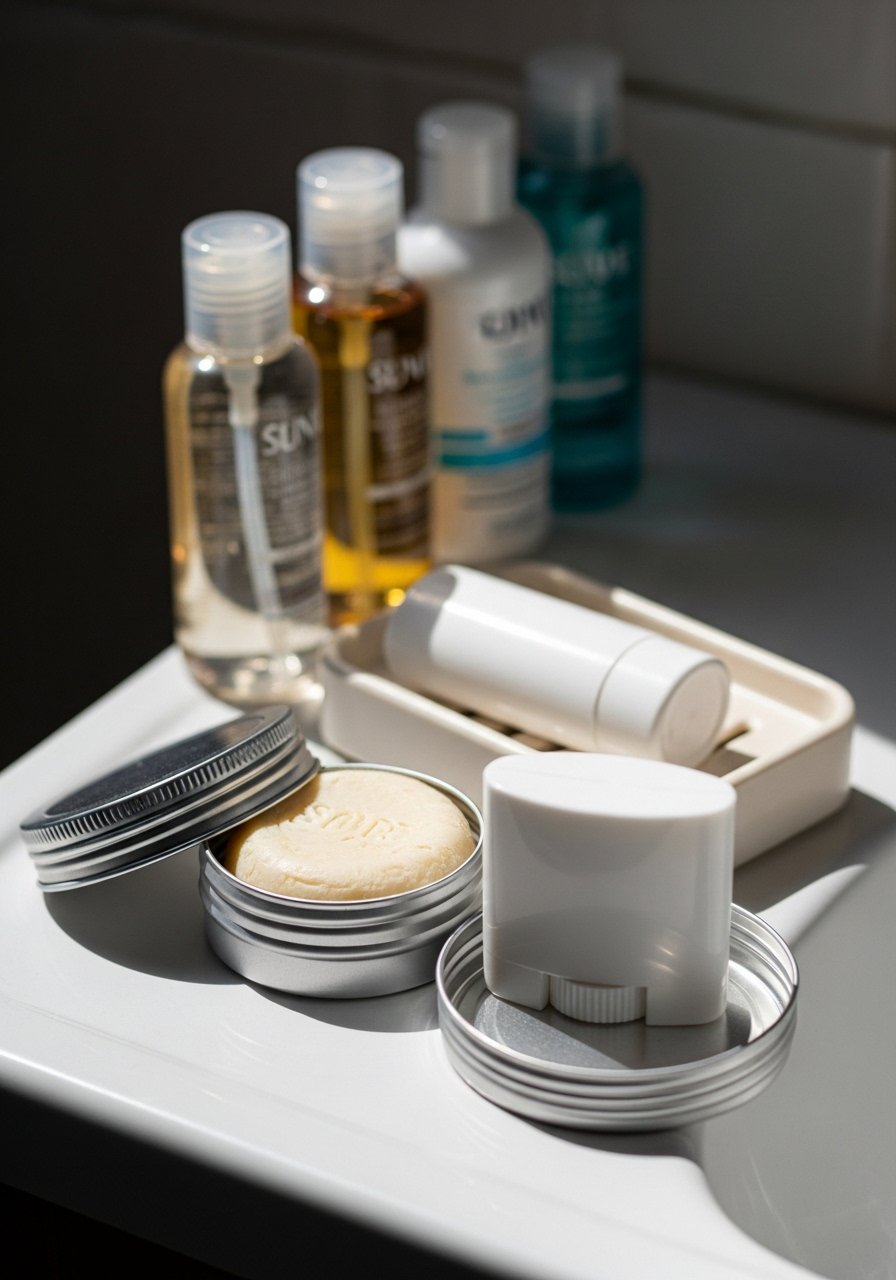
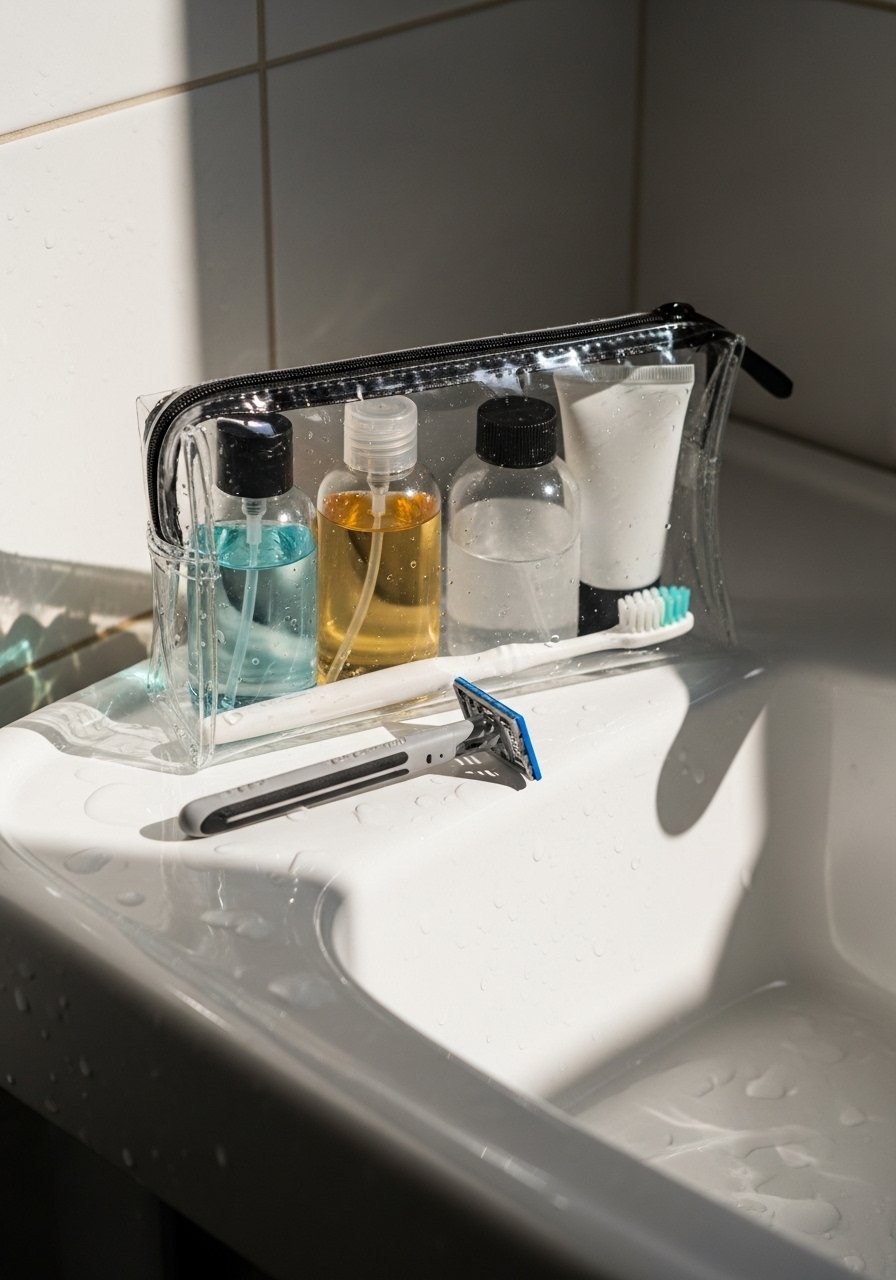
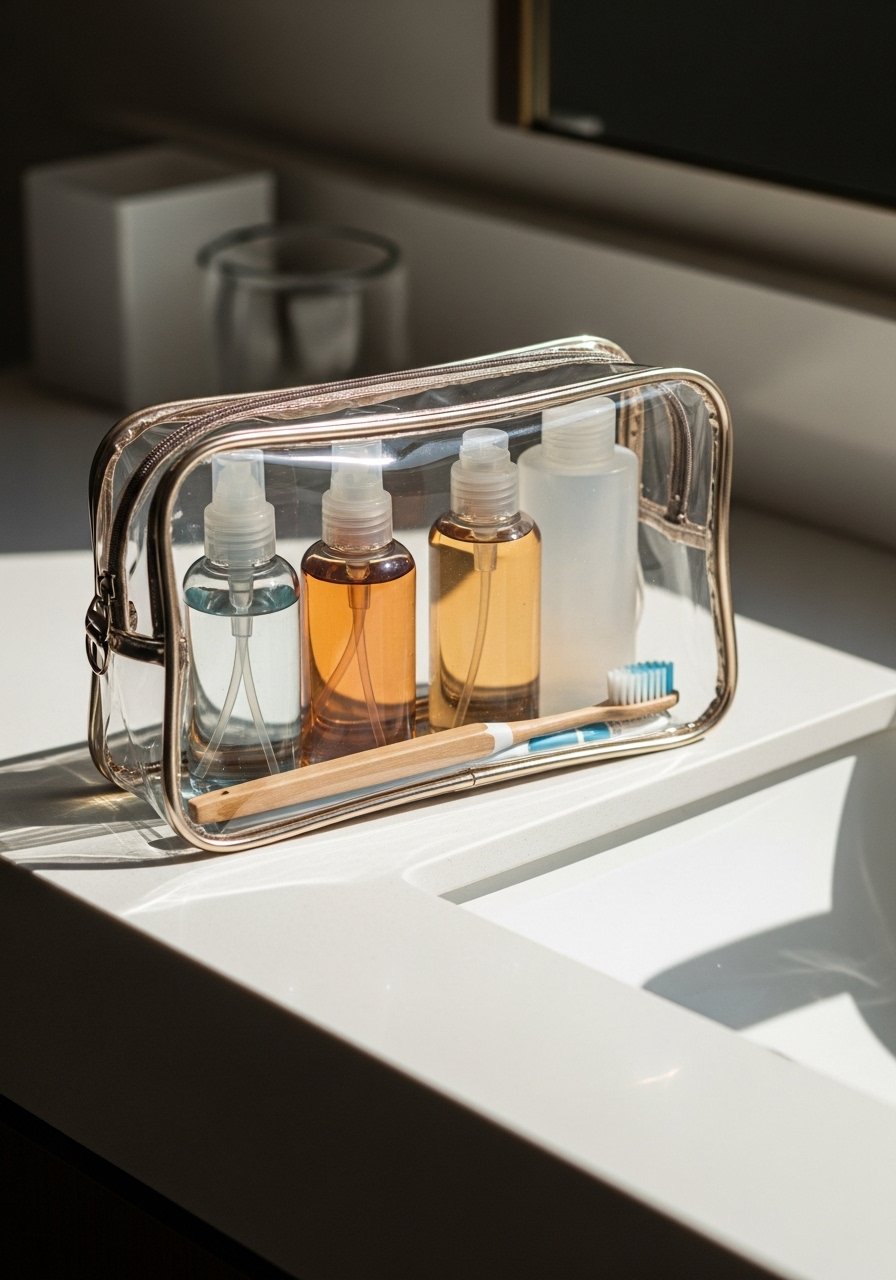
    2. TSA-Friendly Toiletry Kit with Leakproof Bottles

    I learned the hard way after a shampoo exploded in my bag. A clear, TSA-friendly pouch and solid leakproof bottles saved two trips since. I decant my daily liquids into 3–4 oz bottles and label them with masking tape.

    Pick bottles with tight twist caps and a silicone seal. Test them at home by shaking and tossing in a laundry basket.

    People often forget to put this pouch near the top of their carry-on. I find it again and again when I’m changing planes or heading straight to the hotel sink.

    Why It Makes the List

    • Prevents ruined clothes and electronics.
    • Speeds up security checks.
    • Keeps daily grooming simple on the road.

    What You’ll Want for This


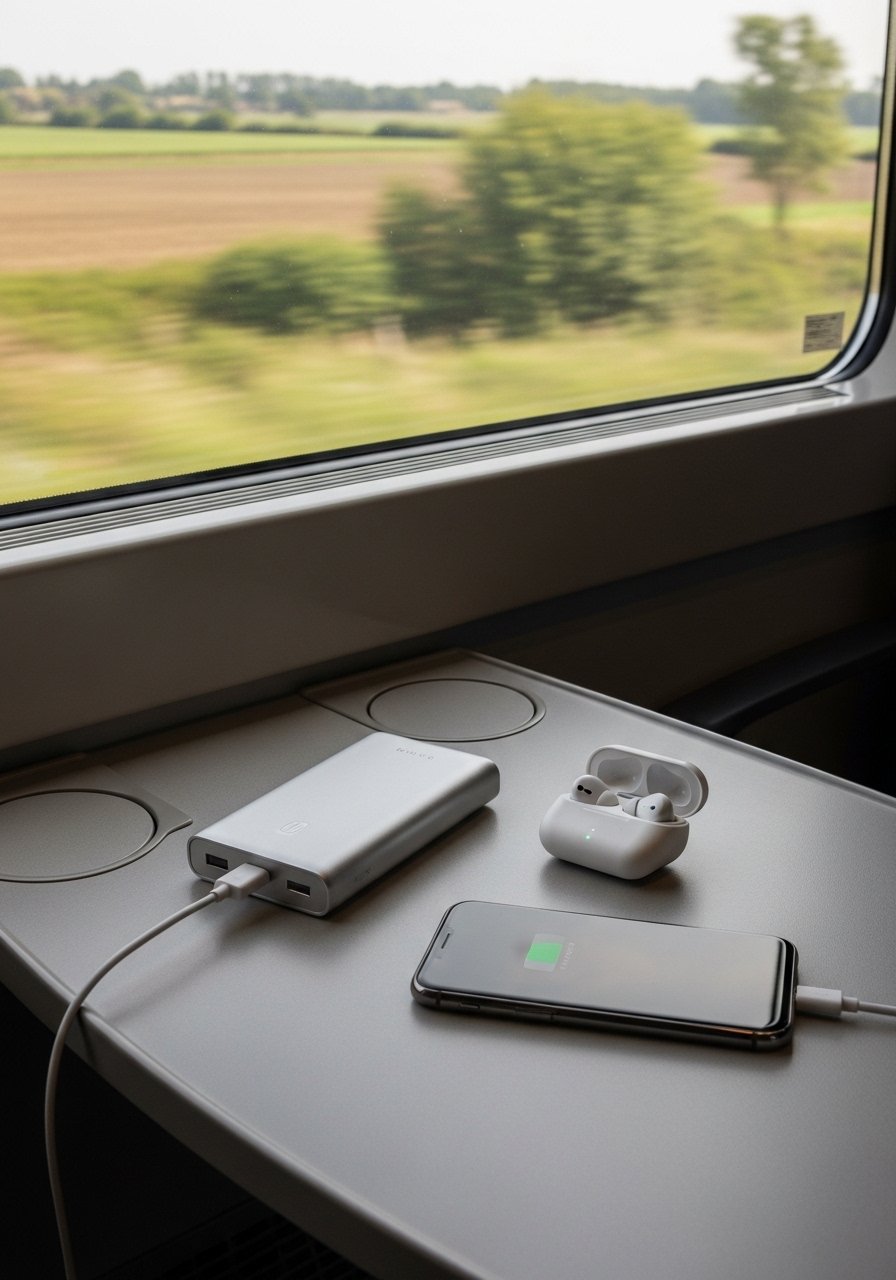
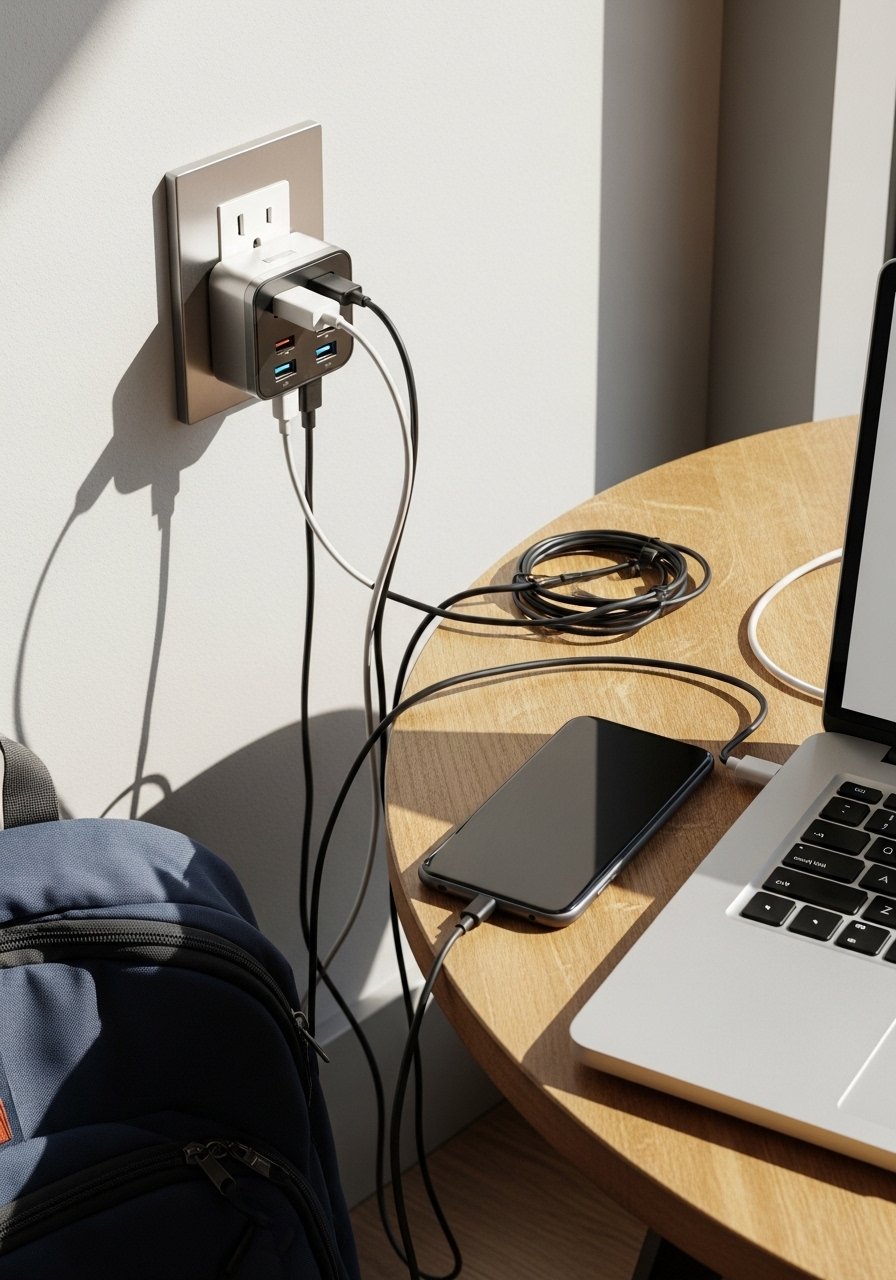
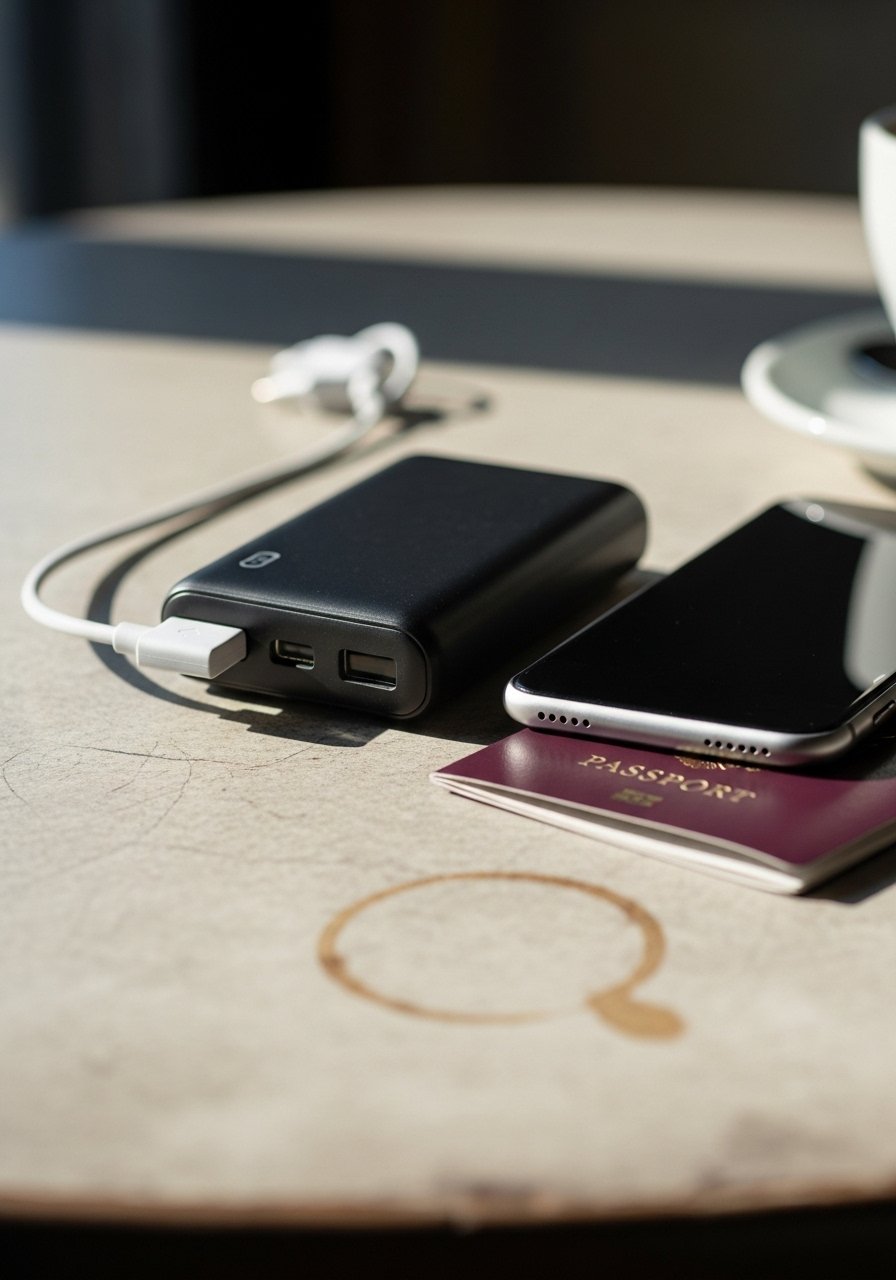
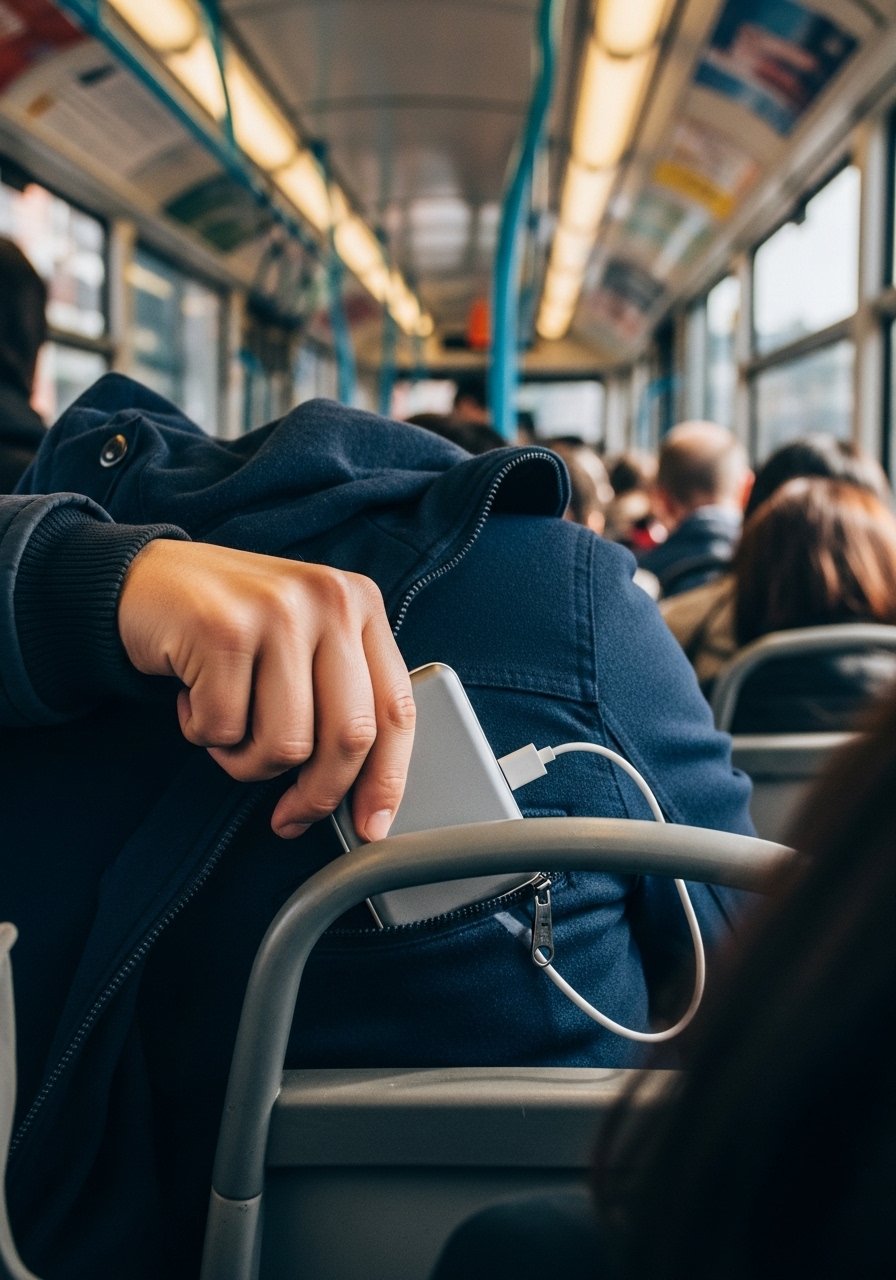
    3. Lightweight High-Capacity Power Bank That Actually Charges a Full Day

    On long travel days I run maps, podcasts, and photo backups. A slim 20,000 mAh power bank keeps my phone and tablet topped up. I stash it in a small external pocket for easy access during delays.

    Check airline rules for mAh limits. I choose a power bank that supports fast charging and has at least two outputs. That way a friend and I can share.

    Underestimating battery needs is common. I used to rely on one charge and then scramble for outlets in transit hubs.

    Why It Makes the List

    • Keeps devices alive during long legs and layovers.
    • lets you avoid hunting crowded charging stations.
    • Useful for sharing power with travel companions.

    What You’ll Want for This


    4. Compact Universal Travel Adapter (With USB Ports)

    I learned to carry one universal adapter after arriving in a country with only two-prong sockets. Pick a compact adapter that includes USB-A and USB-C ports. It saves space and reduces the number of chargers I carry.

    Avoid models without surge protection if you’ll charge cameras or laptops. I also look for models with a fuse or safety shutter.

    Many travelers bring adapters but not one with enough USB ports. I wish I’d known that hotels rarely have more than one outlet per room.

    Why It Makes the List

    • One tool works in multiple countries.
    • Reduces clutter of separate chargers.
    • Useful for charging phones and smaller devices simultaneously.

    What You’ll Want for This


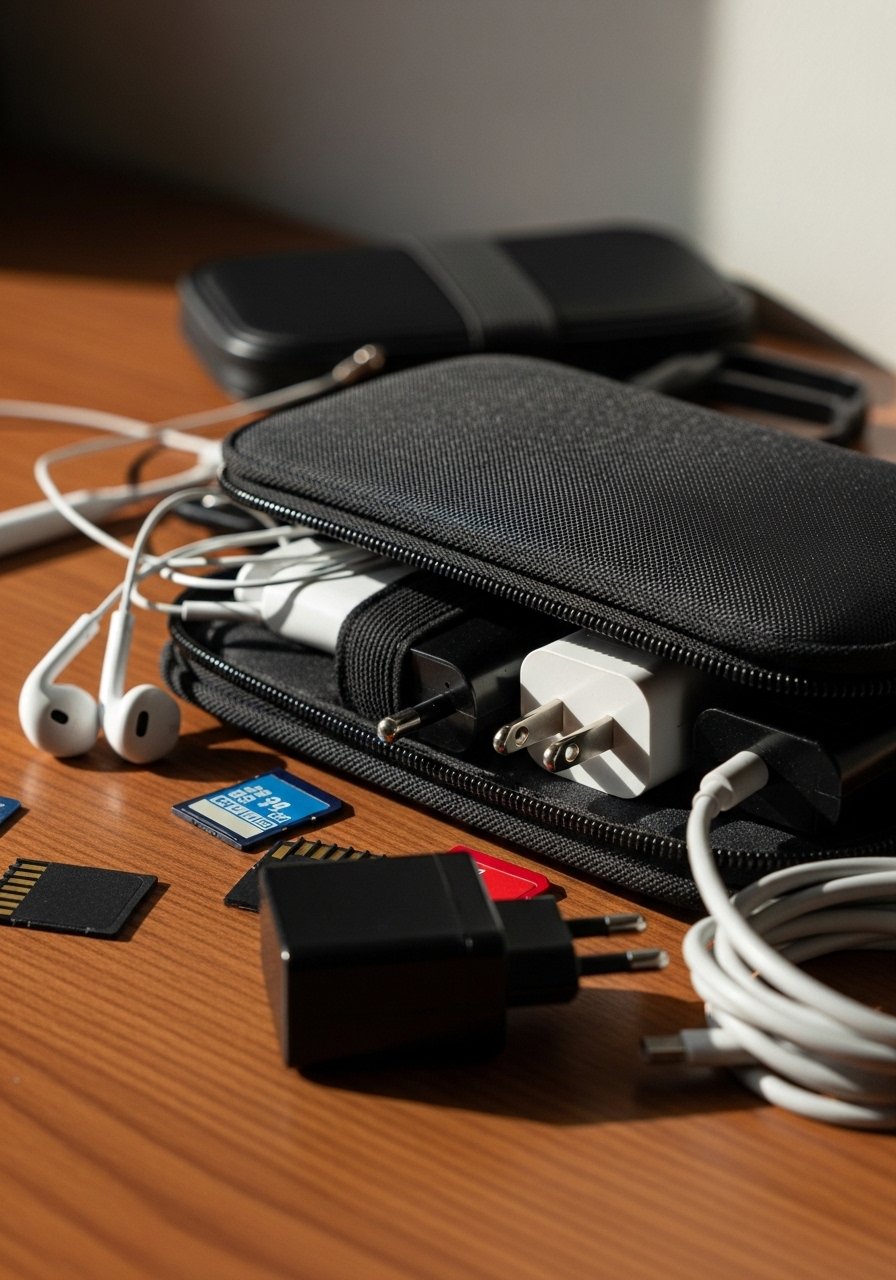
    5. Electronics Organizer Pouch for Cables and Small Gear

    I used to toss cables loose and spend ten minutes untangling them after every transit. An organizer with elastic loops and mesh pockets keeps chargers, spare batteries, and SD cards easy to find.

    I separate essential cables from extras. The essentials go in the top pocket so I can pull them out mid-flight. The rest stays packed.

    People often think a small ziplock will do. It won’t. A purpose-built pouch prevents crushed USB plugs and lost memory cards.

    Why It Makes the List

    • Saves time and reduces stress at security checks.
    • Protects fragile small electronics.
    • Keeps backup items accessible during travel.

    What You’ll Want for This


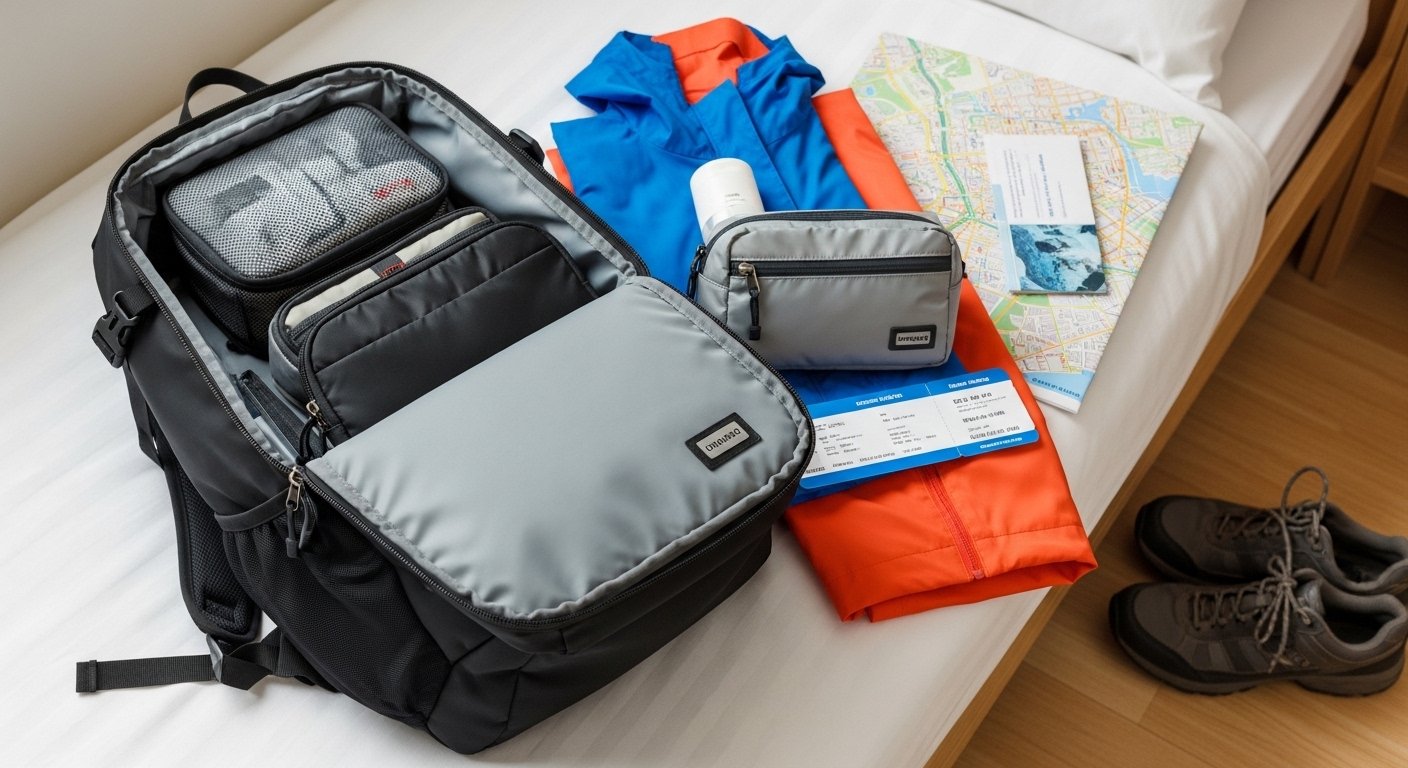
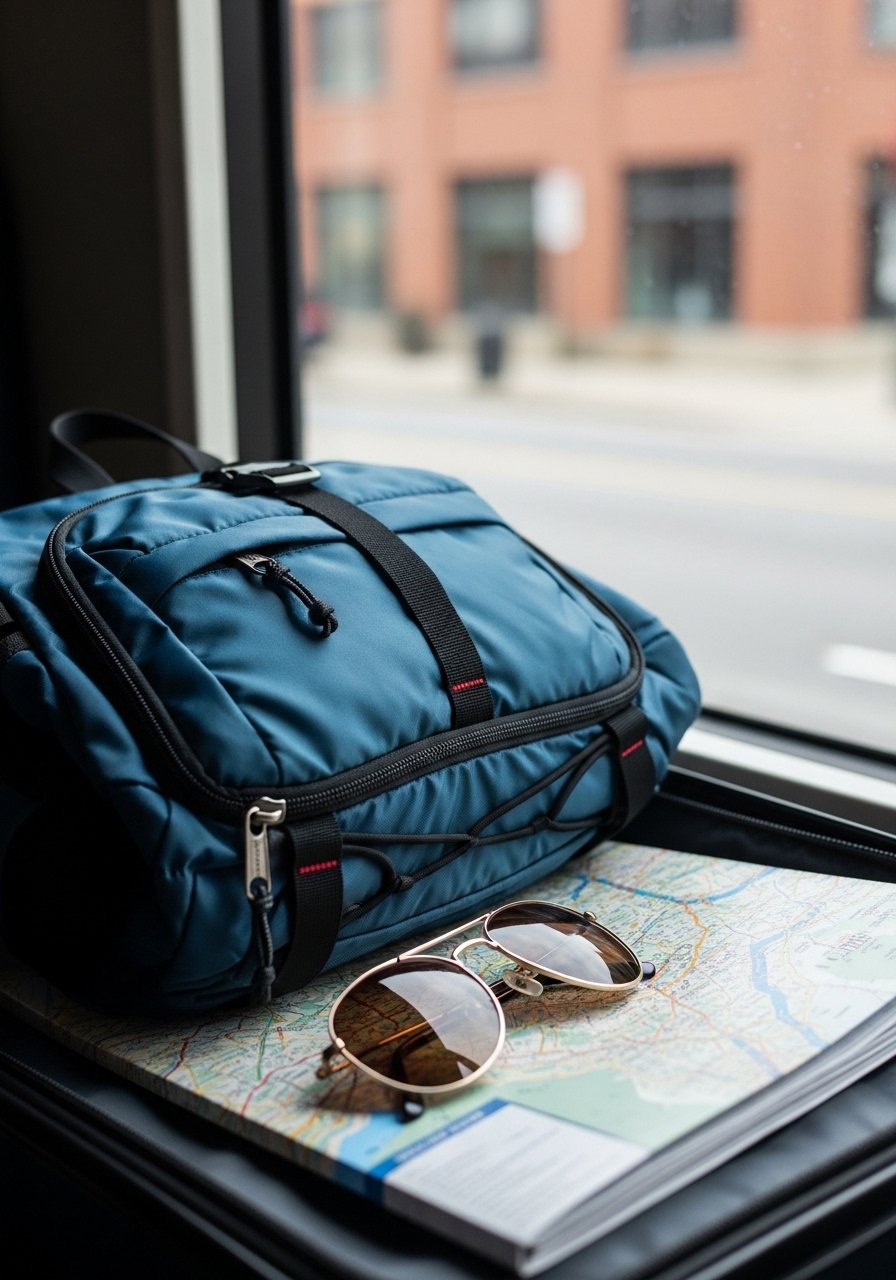
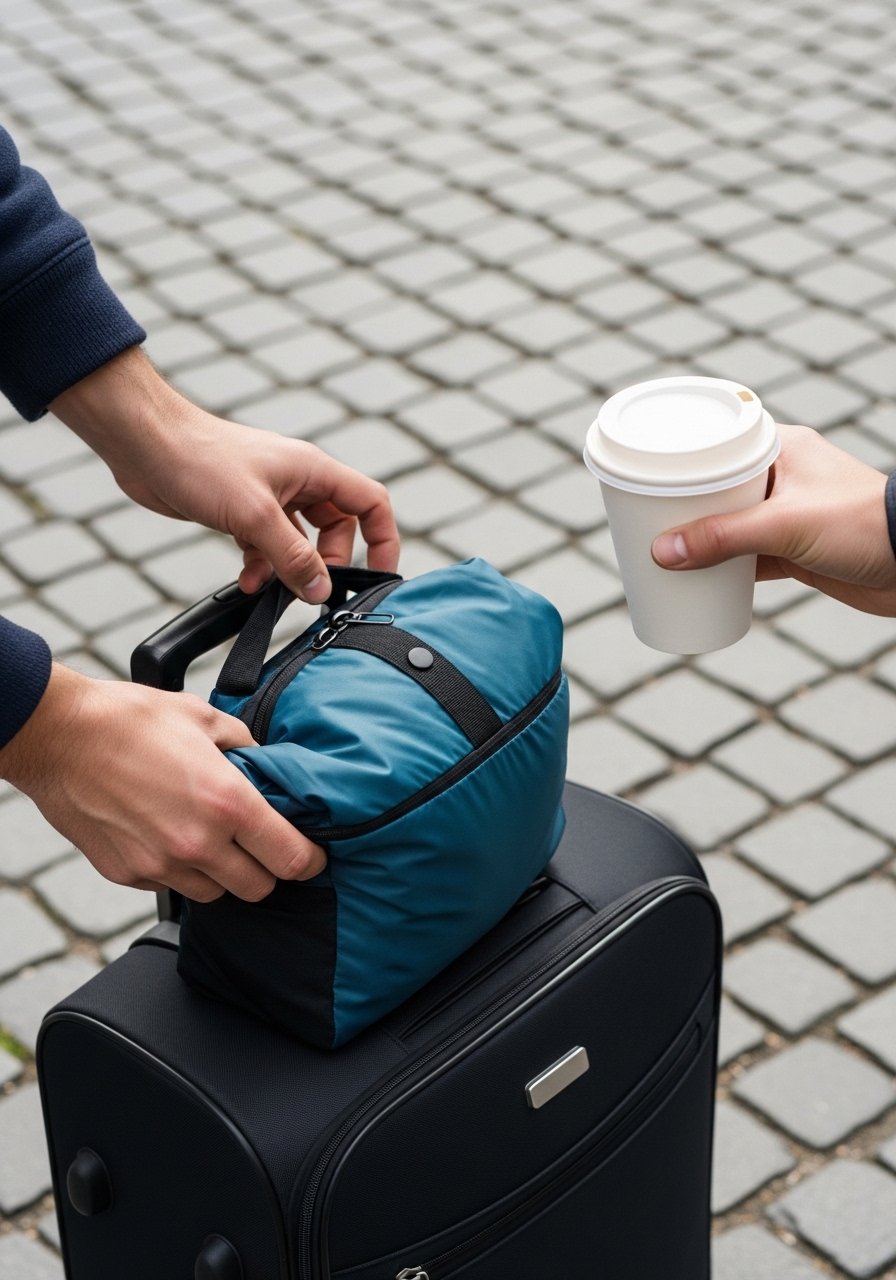
    6. Foldable Daypack That Fits Inside Your Carry-On

    When I arrive at a new city, I prefer a light daypack instead of my larger bag. A foldable daypack takes up minimal room and is perfect for museums, markets, or beach days.

    Look for water-resistant fabric and a padded back. A little zip pocket for your passport and phone is worth it.

    Many travelers forget to bring a small bag and end up carrying a heavy tote. A collapsible pack makes walking days far easier.

    Why It Makes the List

    • Provides flexible storage for daily outings.
    • Folds down to save space in the carry-on.
    • Useful for shopping and rainy days.

    What You’ll Want for This


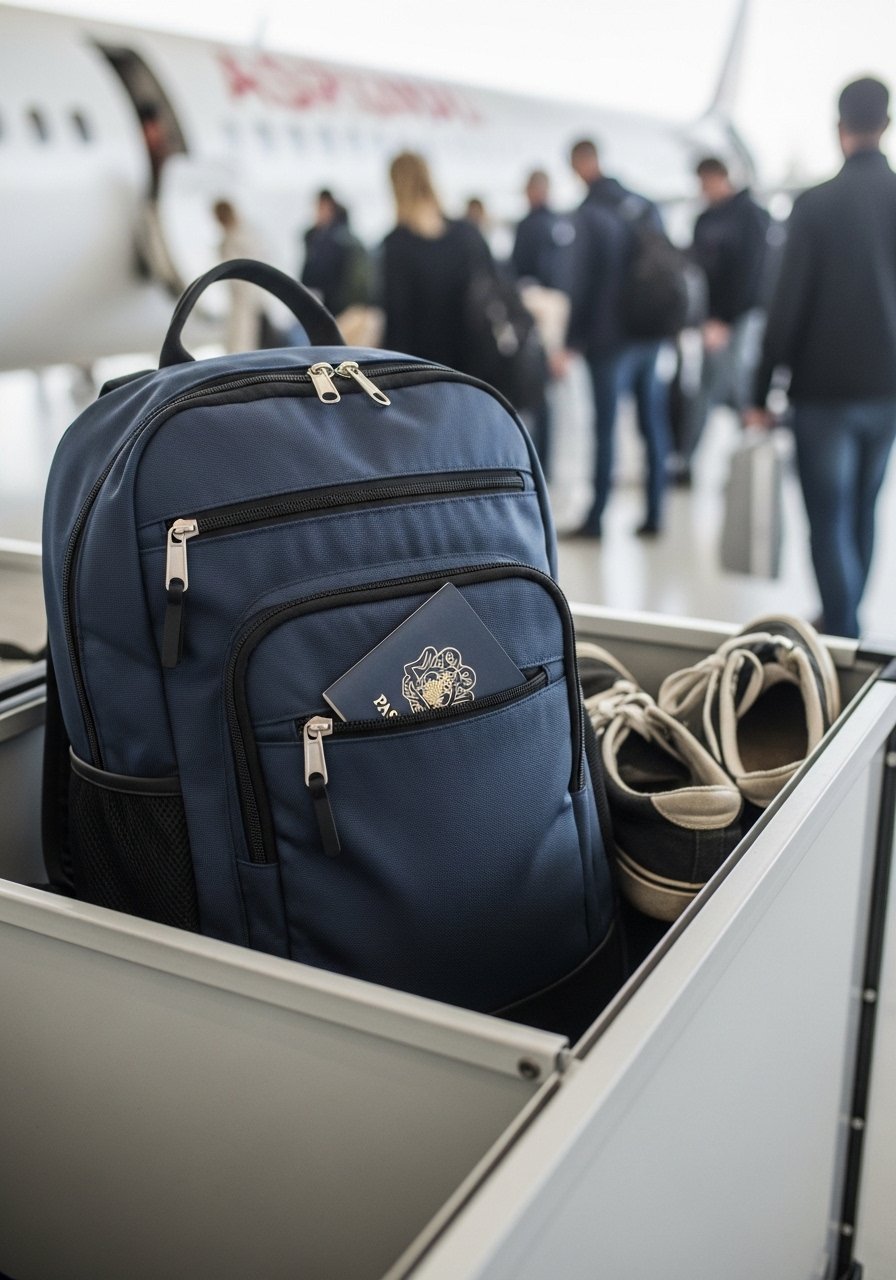
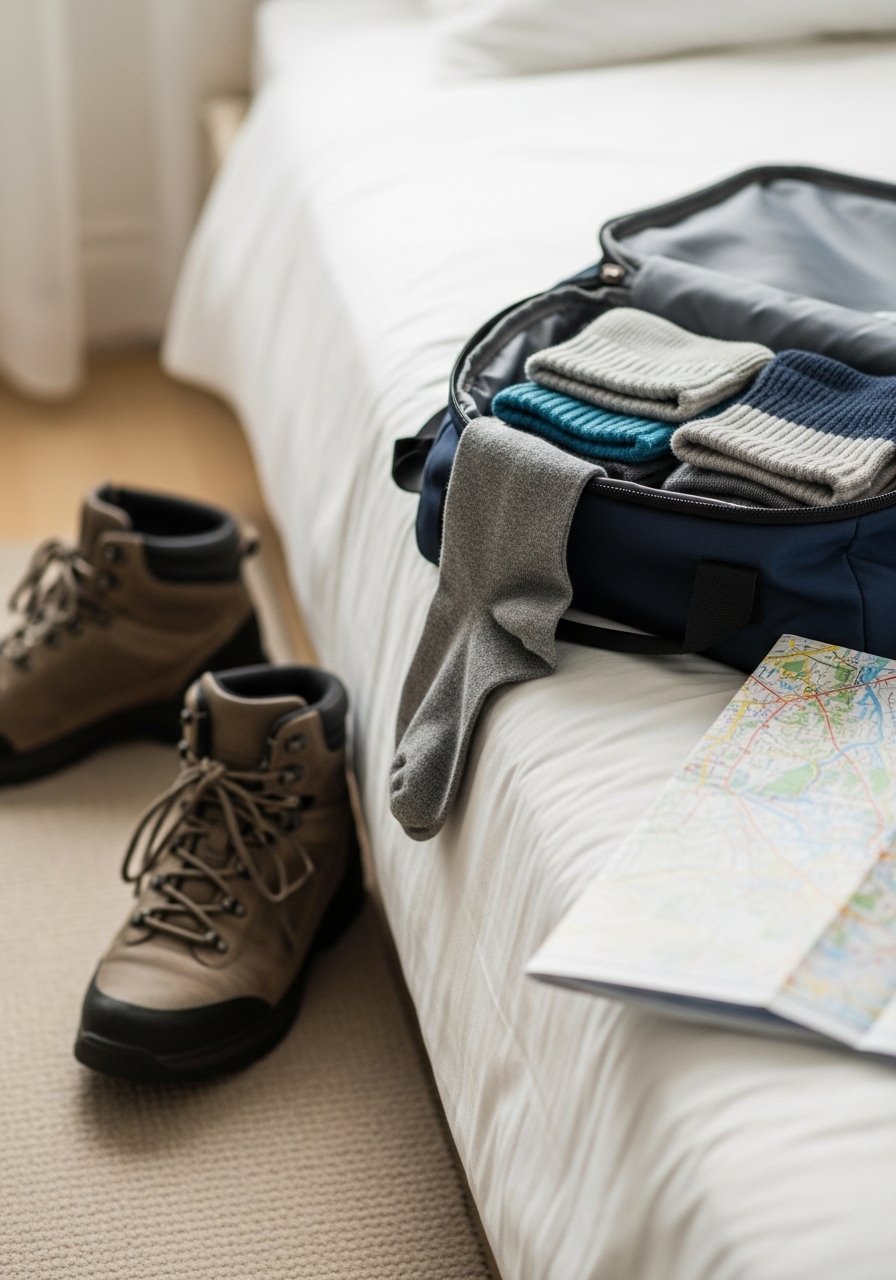
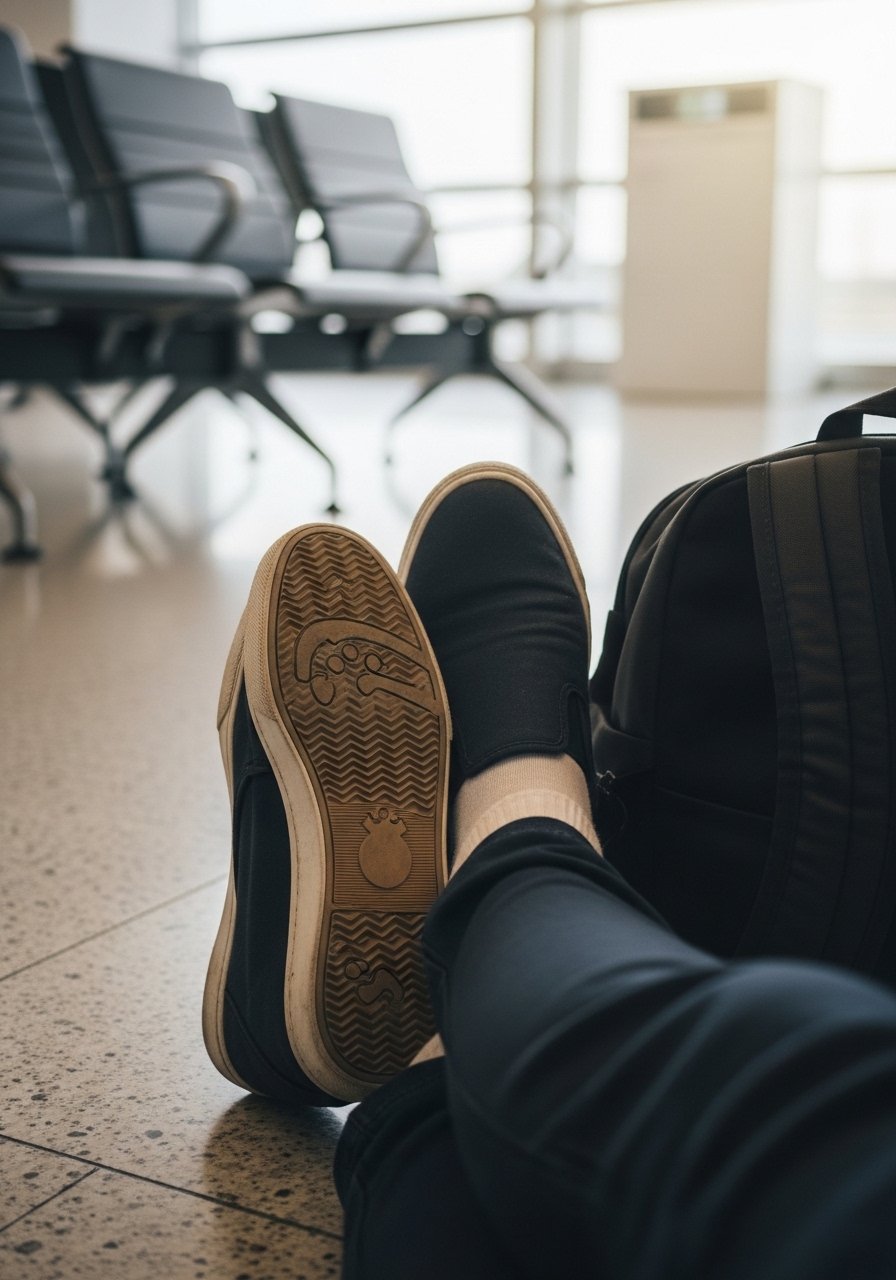
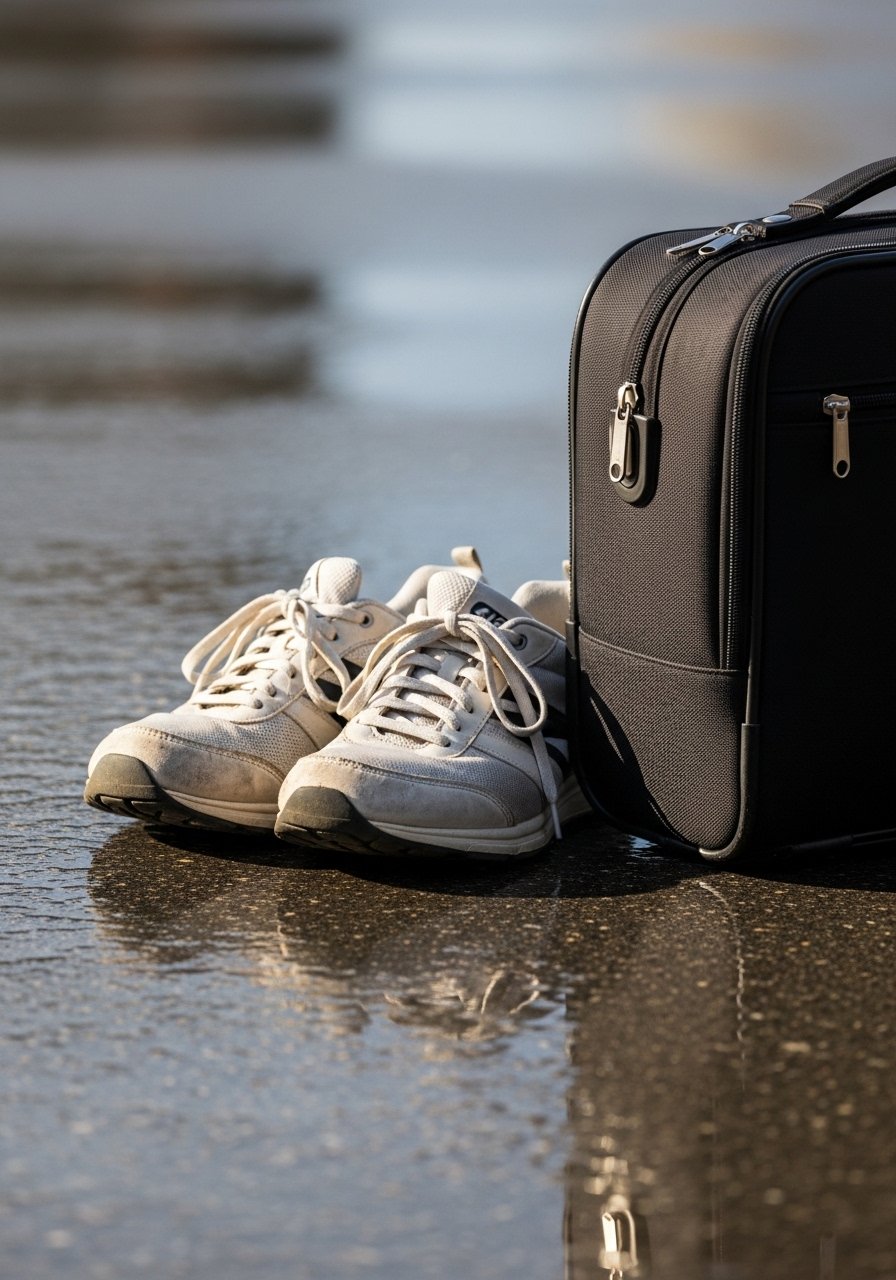
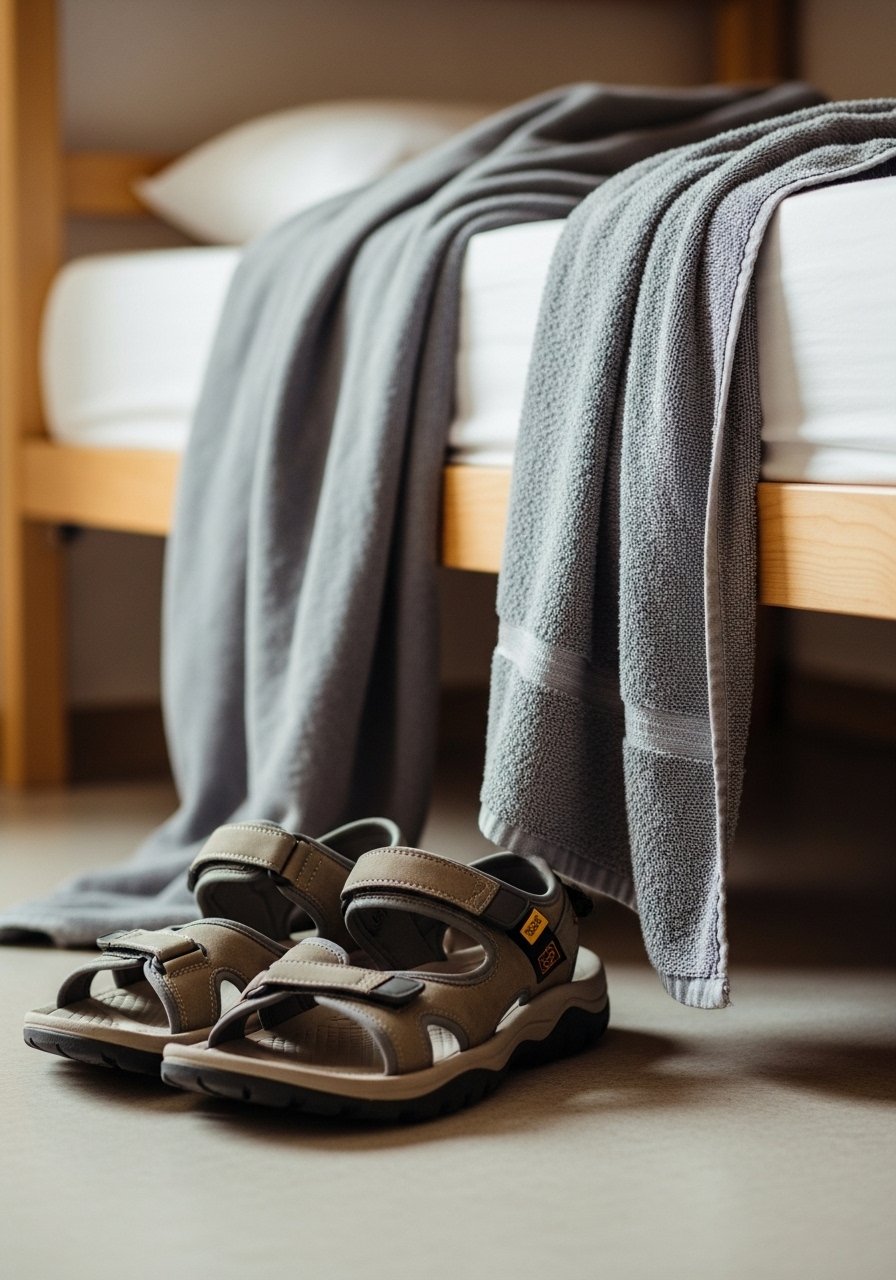
    7. Comfortable Slip-On Shoes You Can Wear Through Security

    I always wear slip-on shoes on travel days. They speed up security and are kinder to tired feet after long walks. I choose breathable, supportive slip-ons that also pass for casual dinners.

    If you plan to pack light, wear your bulkiest shoes on the plane. That saves carry-on space and keeps your footgear ready.

    People underestimate how much time lost in shoe removal adds to transfers. I stopped wearing laces on multi-leg journeys for this reason.

    Why It Makes the List

    • Speeds up security lines.
    • Doubles as walking shoes for arrival.
    • Saves carry-on space by wearing heavier footwear.

    What You’ll Want for This


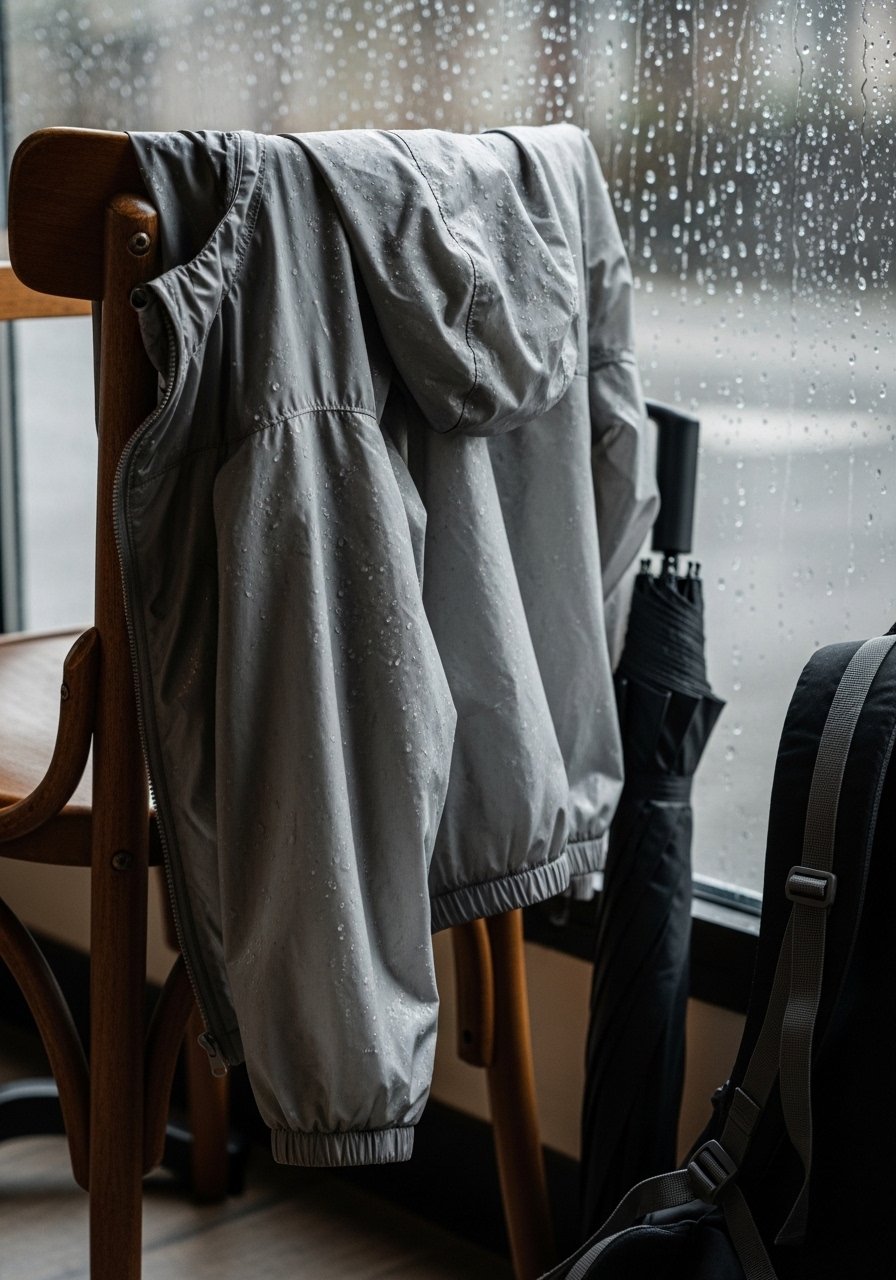
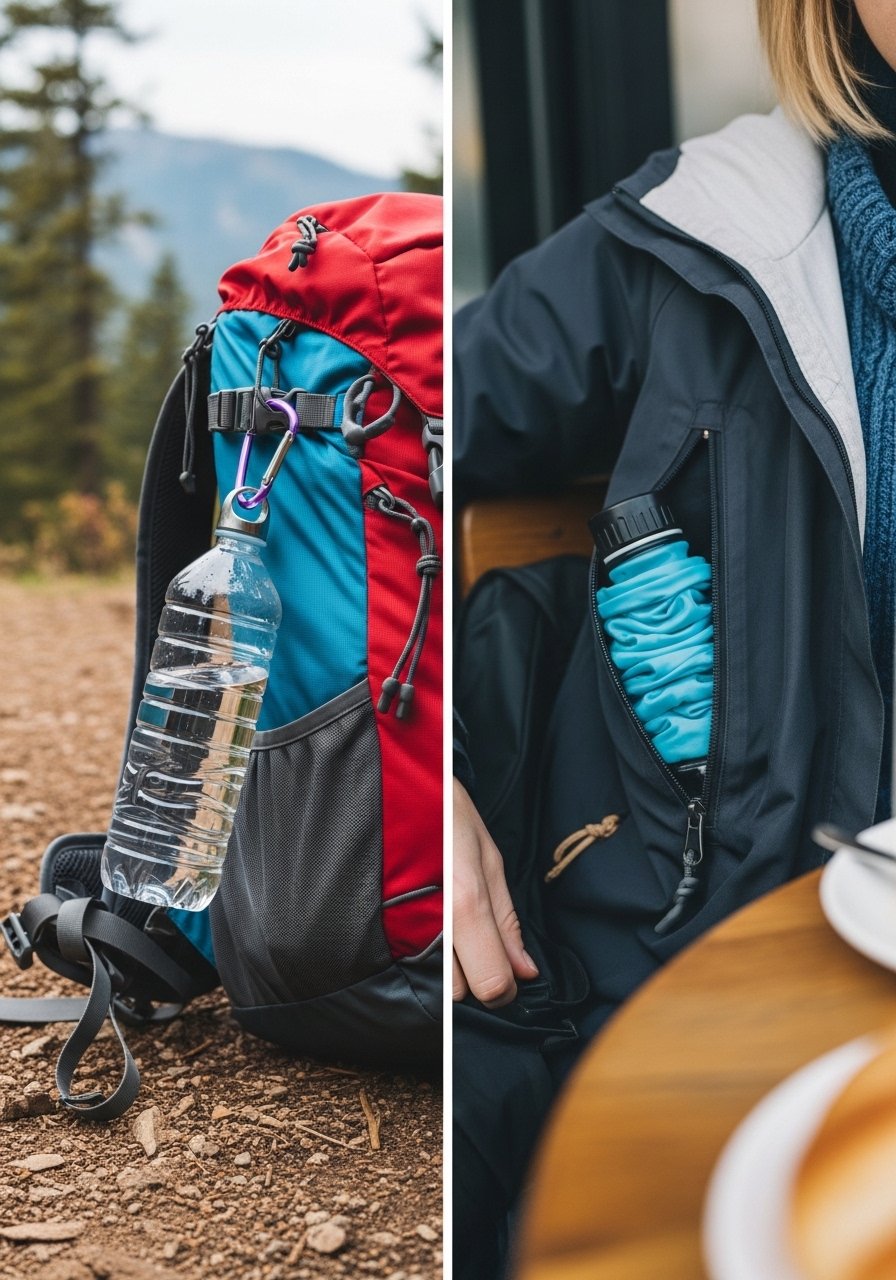
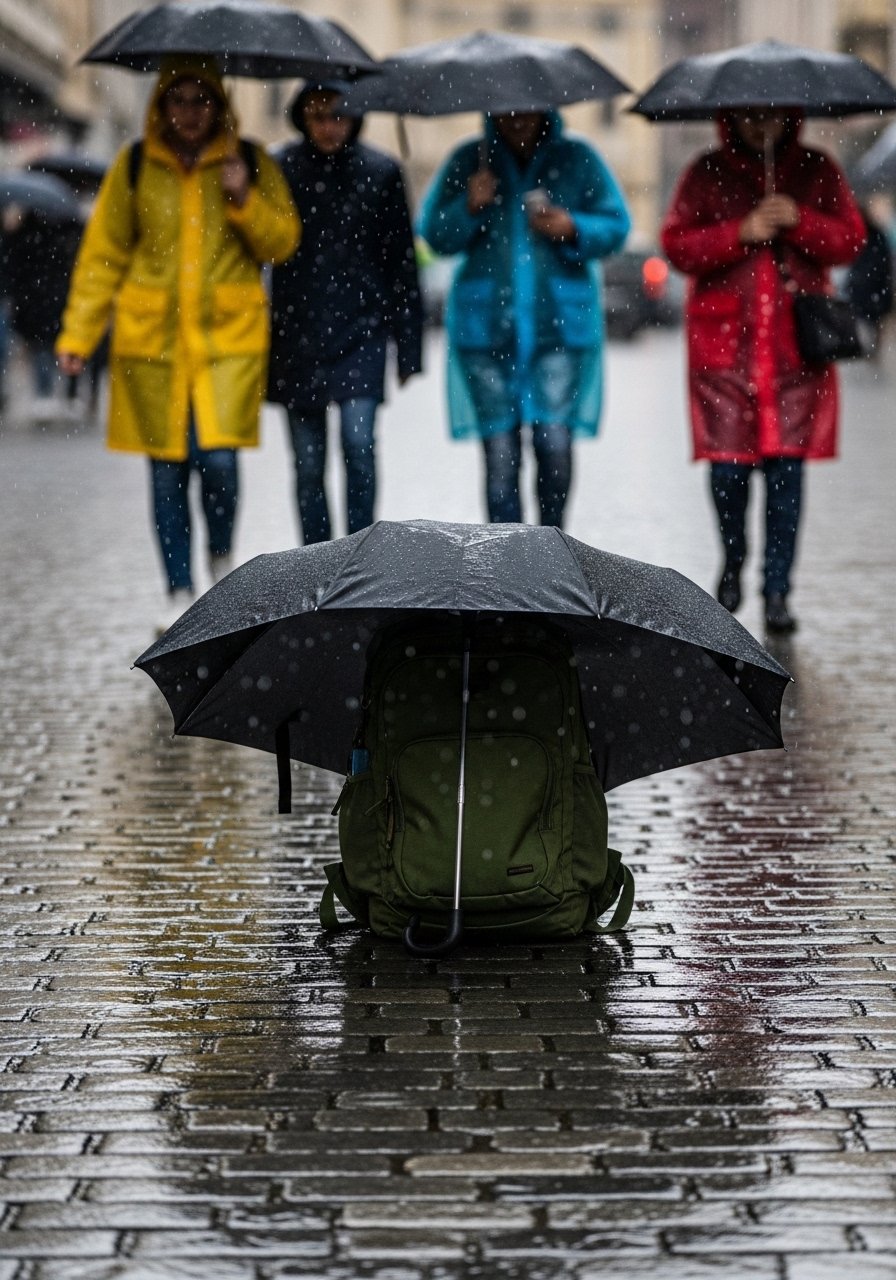
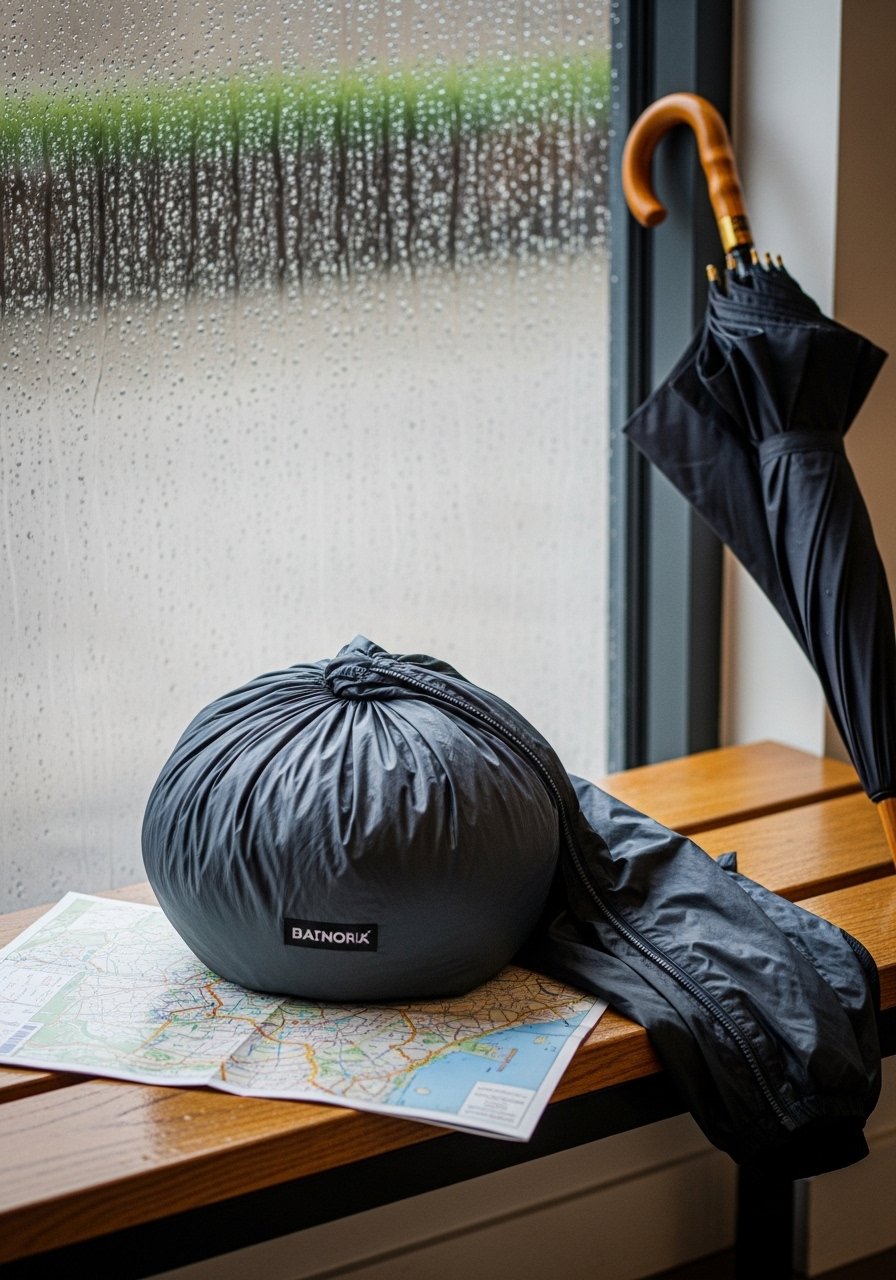
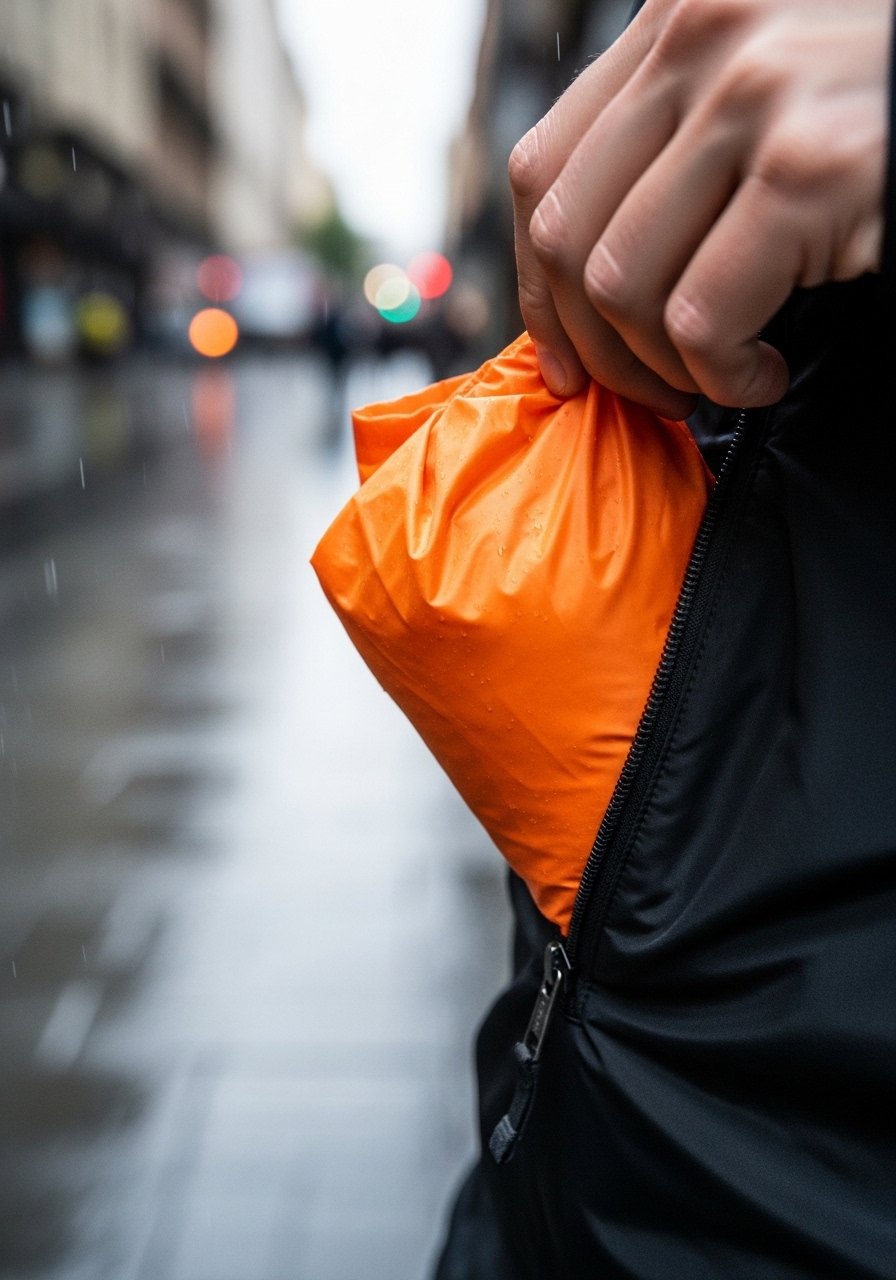
    8. Lightweight Packable Rain Jacket with Hood

    I always pack a thin rain jacket that fits into its own pocket. Weather changes fast in many cities. It’s better than buying a plastic poncho at a tourist stall.

    Choose a breathable, seam-sealed jacket with a hood and pit zips. It should compress small and still block wind.

    Most travelers overpack heavy coats for unpredictable weather. A packable shell is lighter and more versatile.

    Why It Makes the List

    • Protects against sudden showers and wind.
    • Packs down small and weighs little.
    • Useful layered over sweaters or tees.

    What You’ll Want for This


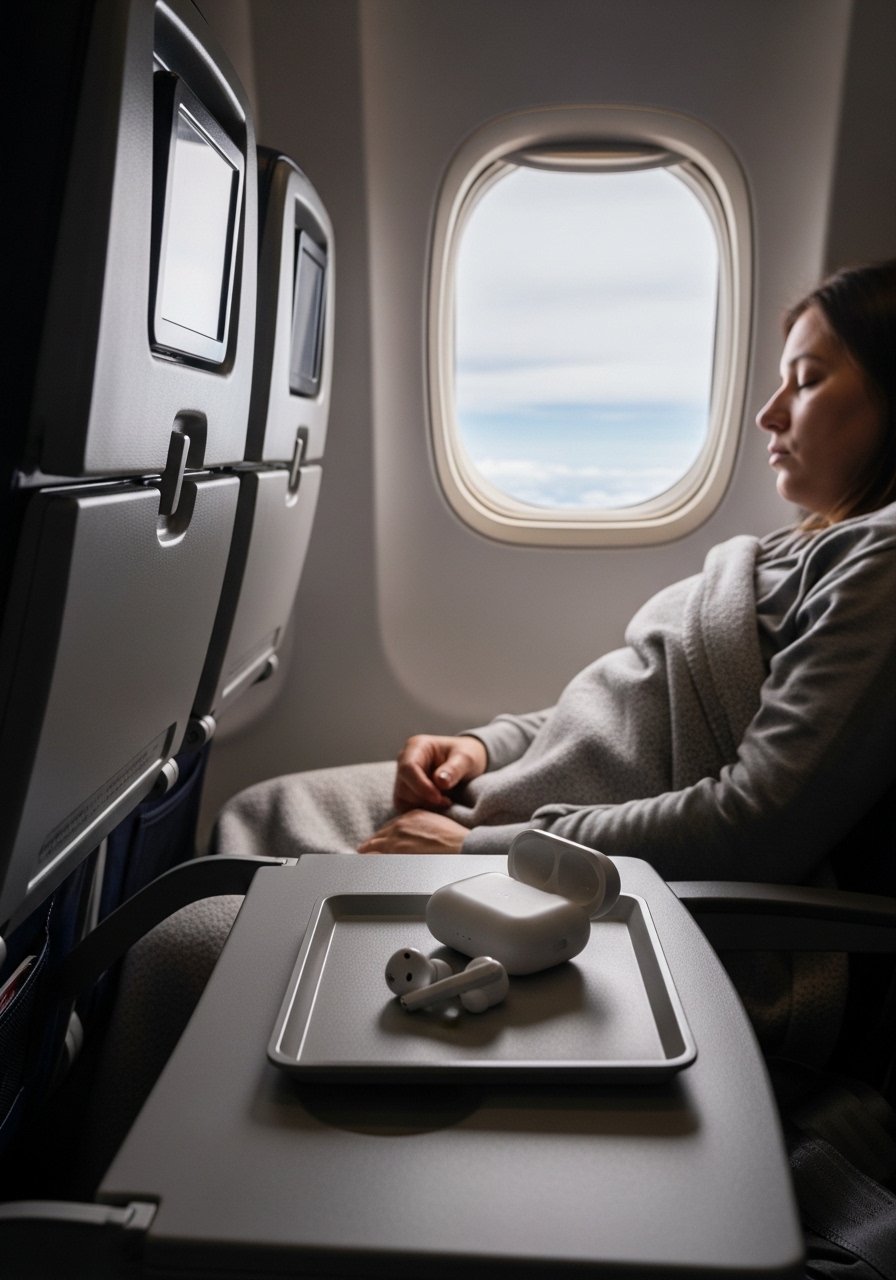
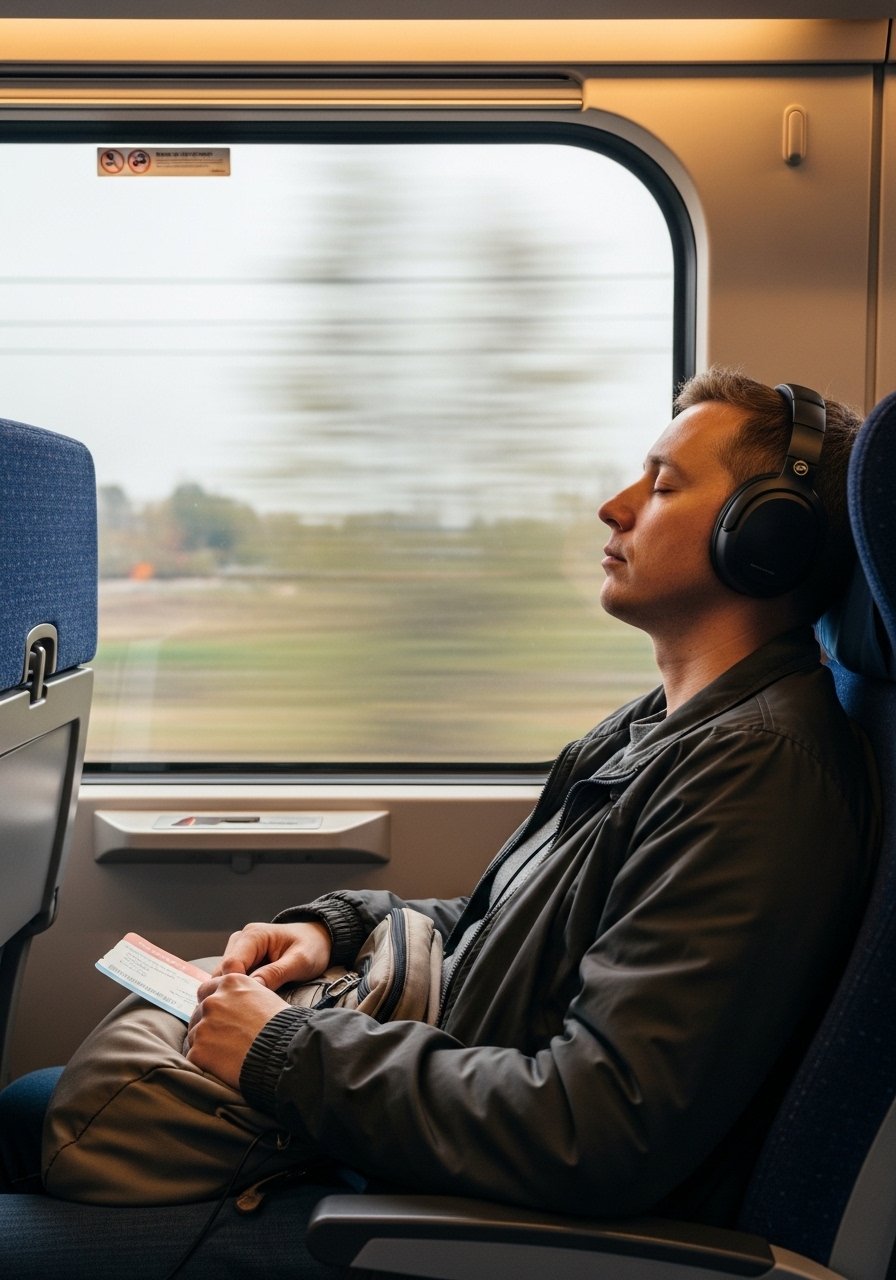
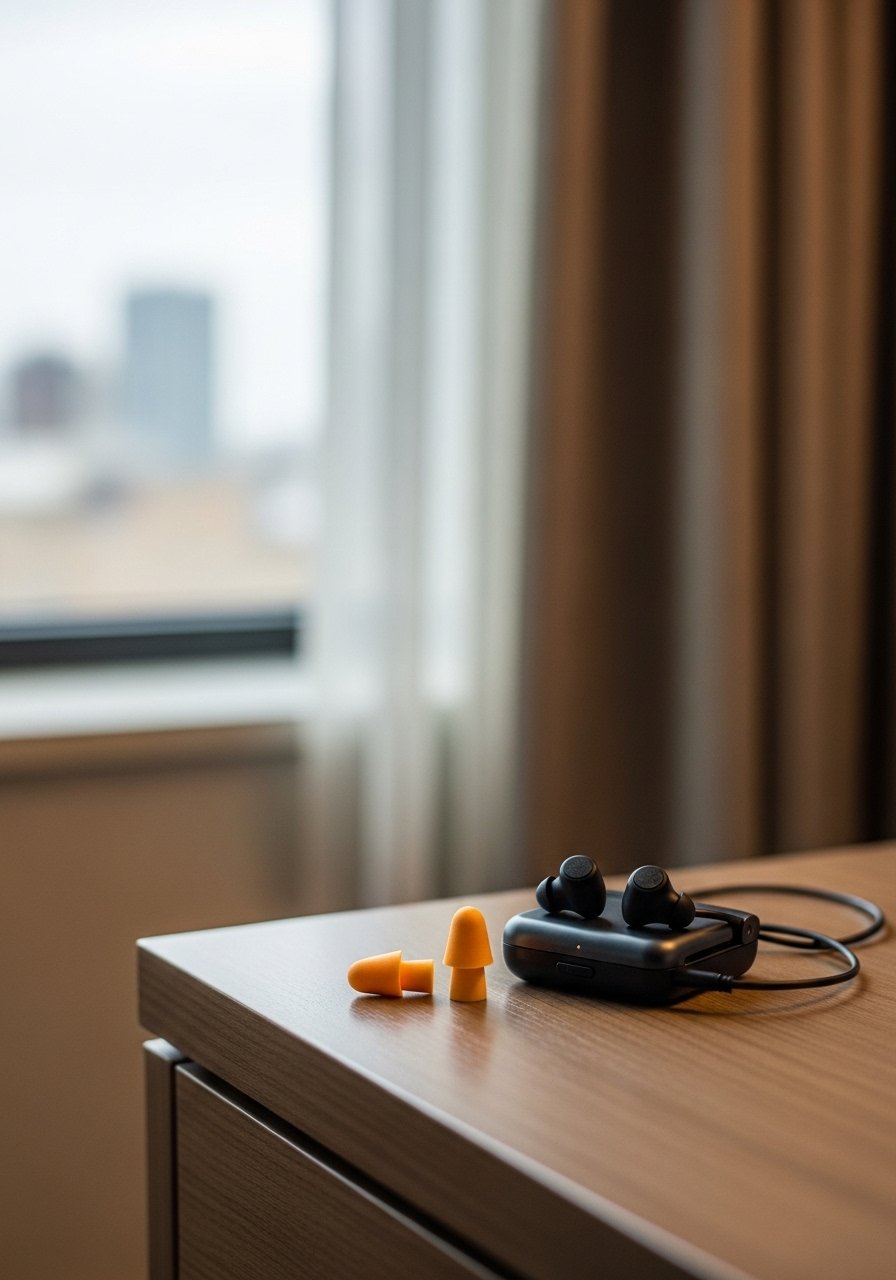
    9. Noise-Canceling Headphones or Comfortable Earbuds

    I used cheap earbuds until a six-hour delay convinced me otherwise. Noise-canceling headphones turn a loud cabin into a quiet place to rest or work. They make flights and trains bearable.

    Pick a model that folds flat and has an aux option. Battery life is important—aim for 20+ hours if you can.

    Many people forget to pack a small case. A loose pair gets crushed in carry-on pockets.

    Why It Makes the List

    • Lets you sleep or focus in noisy environments.
    • Improves audio for movies or calls.
    • Reduces travel stress on long legs.

    What You’ll Want for This


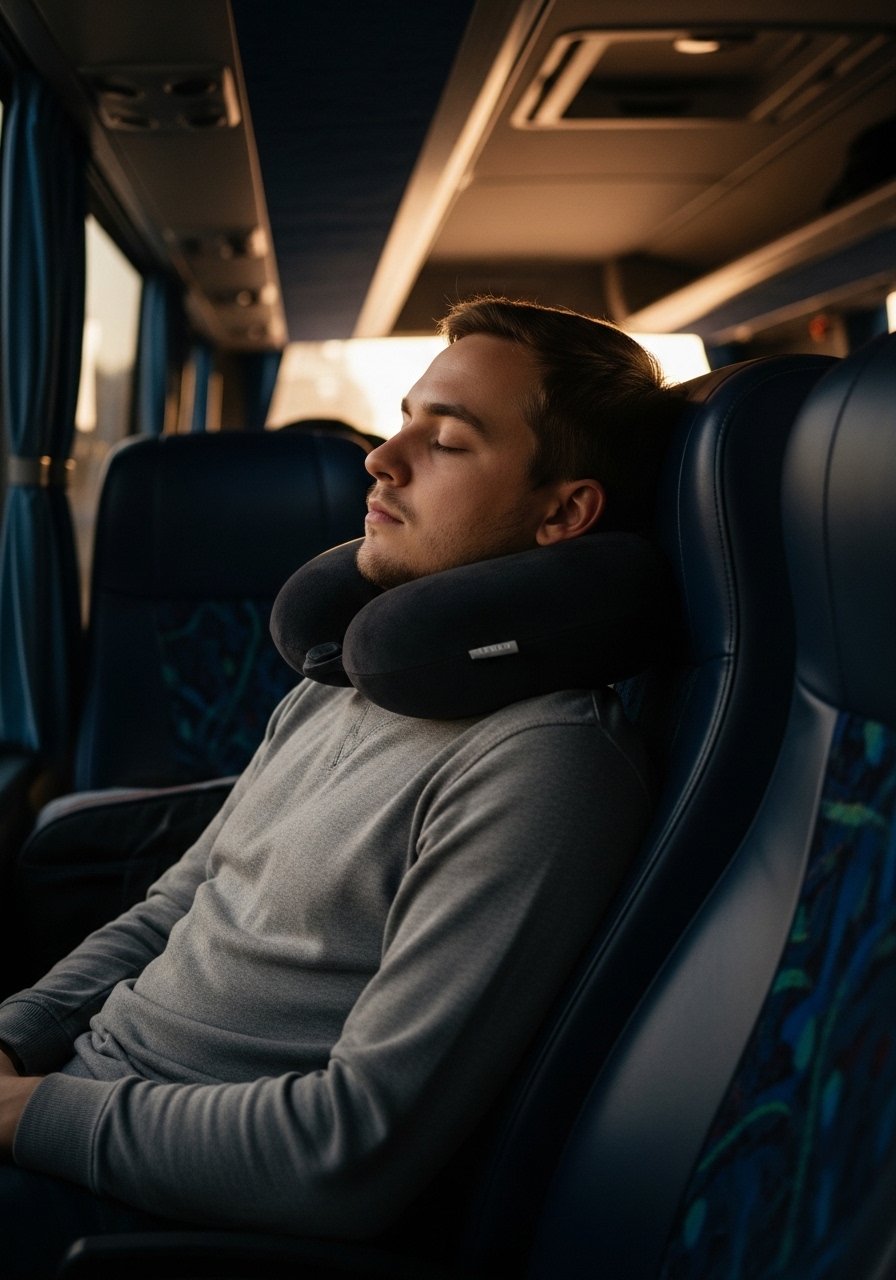
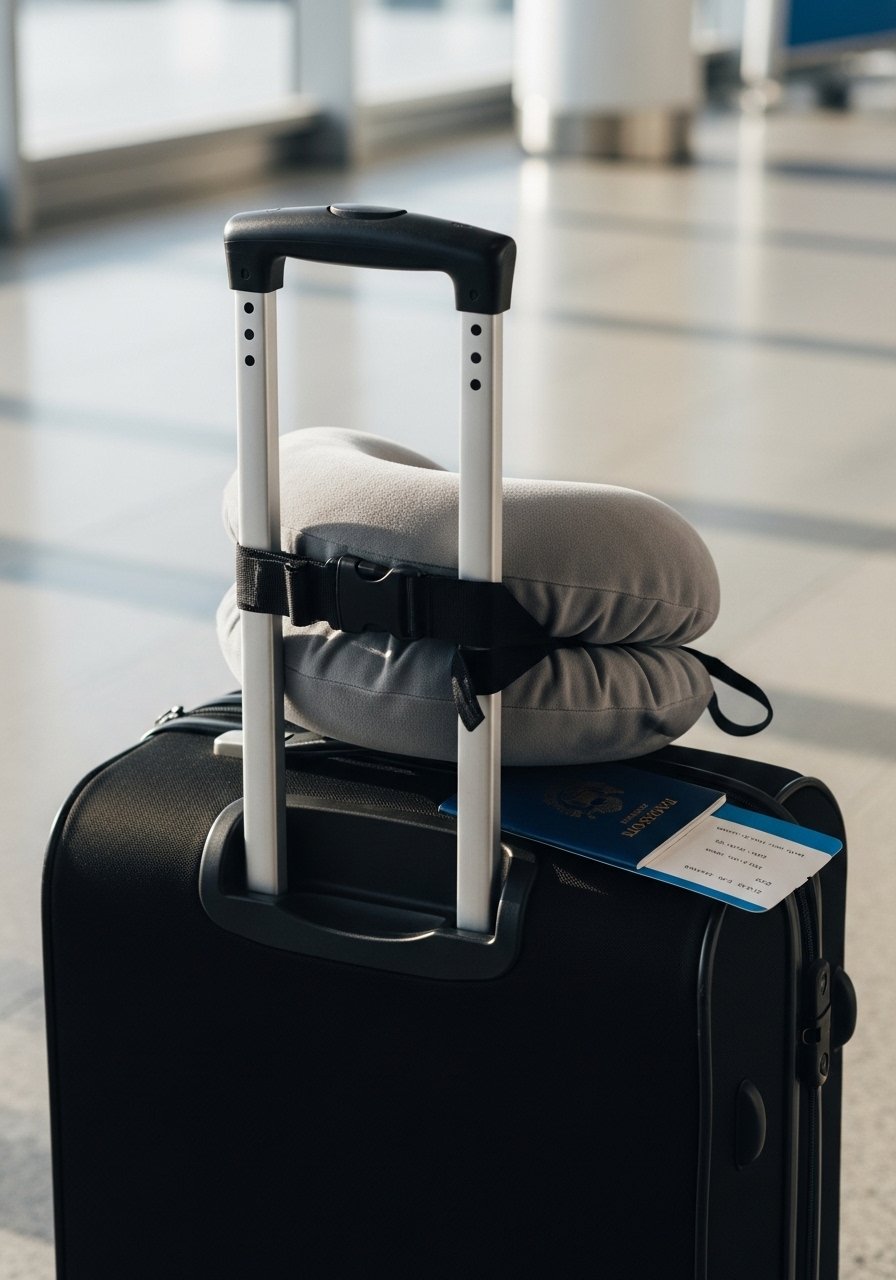
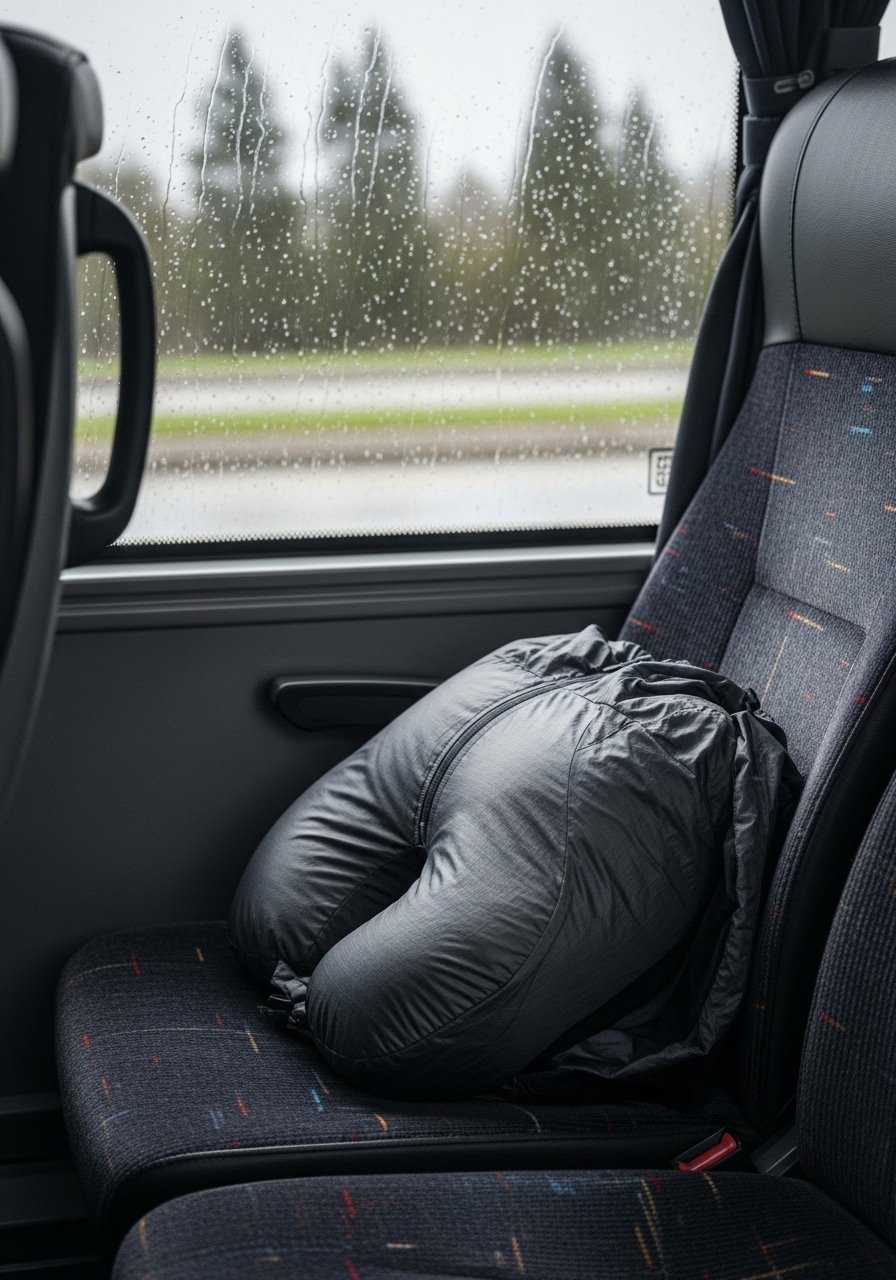
    10. Compressible Neck Pillow That Stuffs Flat

    I once carried a bulky foam neck pillow and regretted it. A compressible or inflatable neck pillow gives support but fits inside a cube or clips to the bag.

    Look for one with a soft cover and easy valve. I prefer pillows that offer modest support without pushing my head forward.

    Travelers often try to sleep without head support and wake stiff. A small pillow makes a big difference on red-eyes.

    Why It Makes the List

    • Improves rest on long trips.
    • Packs flat or clips externally to save space.
    • Reduces neck soreness after flights.

    What You’ll Want for This


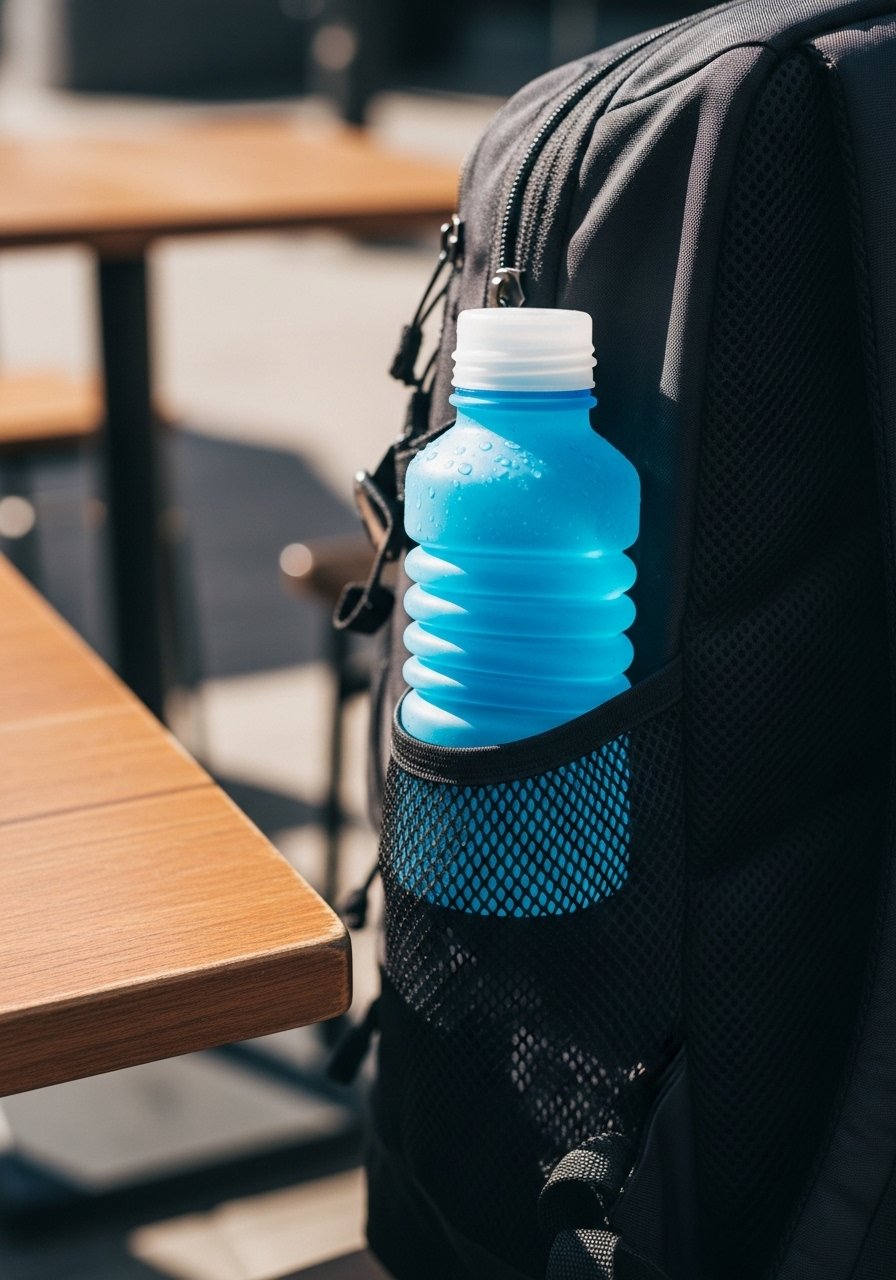
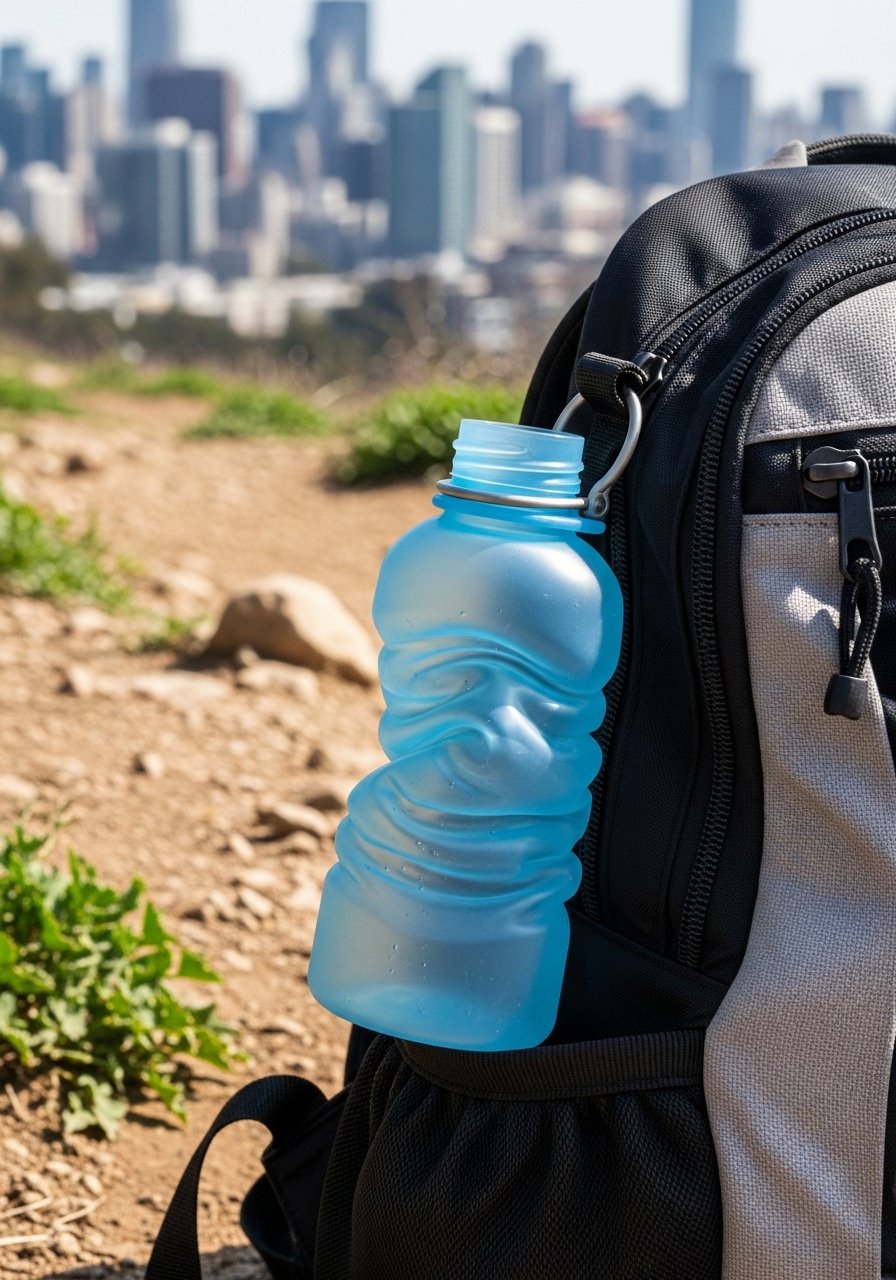
    11. Collapsible Reusable Water Bottle to Save Money and Reduce Waste

    I used to buy bottled water constantly. A collapsible bottle fills at airport fountains and stores flat when empty. It’s great for long walks or hikes from town centers.

    Pick BPA-free silicone and a bottle that fits airline cabin rules for liquids when empty. Some have built-in filters which are handy where water quality is iffy.

    People forget cleanliness—wash it often. I rinse mine nightly to avoid smells.

    Why It Makes the List

    • Cuts costs and plastic use.
    • Packs small when not in use.
    • Useful for hydration on the move.

    What You’ll Want for This


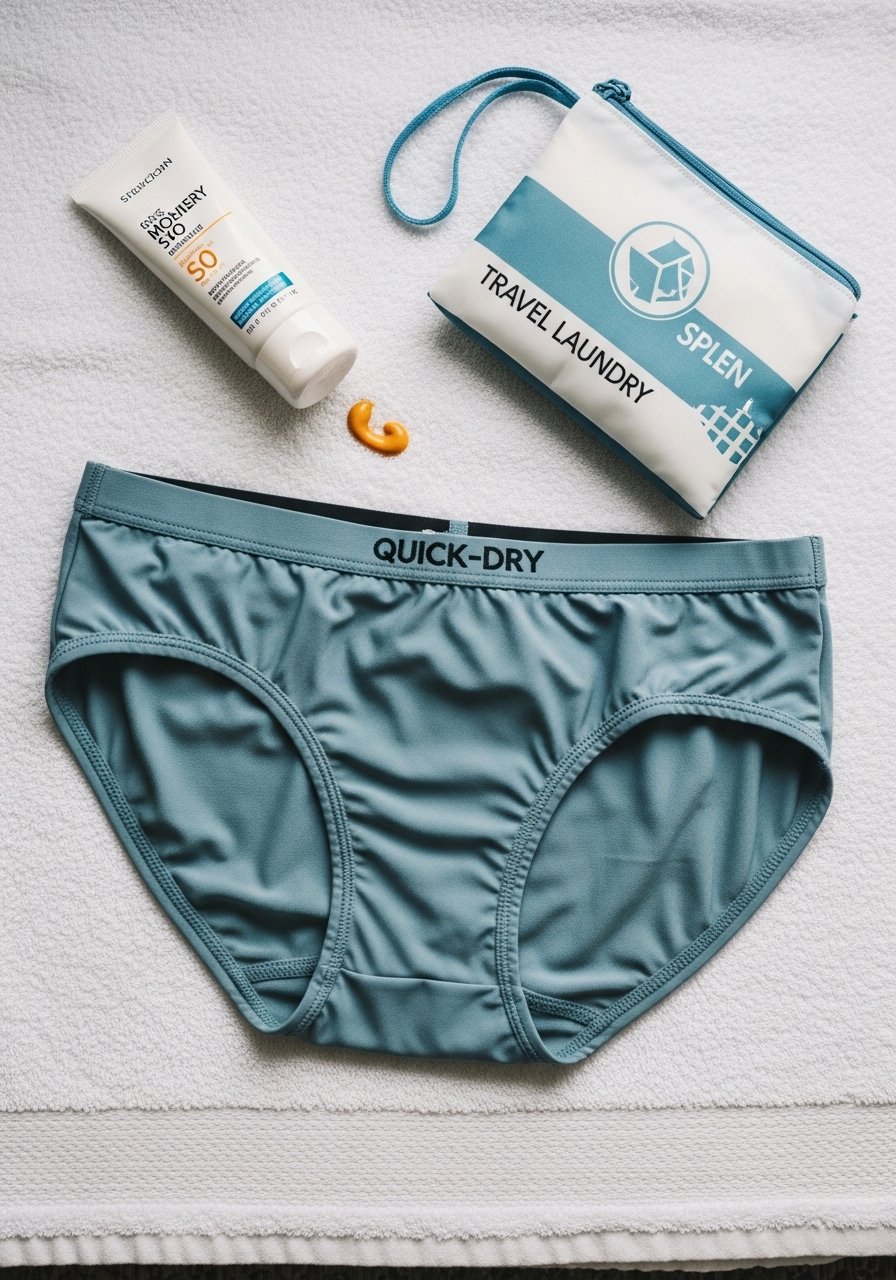
    12. Quick-Dry Travel Underwear (Pack 3–5 Pairs)

    I carry three pairs of quick-dry underwear for every three travel days. They dry overnight in a sink. That means I can pack far less.

    Choose blends with breathable fabric and a snug fit. I avoid cotton for underwear on multi-day trips.

    Many travelers misjudge drying time. I test a pair at home before traveling to make sure they actually dry in 8–10 hours.

    Why It Makes the List

    • Lets you pack fewer items and do light laundry.
    • Dries fast in small hotel rooms.
    • Keeps you comfortable during long travel days.

    What You’ll Want for This


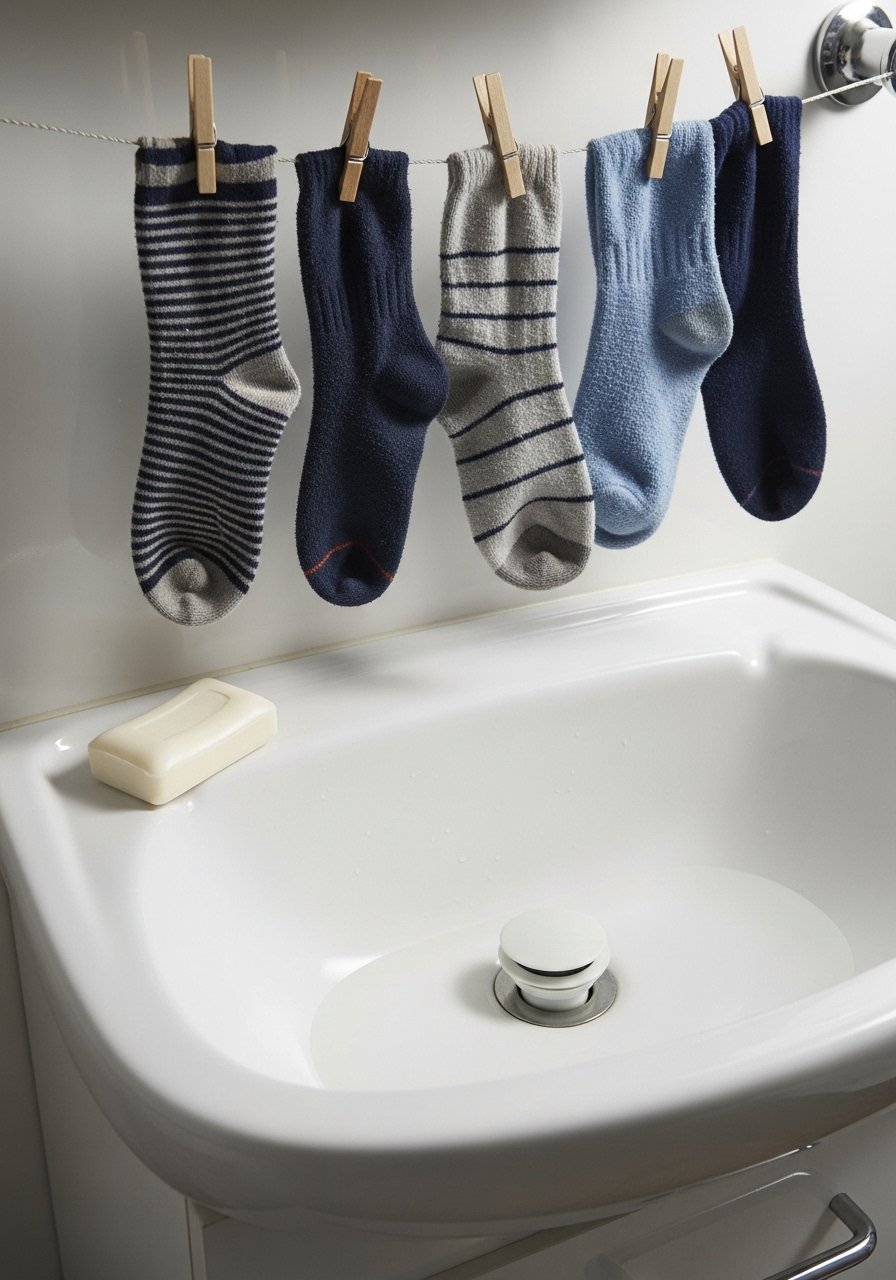
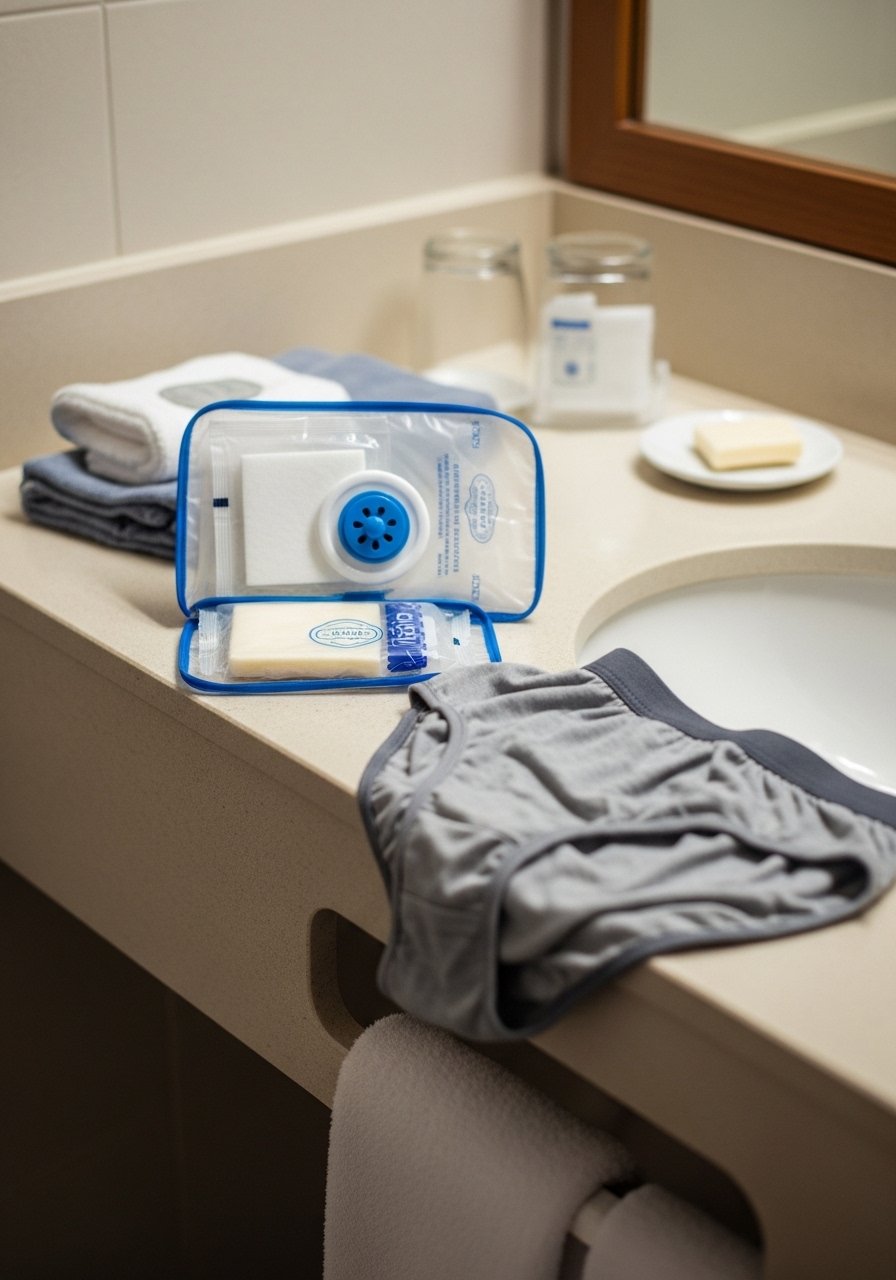
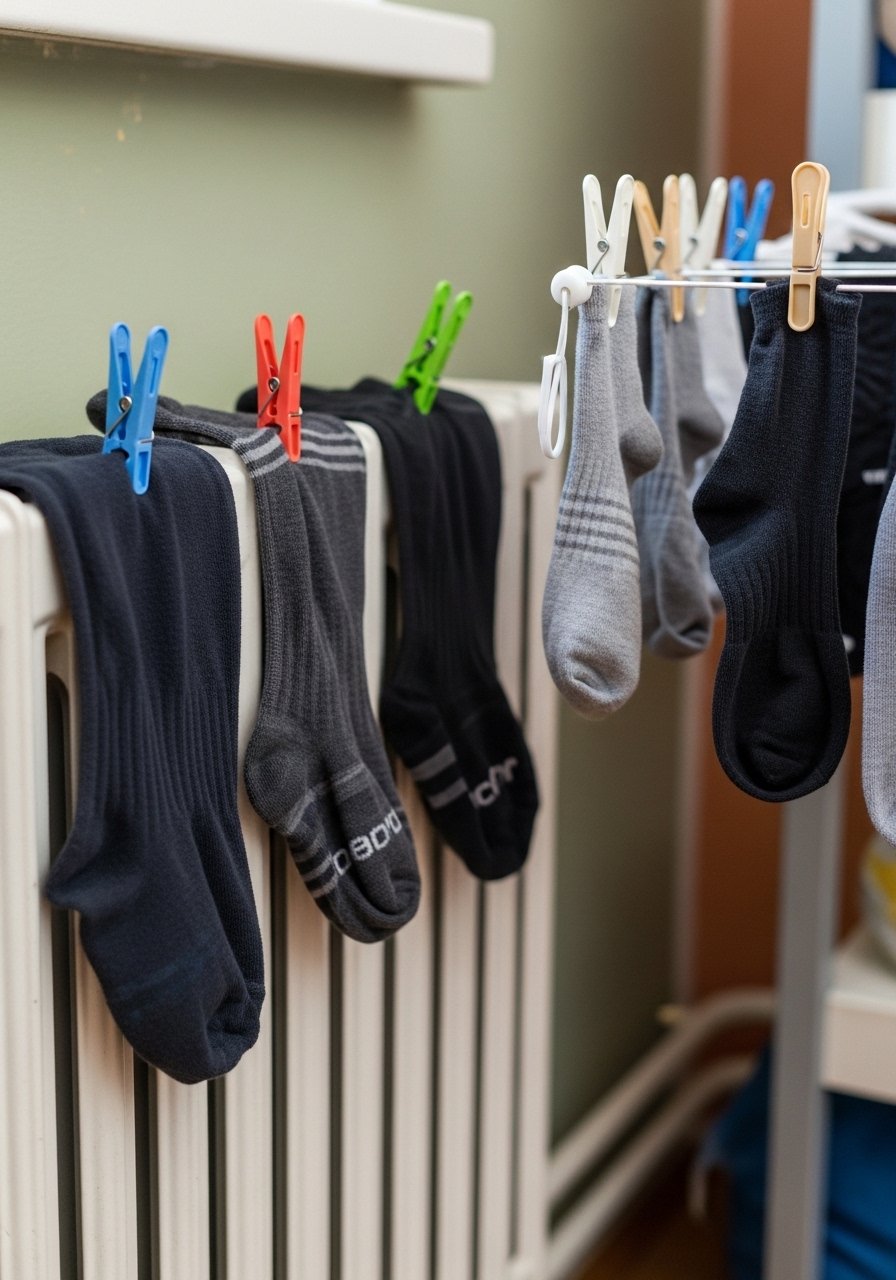
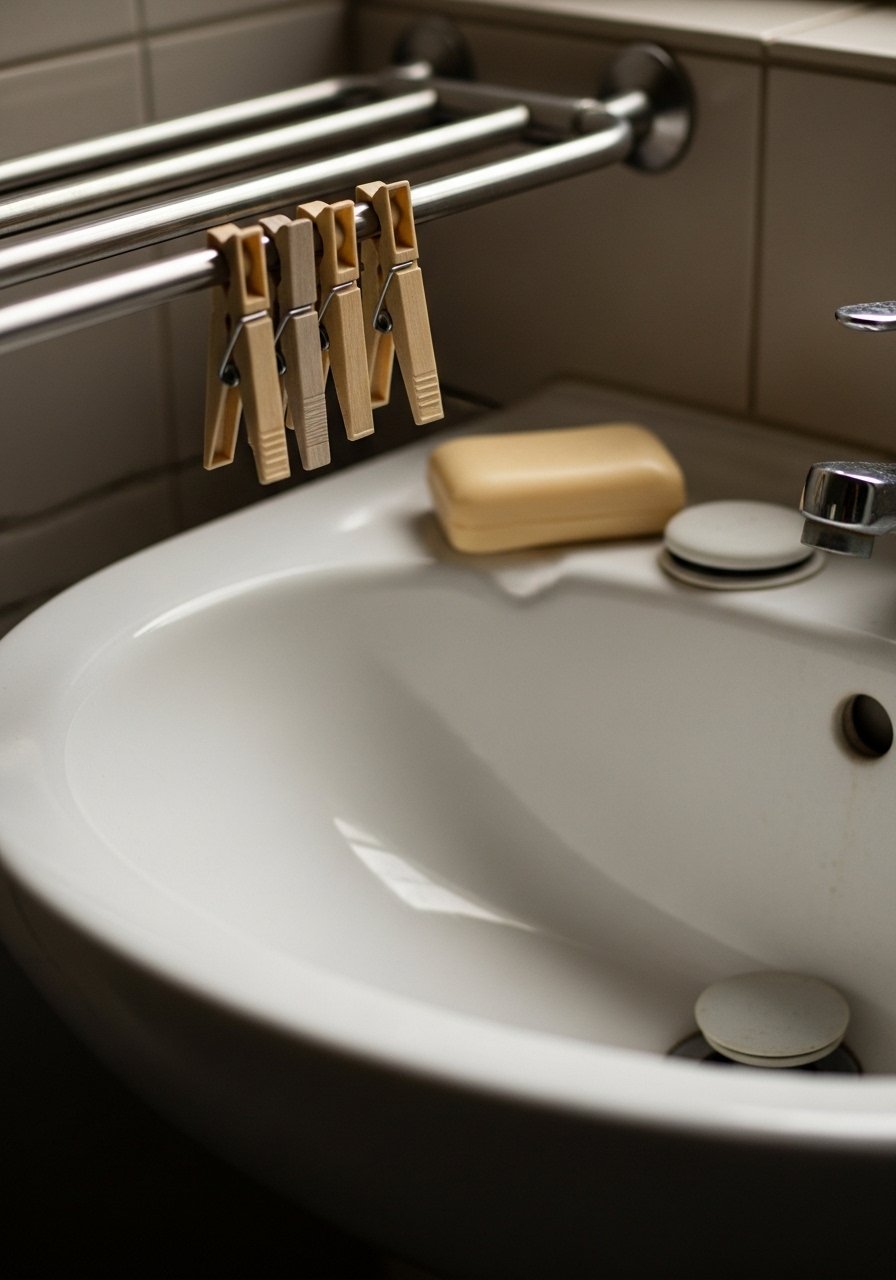
    13. Compact Travel Laundry Kit and Universal Sink Plug

    I wash socks and underwear in hotel sinks several times a trip. A travel laundry kit with detergent strips and a sink plug saves money and reduces packing.

    The sink plug is small but essential for hotels without one. I bring a few detergent strips that are light and mess-free.

    People often forget that not every sink drains slowly. Test the plug first to avoid a flooded bathroom.

    Why It Makes the List

    • Lets you refresh essentials quickly.
    • Reduces packing weight for longer trips.
    • Works in most hotel sinks and tubs.

    What You’ll Want for This


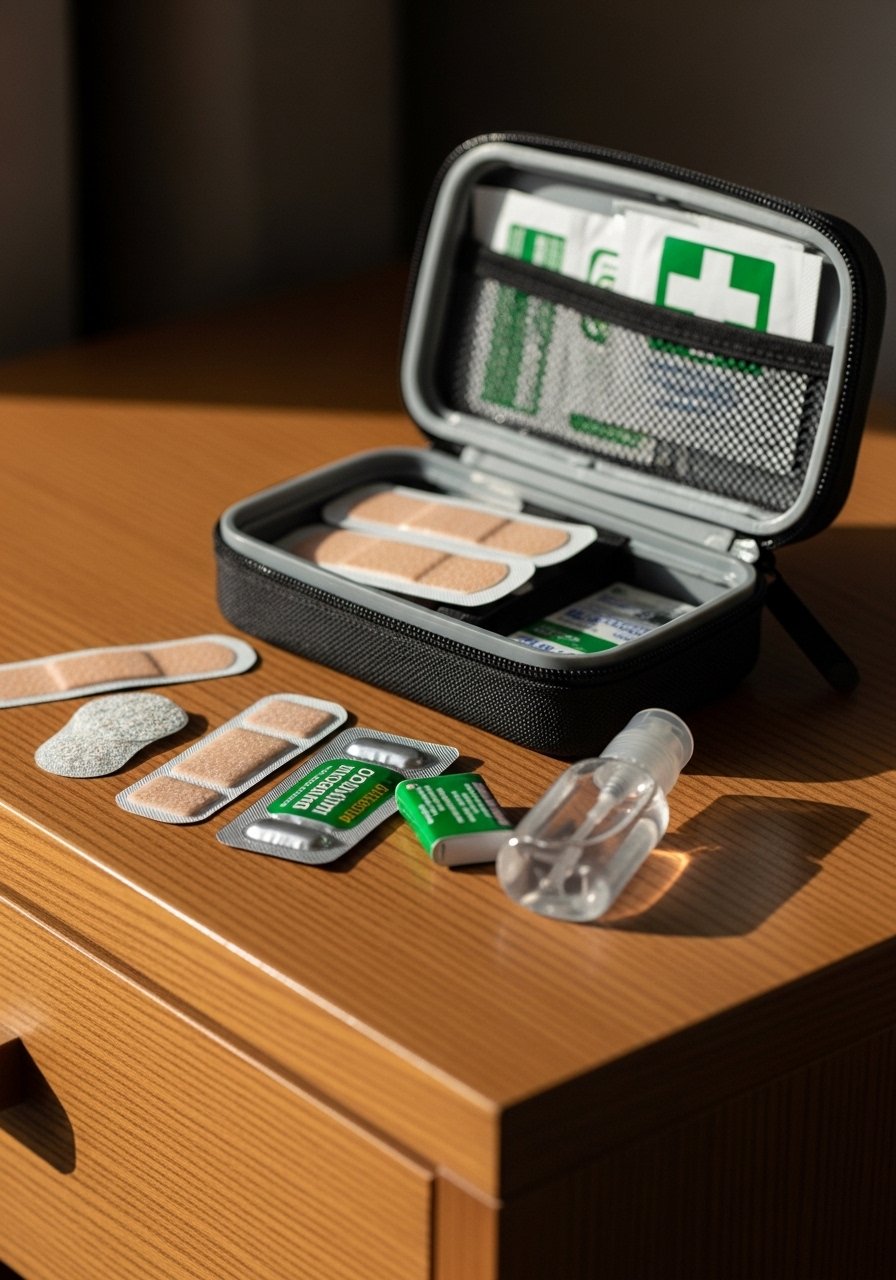
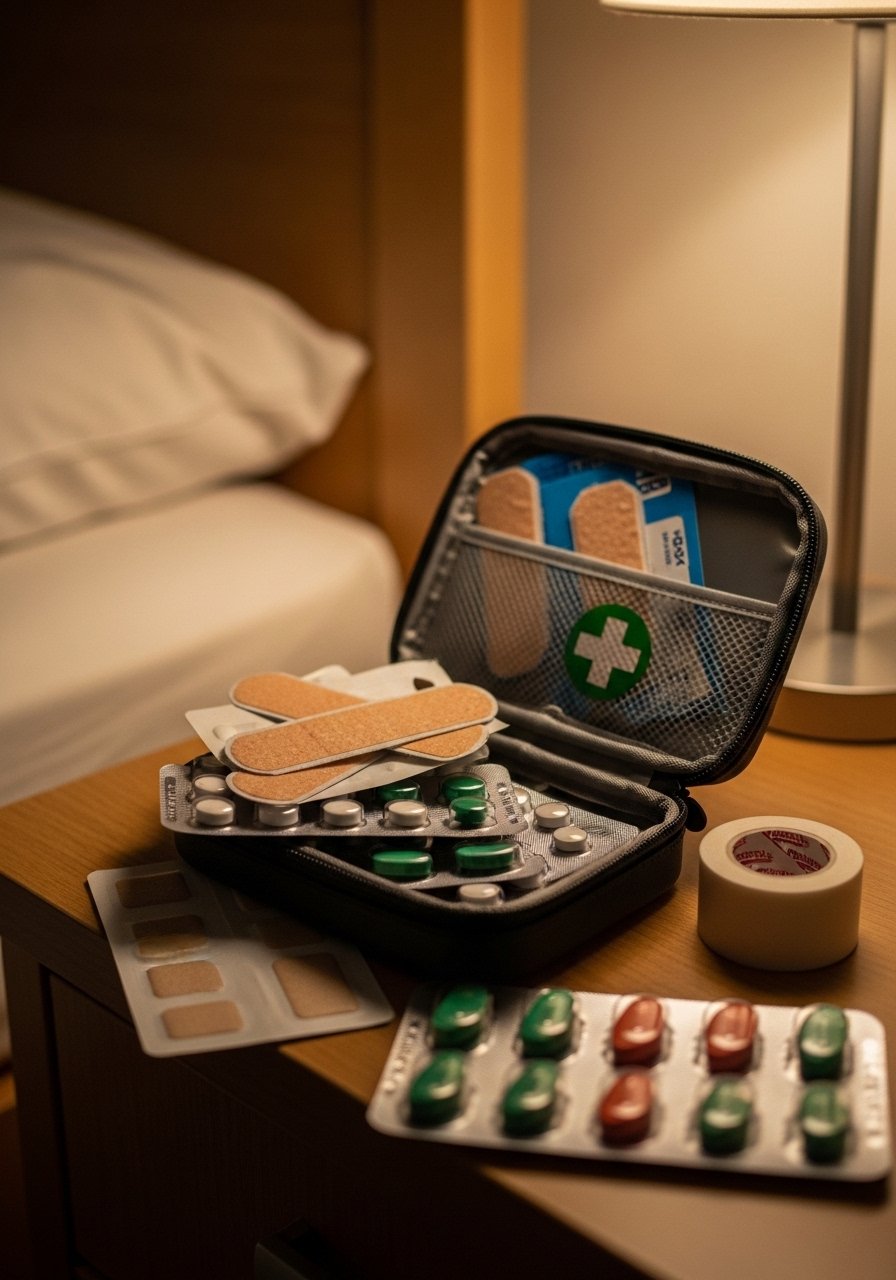
    14. Small First-Aid Kit and Personal Meds Organizer

    I keep a compact first-aid kit in my carry-on for blisters, headaches, and cut fingers. Personal meds go in a labeled pill organizer so I never scramble to find them.

    Include blister bandages, antiseptic wipes, and a small roll of tape. I also pack motion-sickness tablets if trips involve ferries or winding roads.

    Most people forget a small supply of painkillers. I always pack them for long travel days.

    Why It Makes the List

    • Handles small medical issues without a pharmacy trip.
    • Keeps prescriptions accessible during travel.
    • Reduces stress when traveling with kids or older relatives.

    What You’ll Want for This


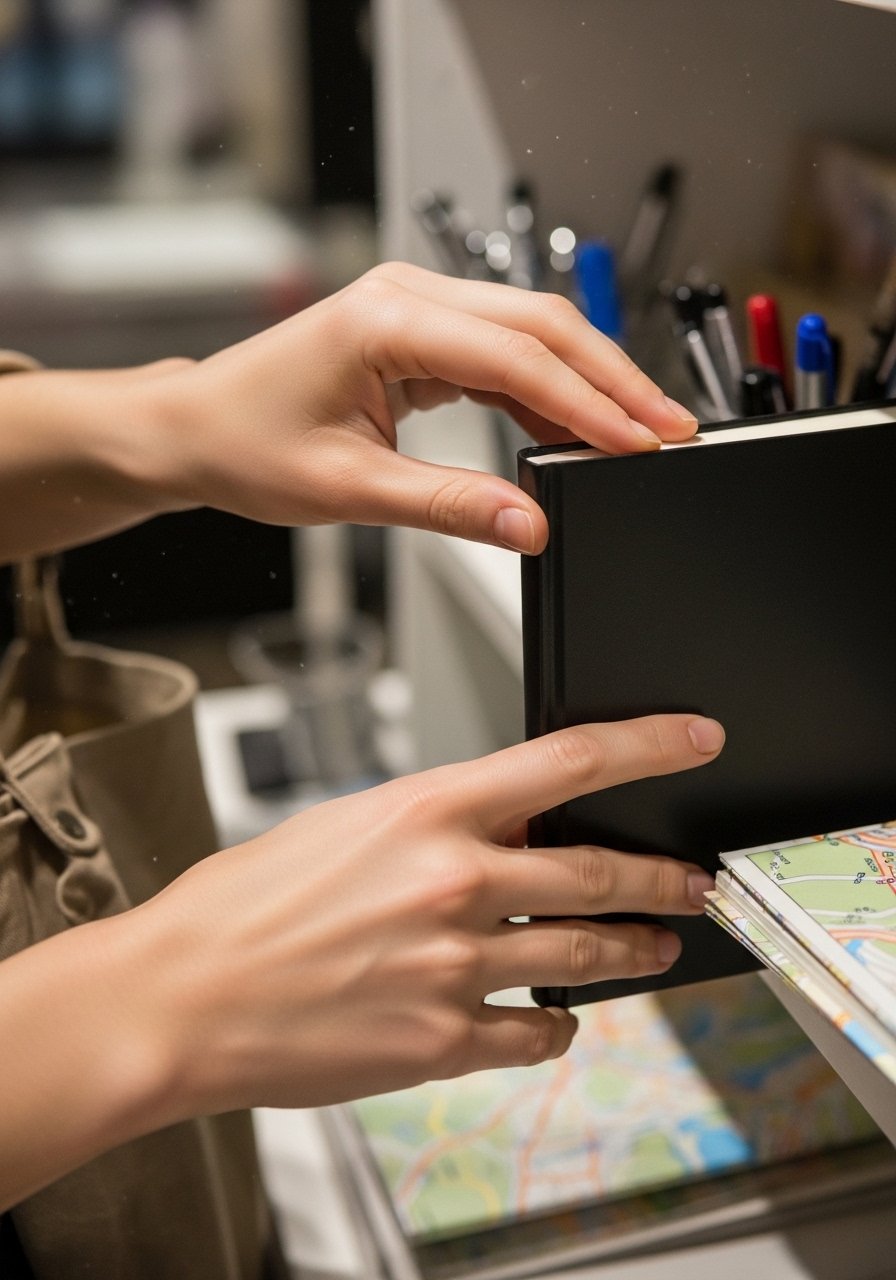
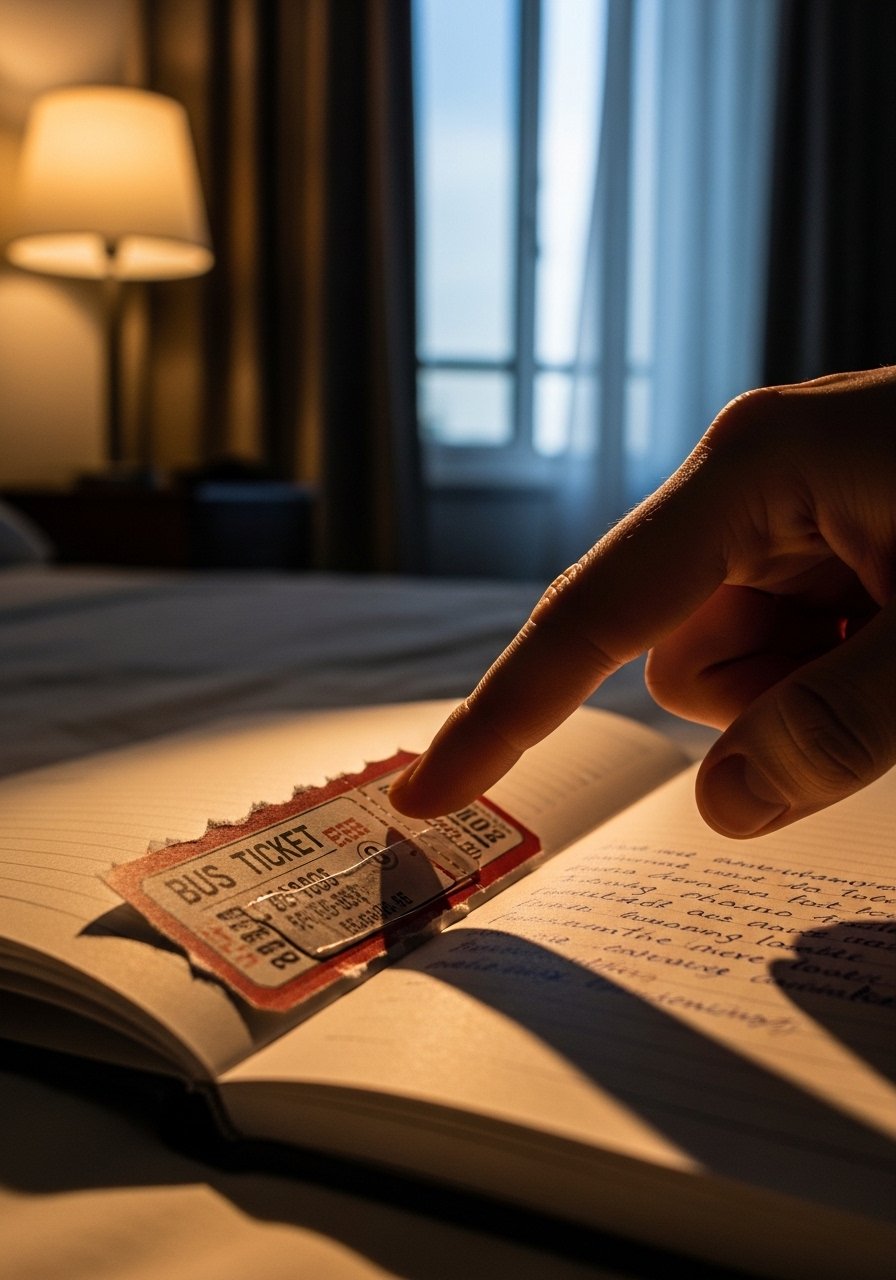
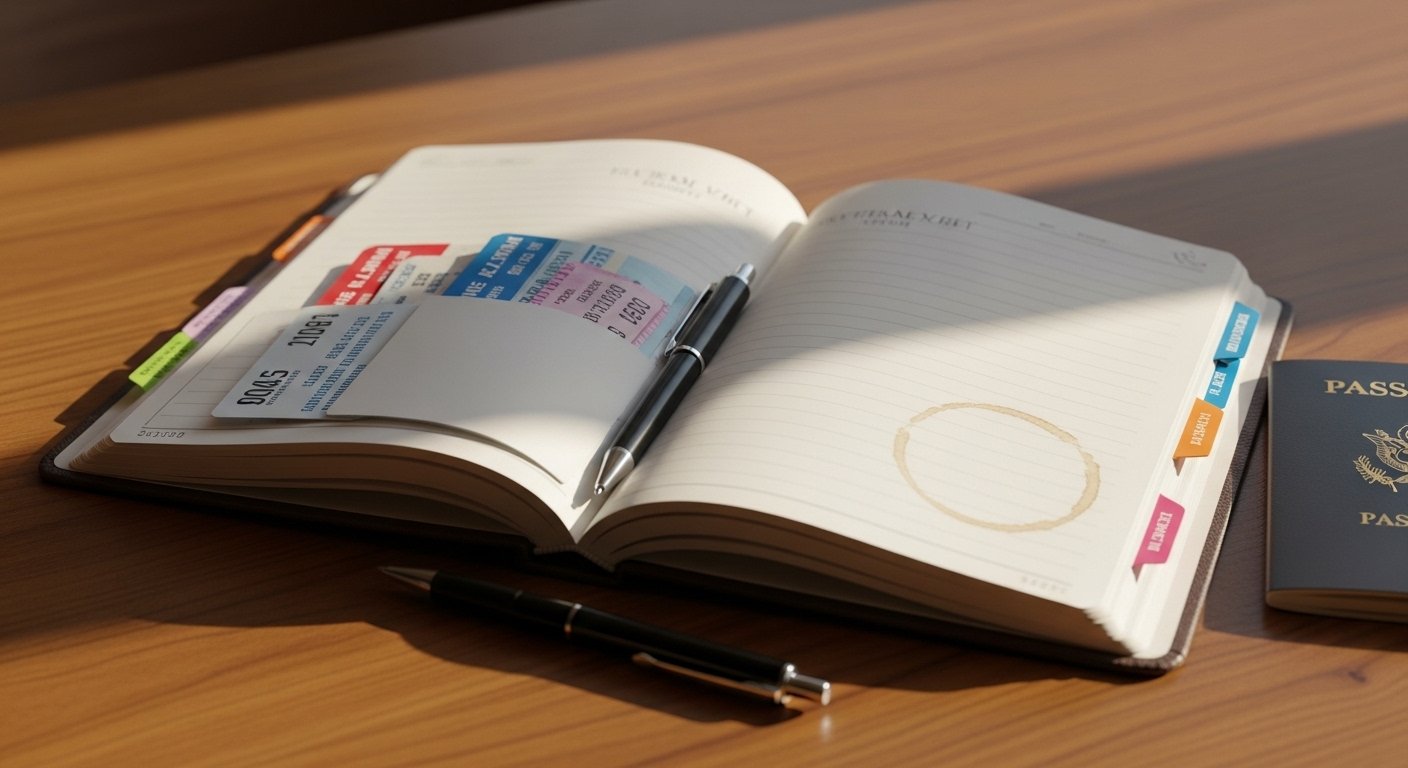
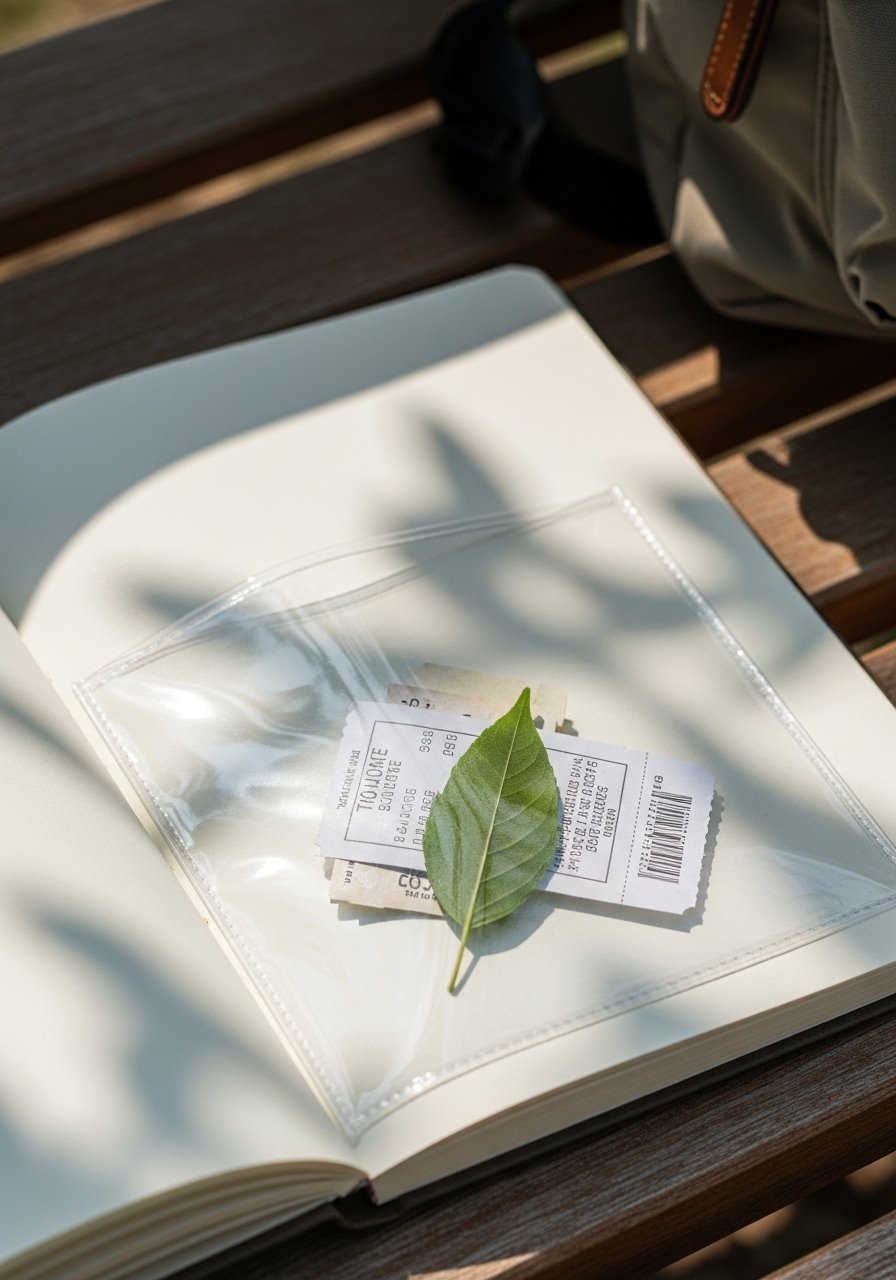
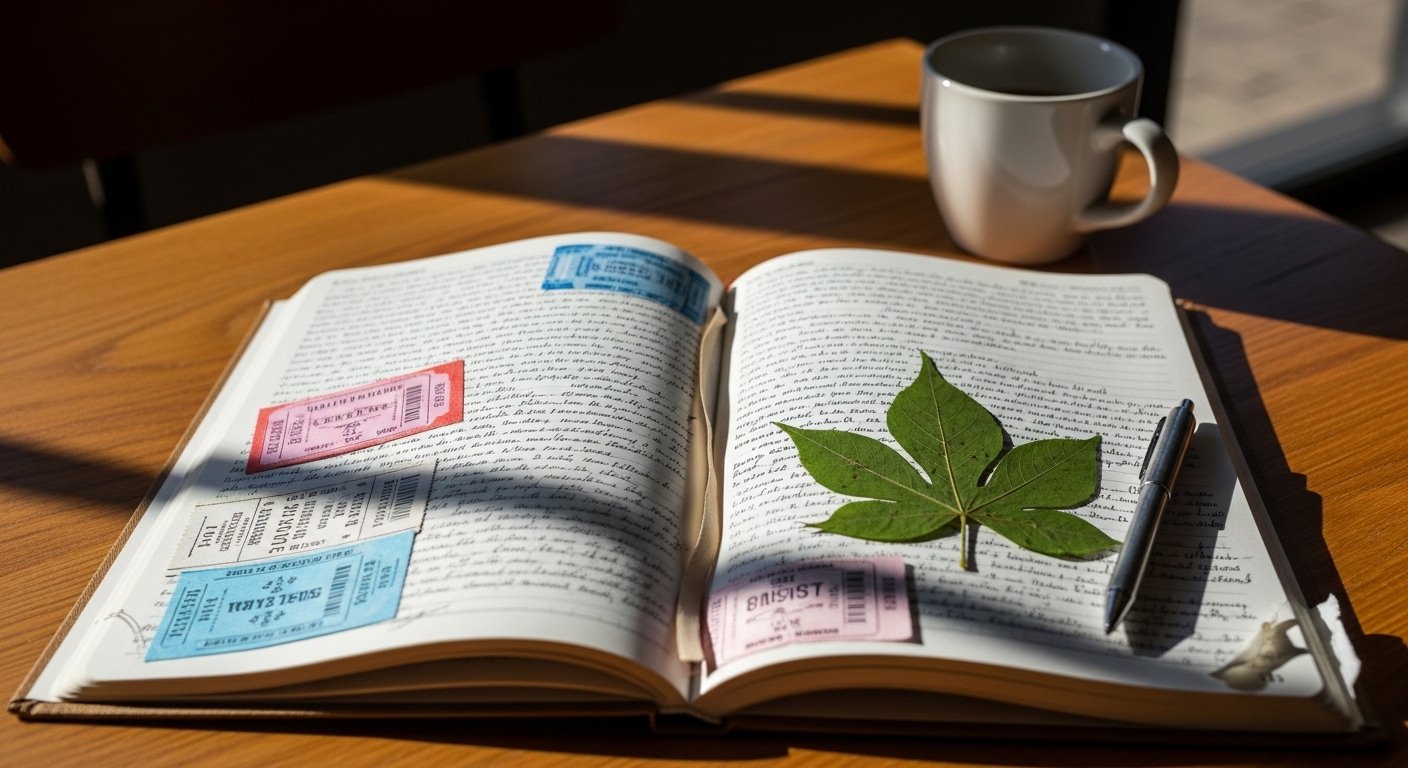
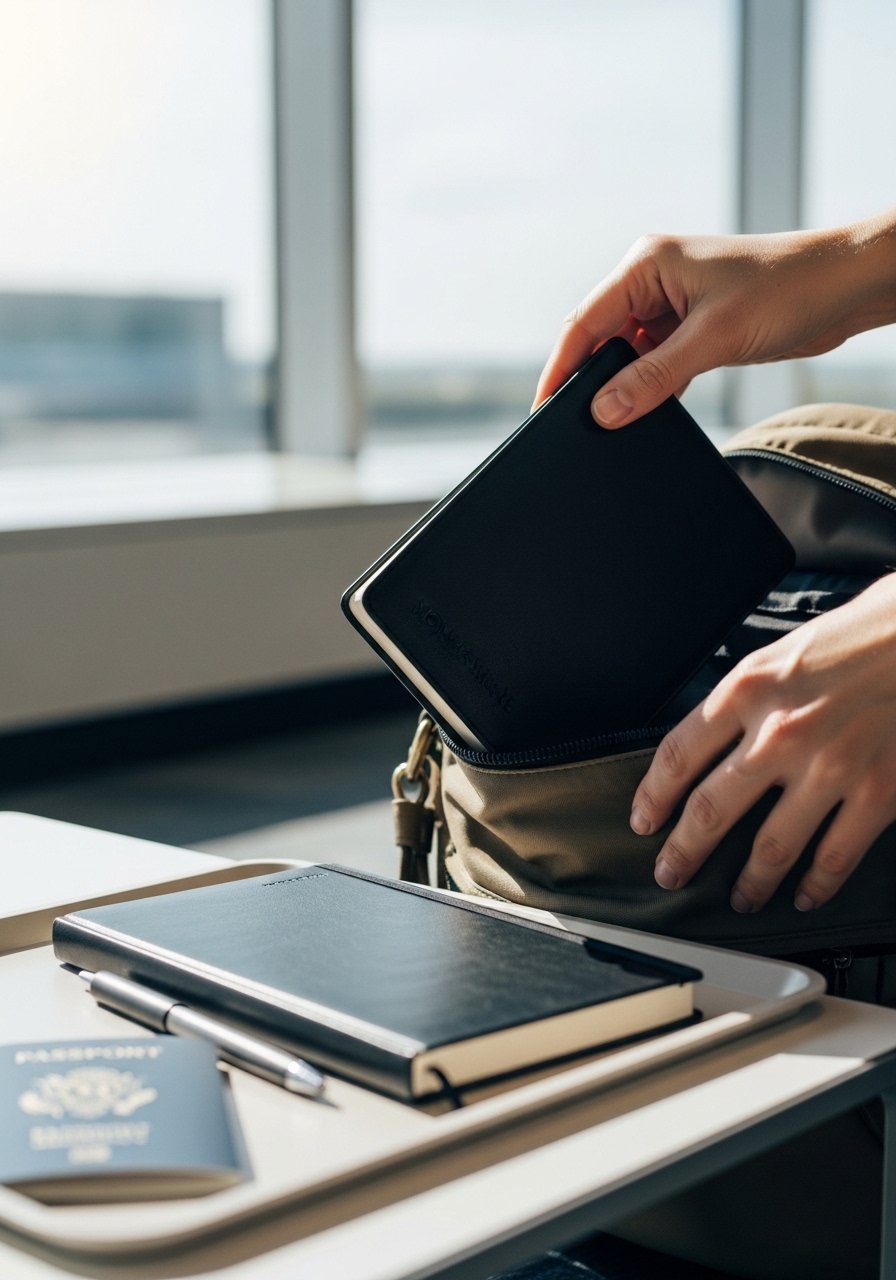
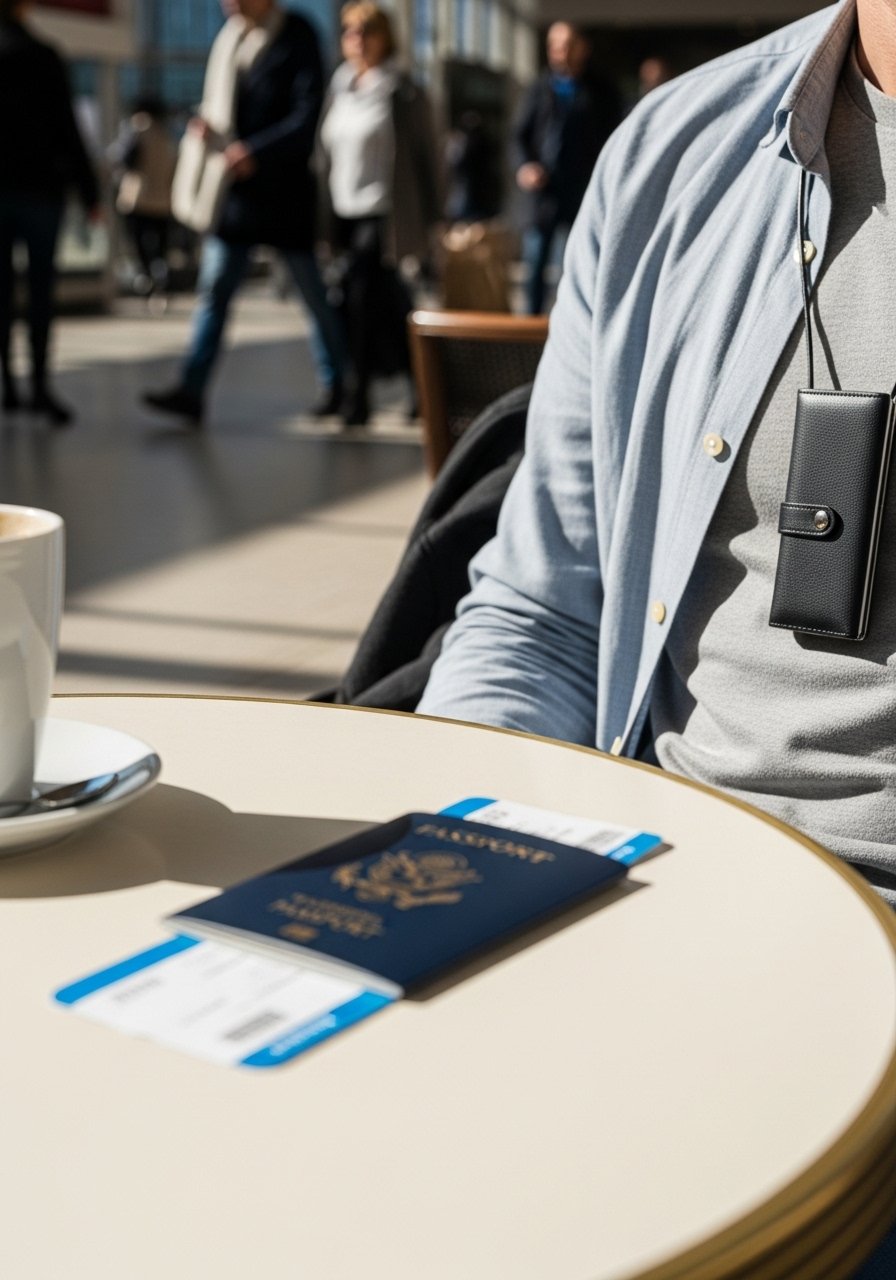
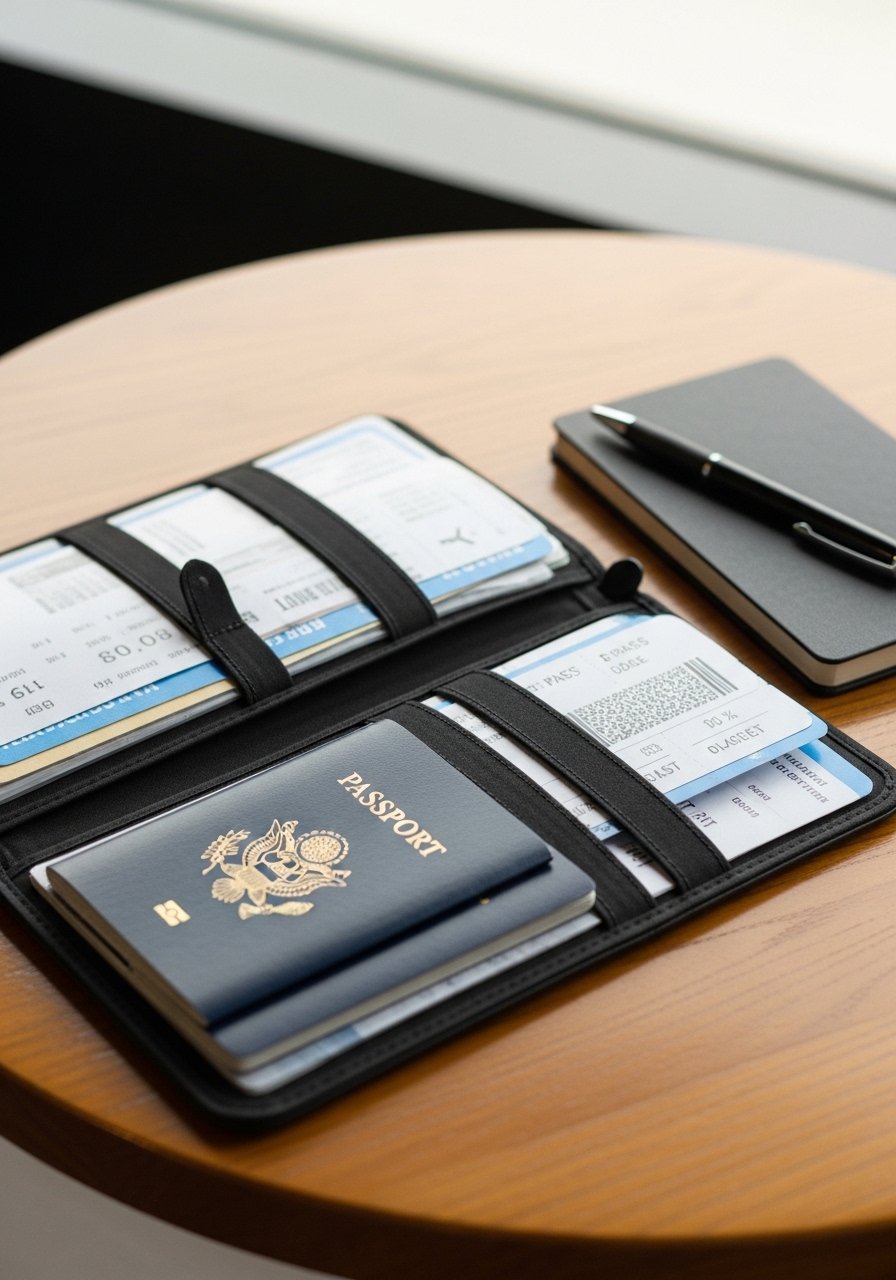
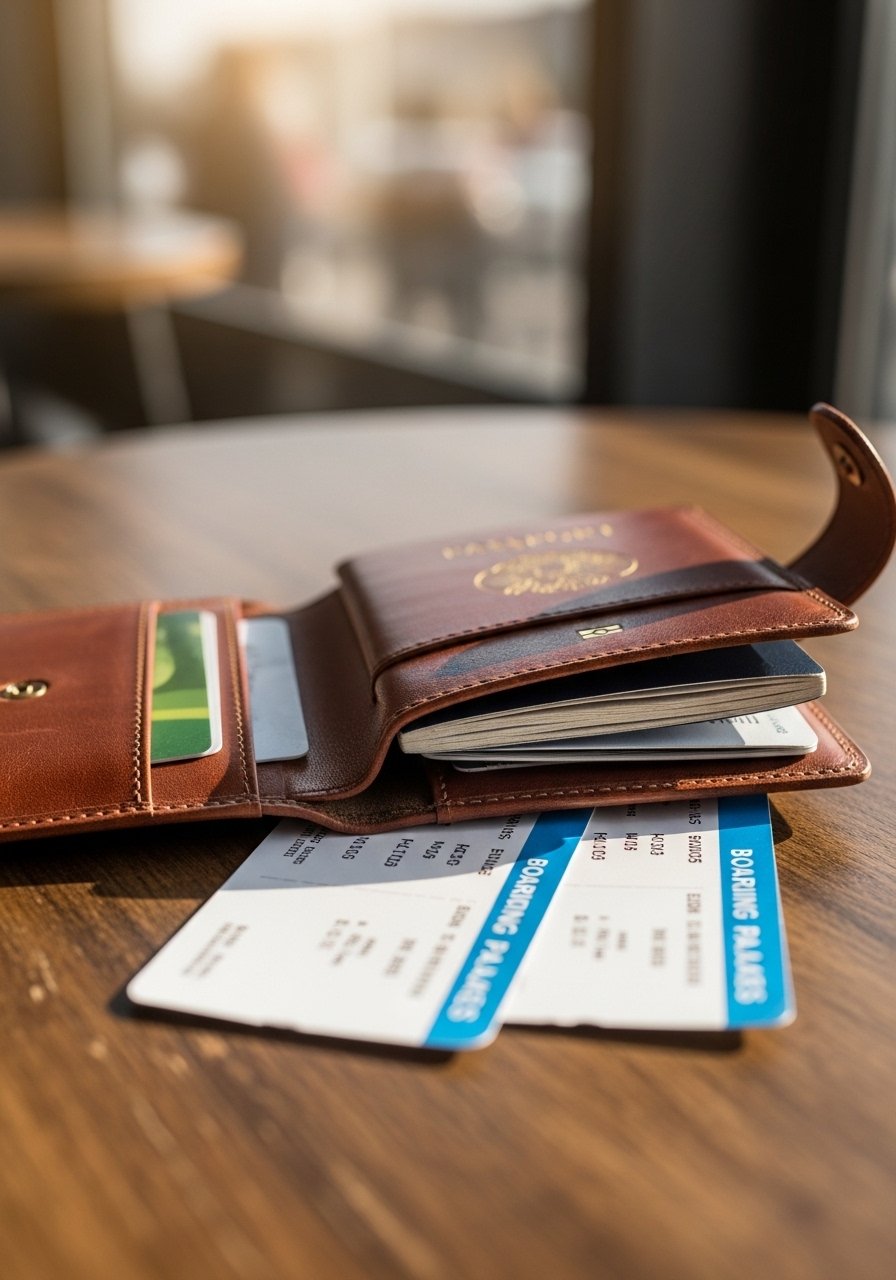
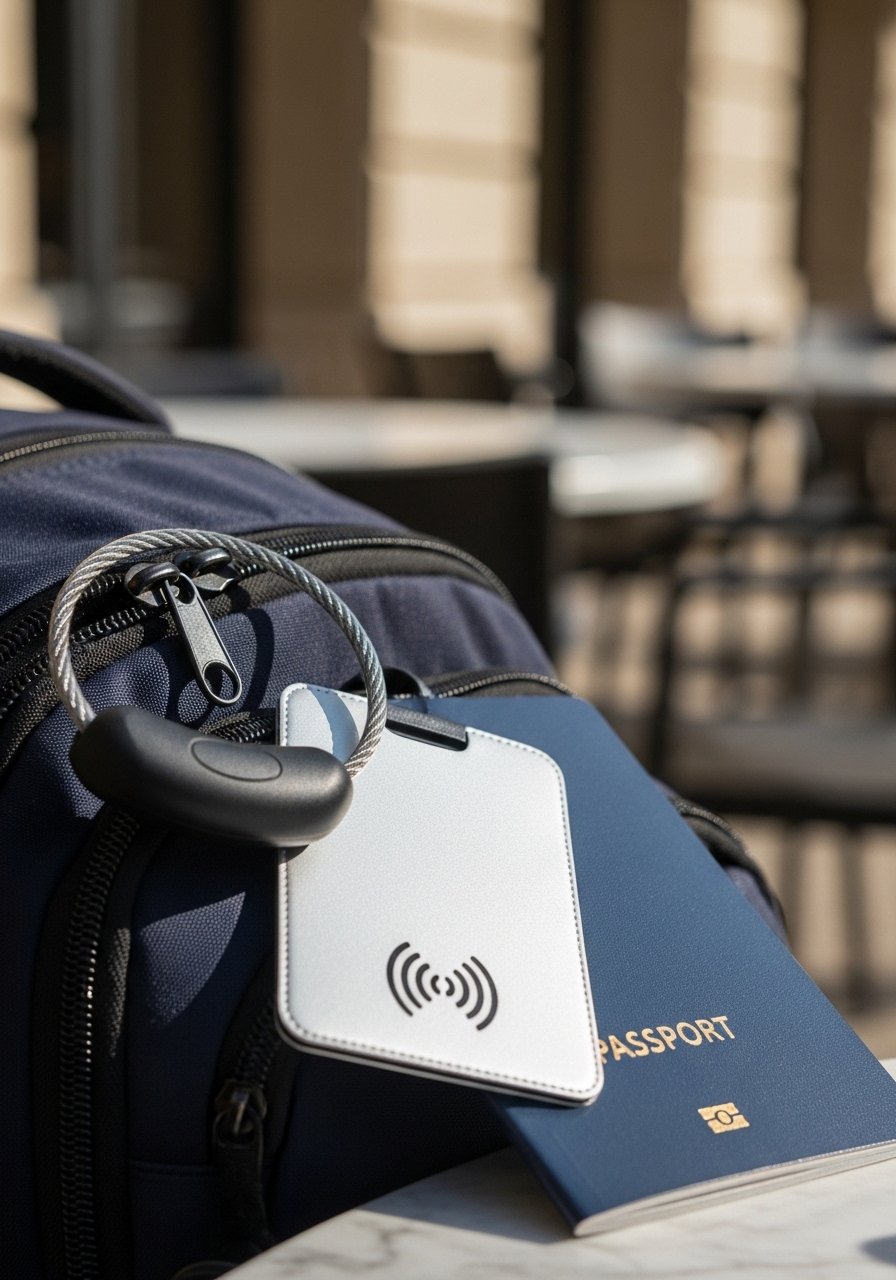
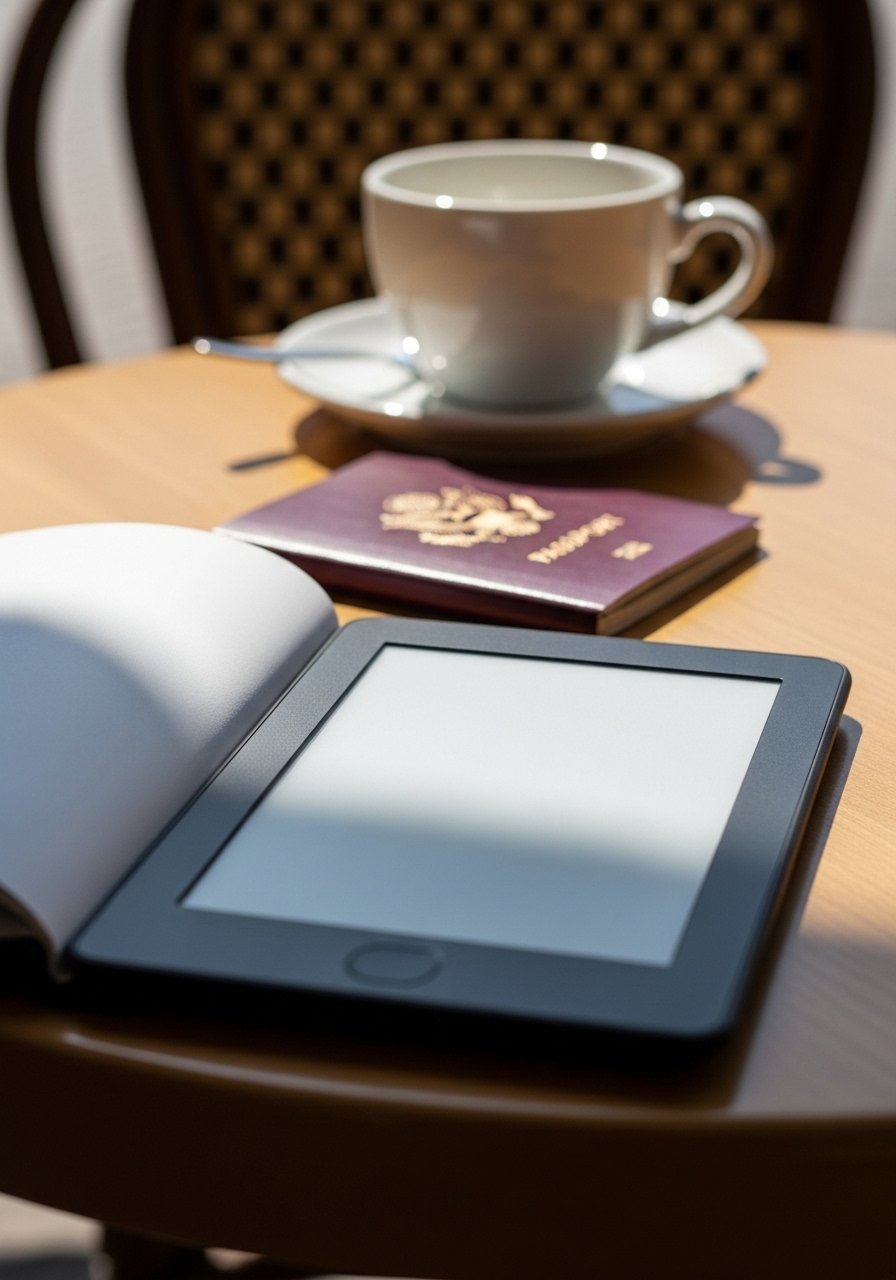
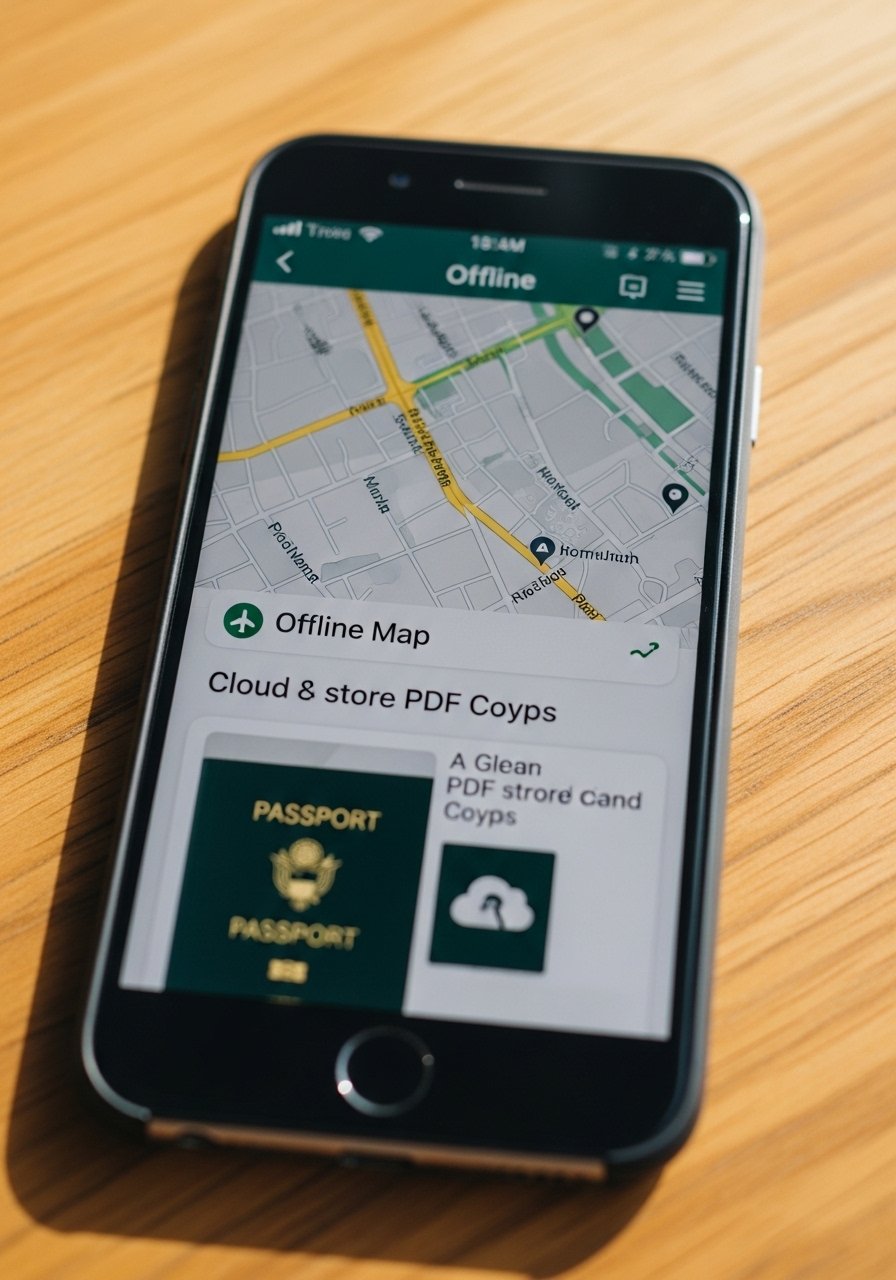
    15. Travel Document Organizer or Passport Wallet

    I used to jam documents into random pockets until a passport wallet fixed the chaos. Keep passport, boarding passes, cards, and a printed itinerary together. It speeds border crossings and hotel check-in.

    Look for RFID protection and multiple slots for cards and receipts. Thin leather or nylon models are best for weight.

    People often leave loose receipts and lose track of reservations. A dedicated organizer cuts that problem.

    Why It Makes the List

    • Keeps critical documents handy and secure.
    • Avoids frantic searches during check-in.
    • Protects passport and cards from wear.

    What You’ll Want for This


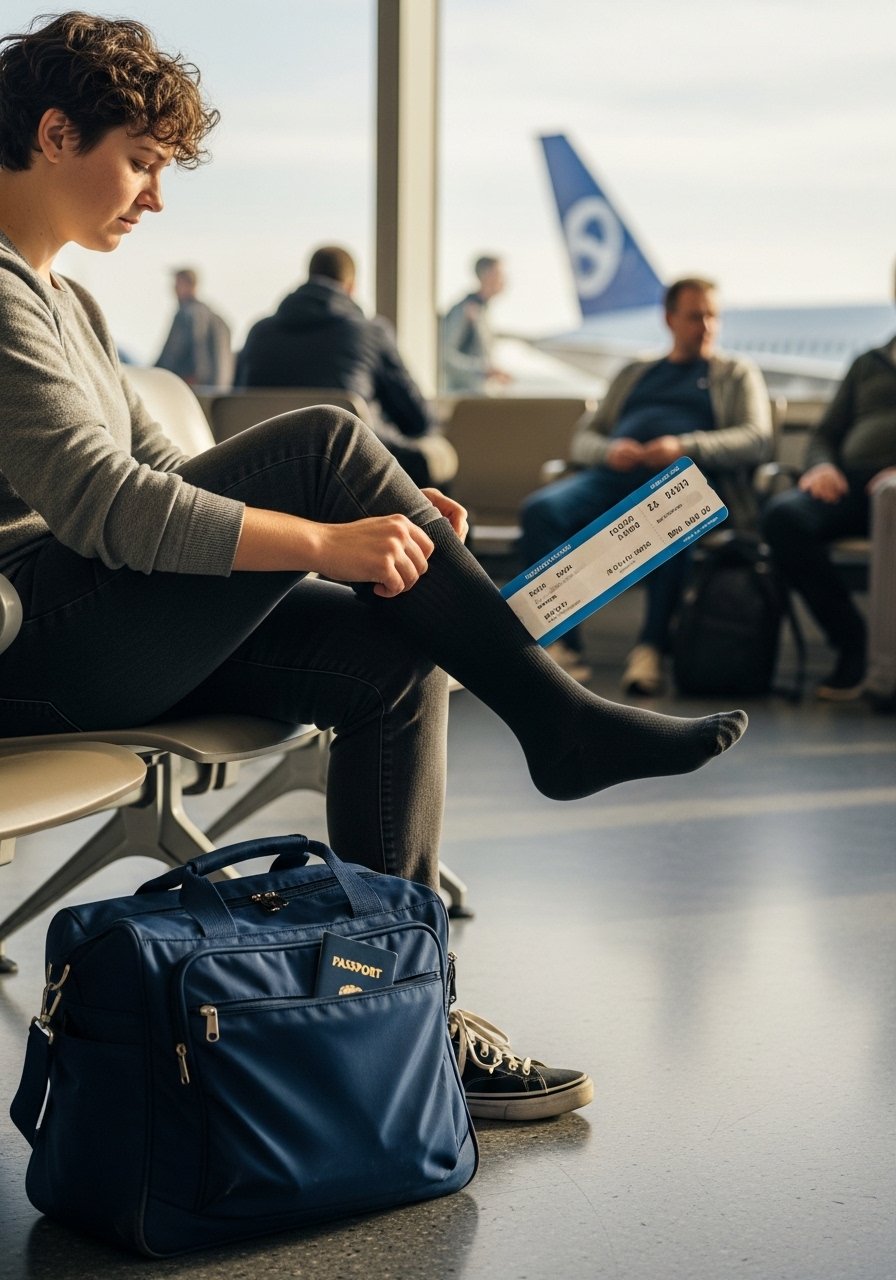
    16. Compression Socks for Long Flights or Long Walking Days

    I started wearing compression socks on flights longer than three hours. They reduce swelling and keep my legs feeling fresher after walking all day.

    Choose moderate compression (15–20 mmHg) for travel unless a doctor recommends otherwise. Breathable fabric matters for long days.

    People often ignore foot care until the flight ends. I slip them on before takeoff and notice less stiffness.

    Why It Makes the List

    • Reduces leg swelling and fatigue.
    • Helps you feel more comfortable after long sits.
    • Easy to pack and quick to put on.

    What You’ll Want for This


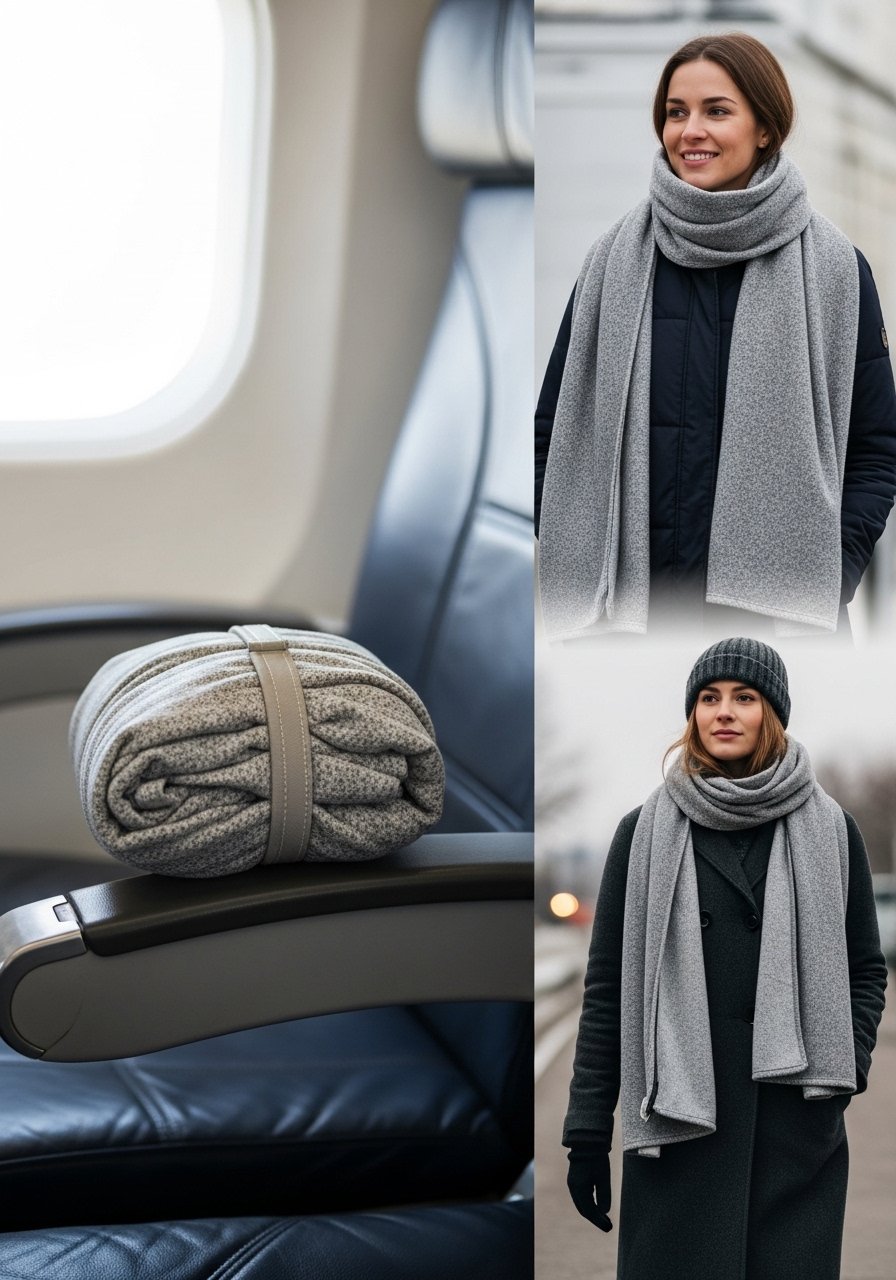
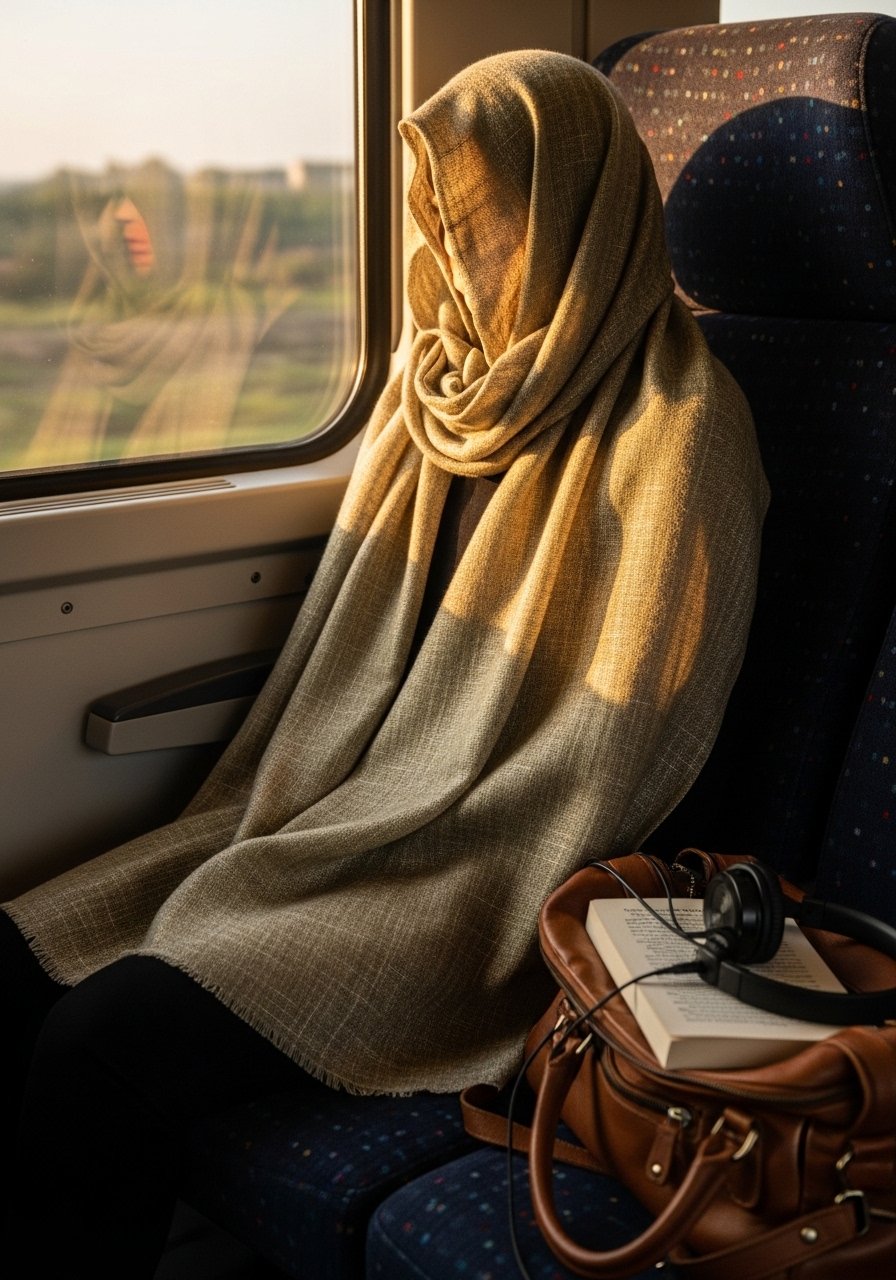
    17. Lightweight Scarf or Travel Blanket Wrap

    Planes and trains can be chilly. I carry a lightweight scarf that doubles as a blanket, neck pillow cover, or impromptu sunshade.

    Pick a fabric that’s soft and thin but warm—merino blends work well. It should fold slim and still feel cozy.

    Many people pack bulky throws that don’t get used. A scarf is more versatile and fits in a daypack.

    Why It Makes the List

    • Multipurpose: warmth, privacy, sun protection.
    • Compresses small and adds comfort.
    • Useful in unpredictable cabin temps.

    What You’ll Want for This


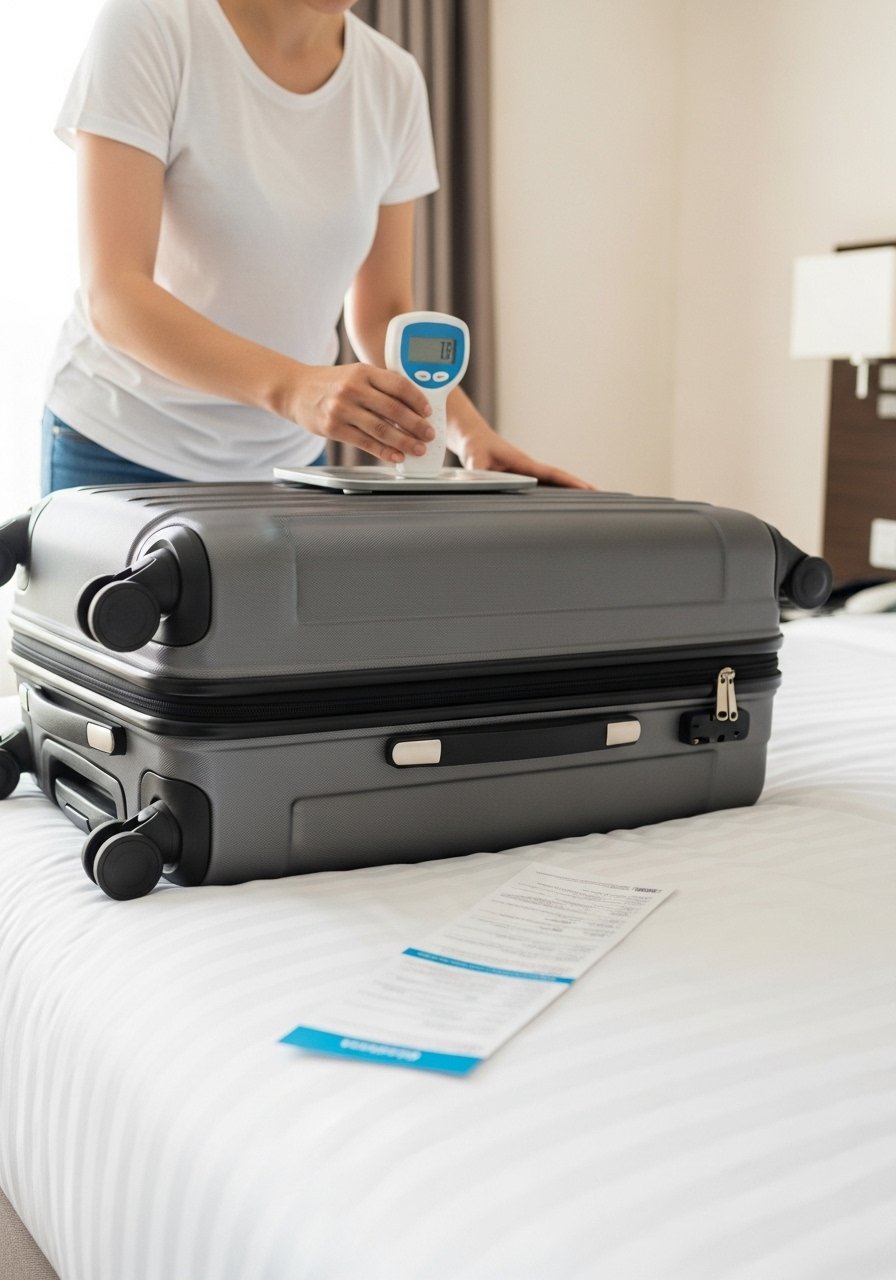
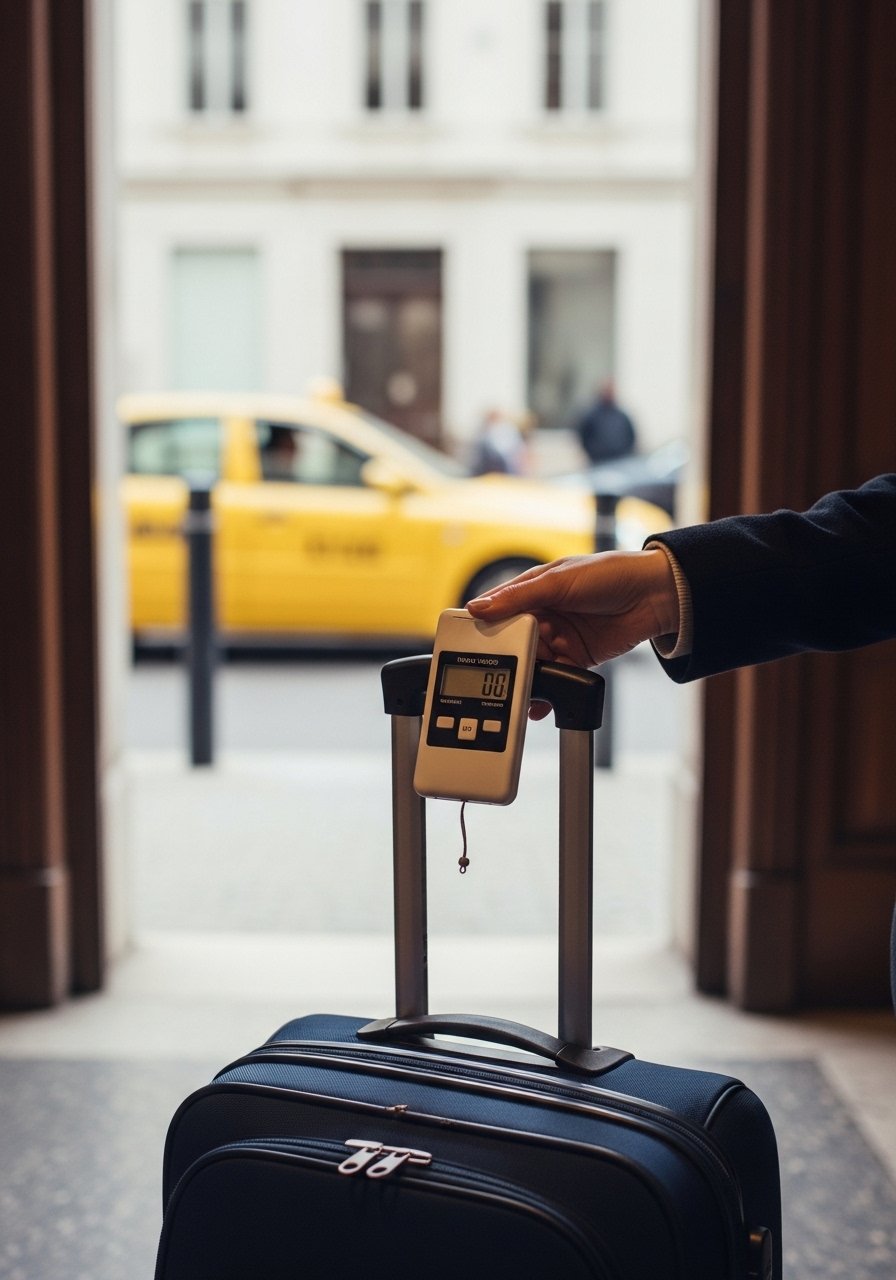
    18. Portable Luggage Scale to Avoid Surprise Fees

    I once paid an extra fee because my bag was overweight on a short trip. A pocket luggage scale prevents that mistake. I weigh my bag after repacking and remove items if needed.

    Pick a scale with a clear backlit display and reliable accuracy to 0.1 kg or 0.2 lb. Small magnets or fold-away handles help.

    People assume they can eyeball weight. Don’t. Airports are precise.

    Why It Makes the List

    • Prevents overweight baggage fees.
    • Helps plan what to remove before leaving.
    • Compact and cheap insurance against surprises.

    What You’ll Want for This


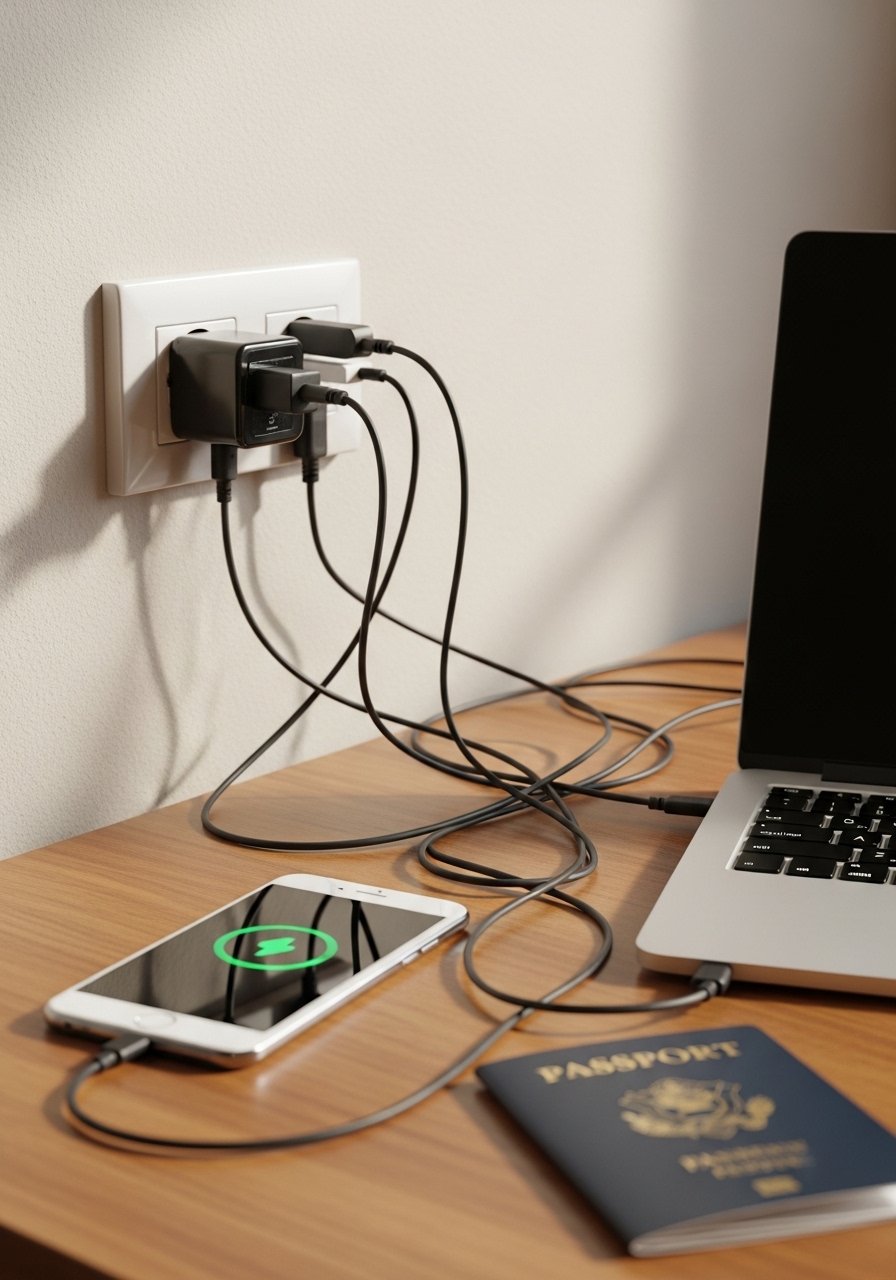
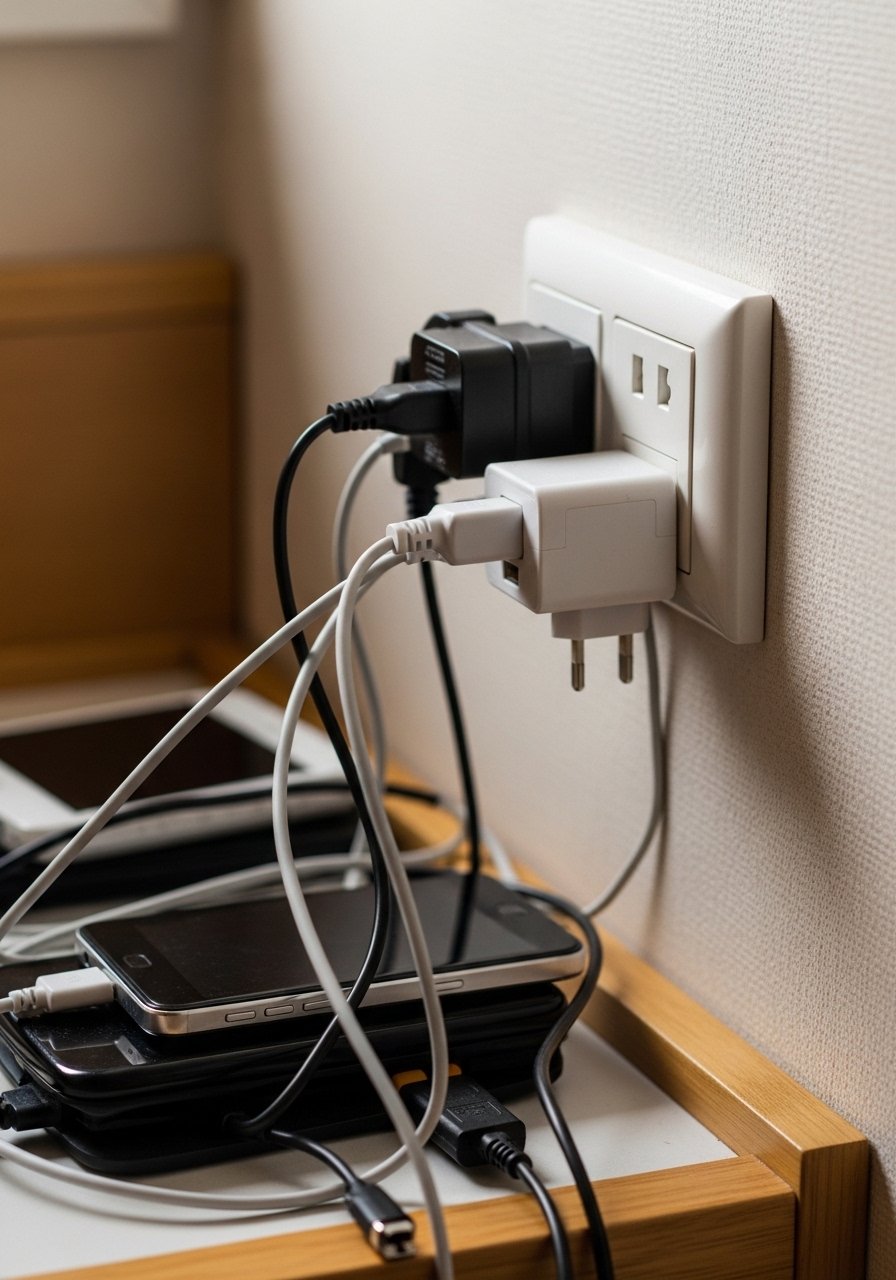
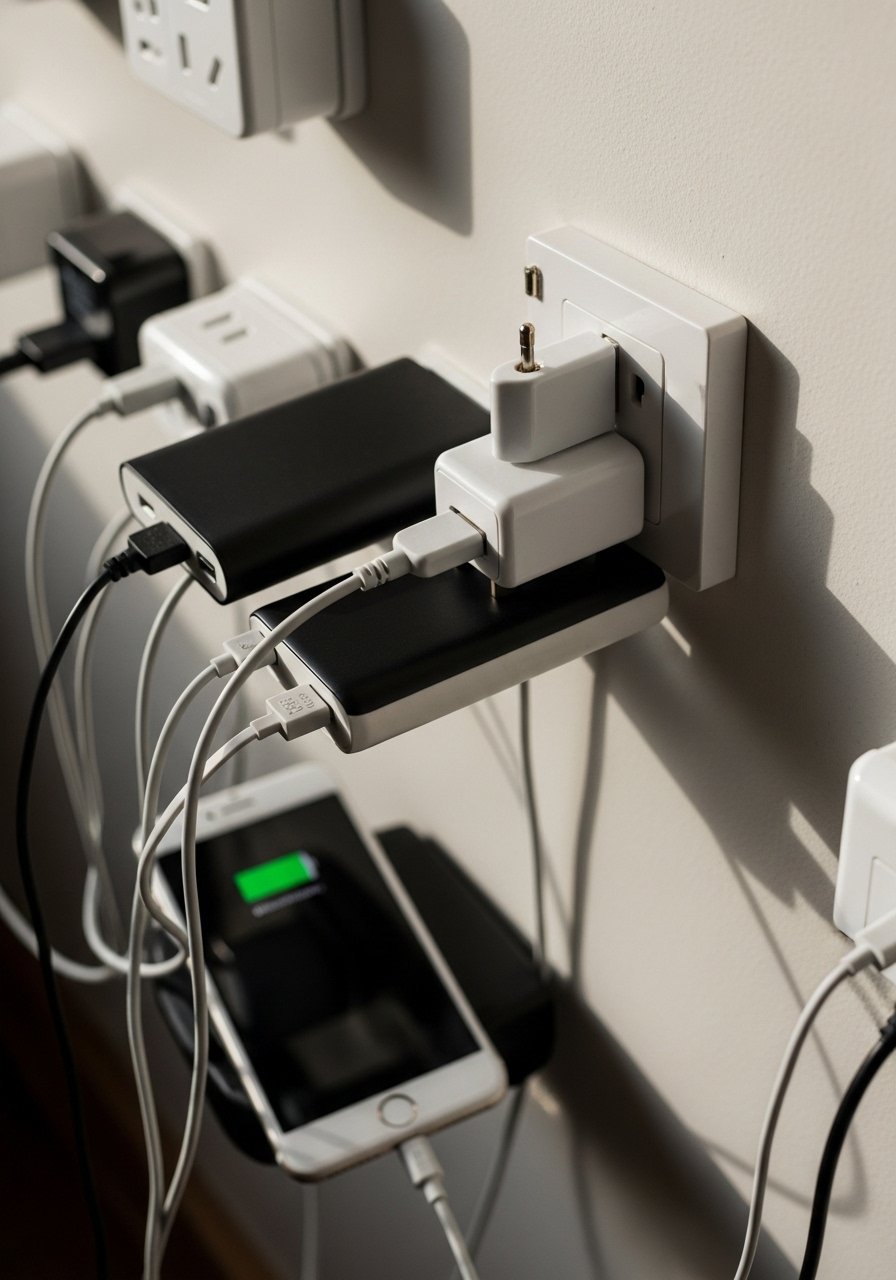
    19. Multi-Port USB Wall Charger for Crowded Outlets

    Outlets are scarce in hotel rooms. A multi-port USB charger lets me charge a phone, tablet, and headphones from one spot. It also replaces multiple bulky chargers.

    I choose chargers with at least two USB-C ports and one USB-A. A compact brick with foldable prongs fits easily.

    Most people bring separate chargers for each device. Consolidating saves space and outlet real estate.

    Why It Makes the List

    • Charges multiple devices at once.
    • Keeps cables organized and reduces clutter.
    • Ideal for small hotel rooms and airport lounges.

    What You’ll Want for This


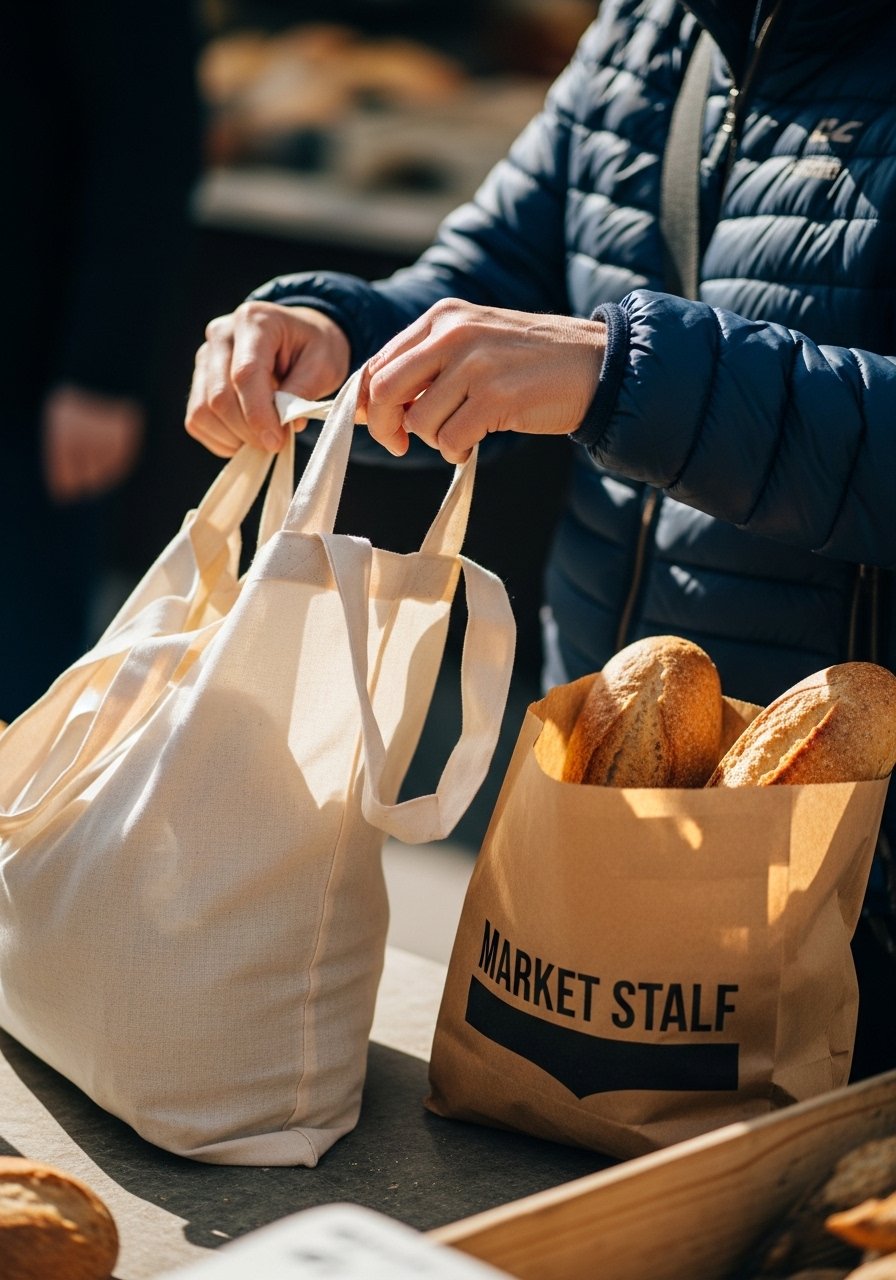
    20. Packable Reusable Tote for Extra Shopping or Laundry

    Markets and souvenir shops fill quickly. A lightweight reusable tote handles groceries, laundry, or extra purchases on the last day. It folds down to nothing in my pocket.

    Choose a durable but thin fabric with a small zip pouch. It should hold 20+ liters without bulking up.

    People often buy plastic bags when they could’ve used a small foldable tote. Mine has saved me multiple times.

    Why It Makes the List

    • Adds flexible cargo capacity for day trips.
    • Saves money and reduces waste.
    • Packs into its own tiny pocket.

    What You’ll Want for This


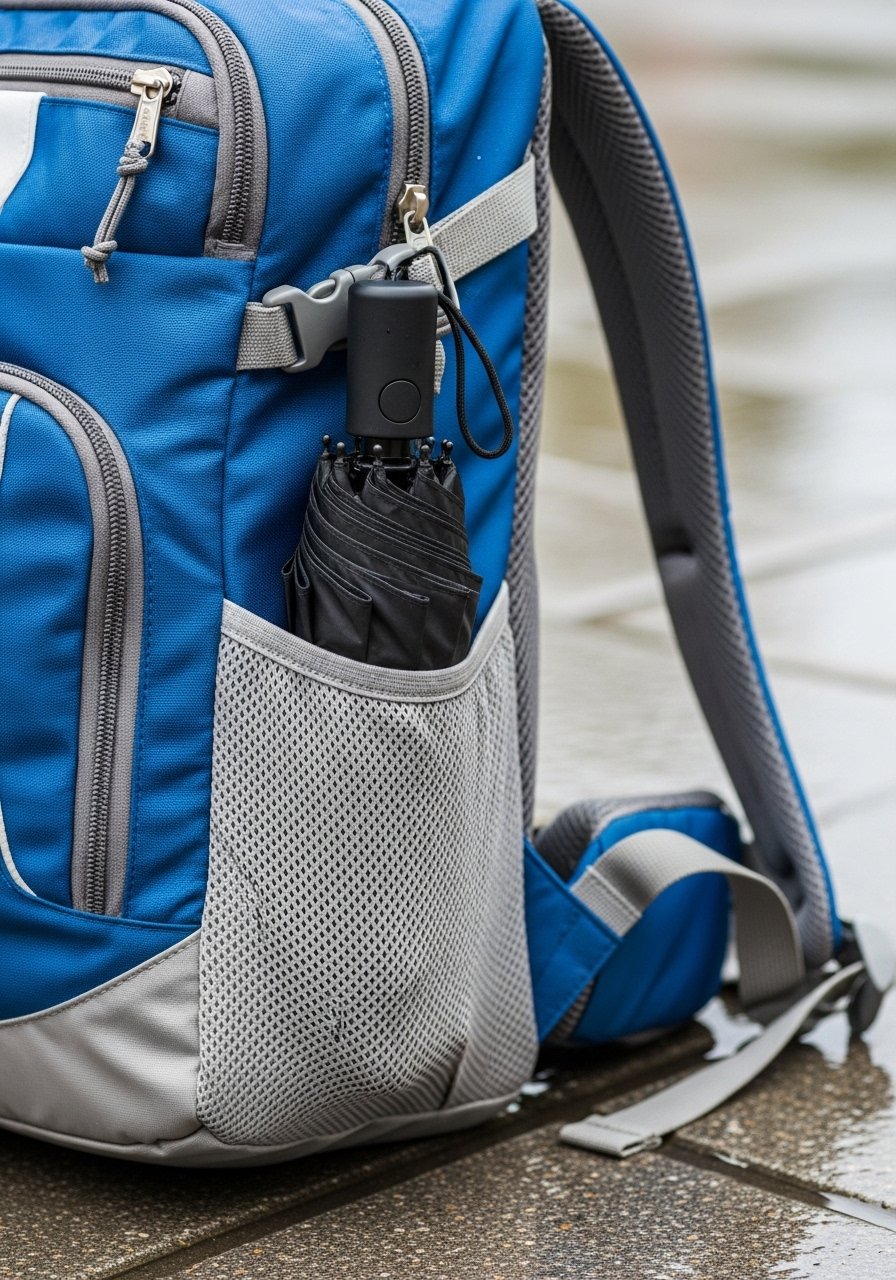
    21. Small Travel Umbrella That Folds Flat

    I’ve been caught in rain without a shelter more than once. A compact umbrella takes little room and keeps you dry during sudden showers. I prefer models with a vented canopy to handle wind.

    Check weight; some umbrellas are heavier than they look. A 9–11 inch folded length fits easily in a carry-on pocket.

    Many travelers omit an umbrella because they “won’t need it.” I learned that weather changes fast in coastal cities.

    Why It Makes the List

    • Protects you in unexpected rain.
    • Folds small and fits in a daypack or carry-on.
    • More reliable than buying emergency plastic ponchos.

    What You’ll Want for This


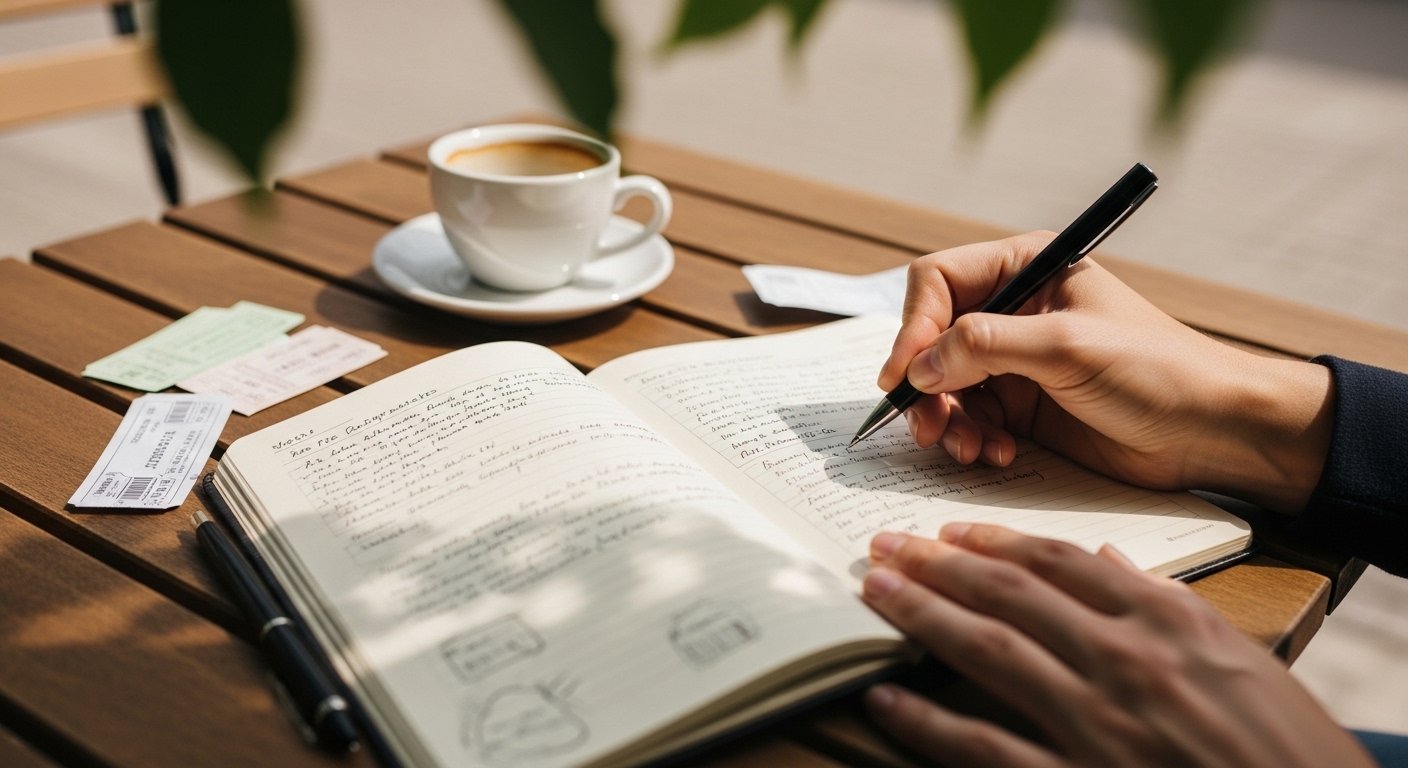
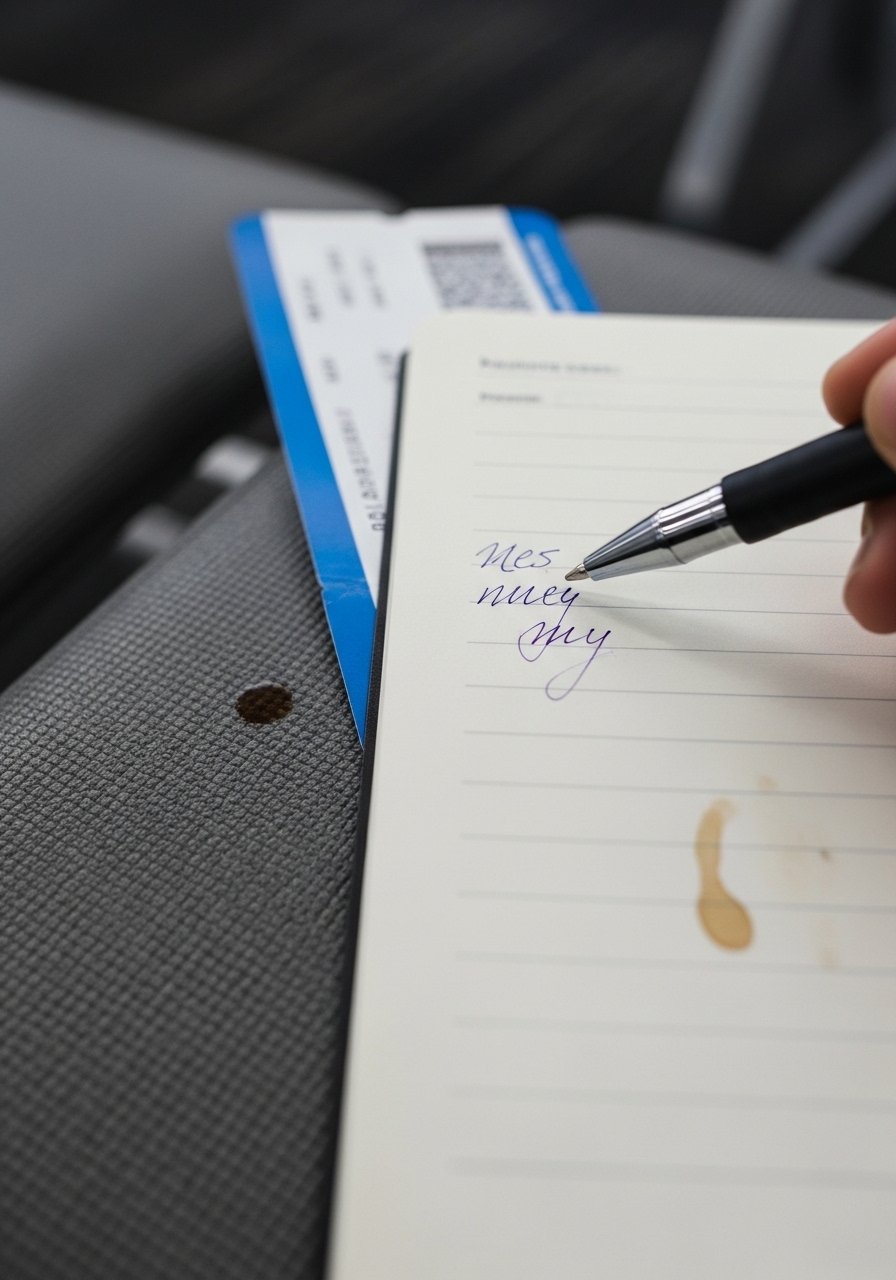
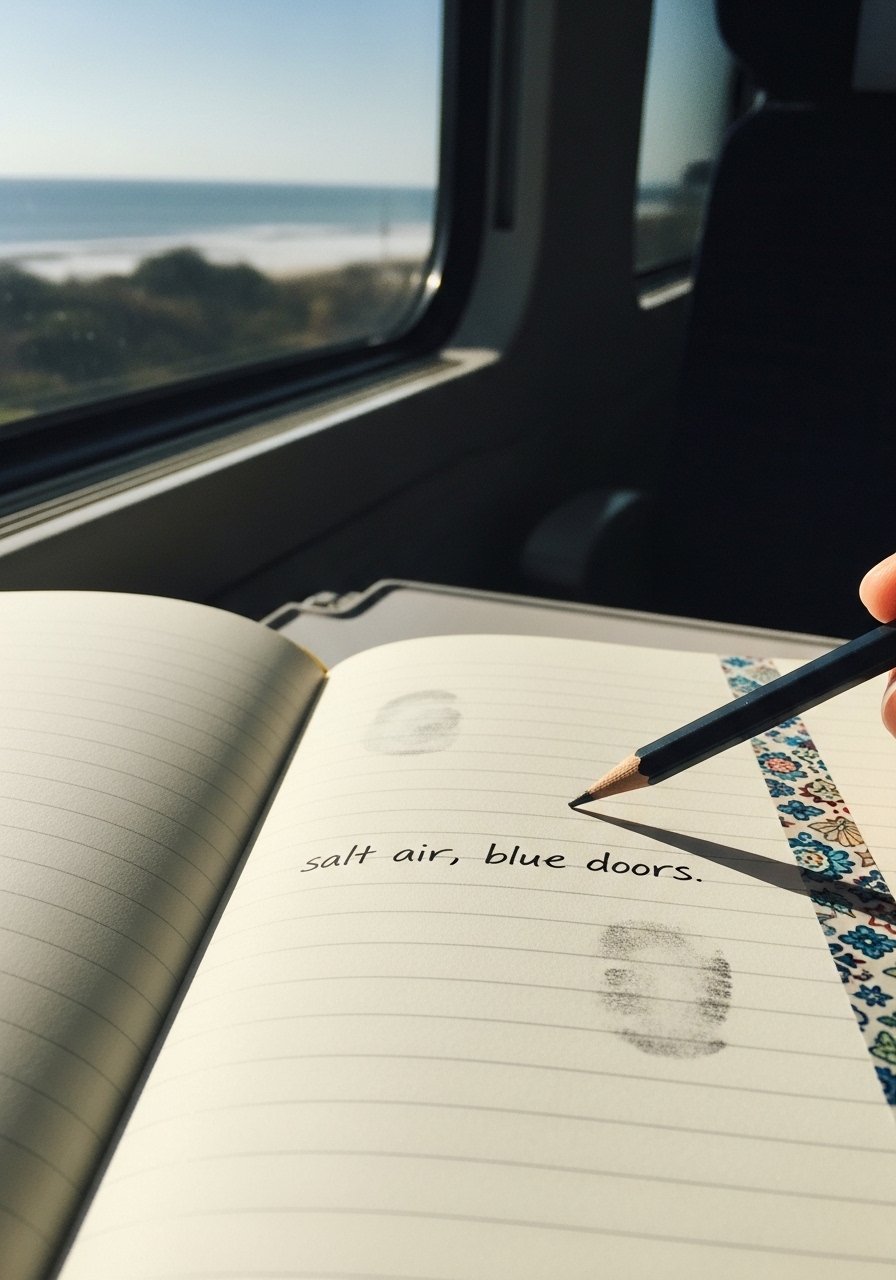
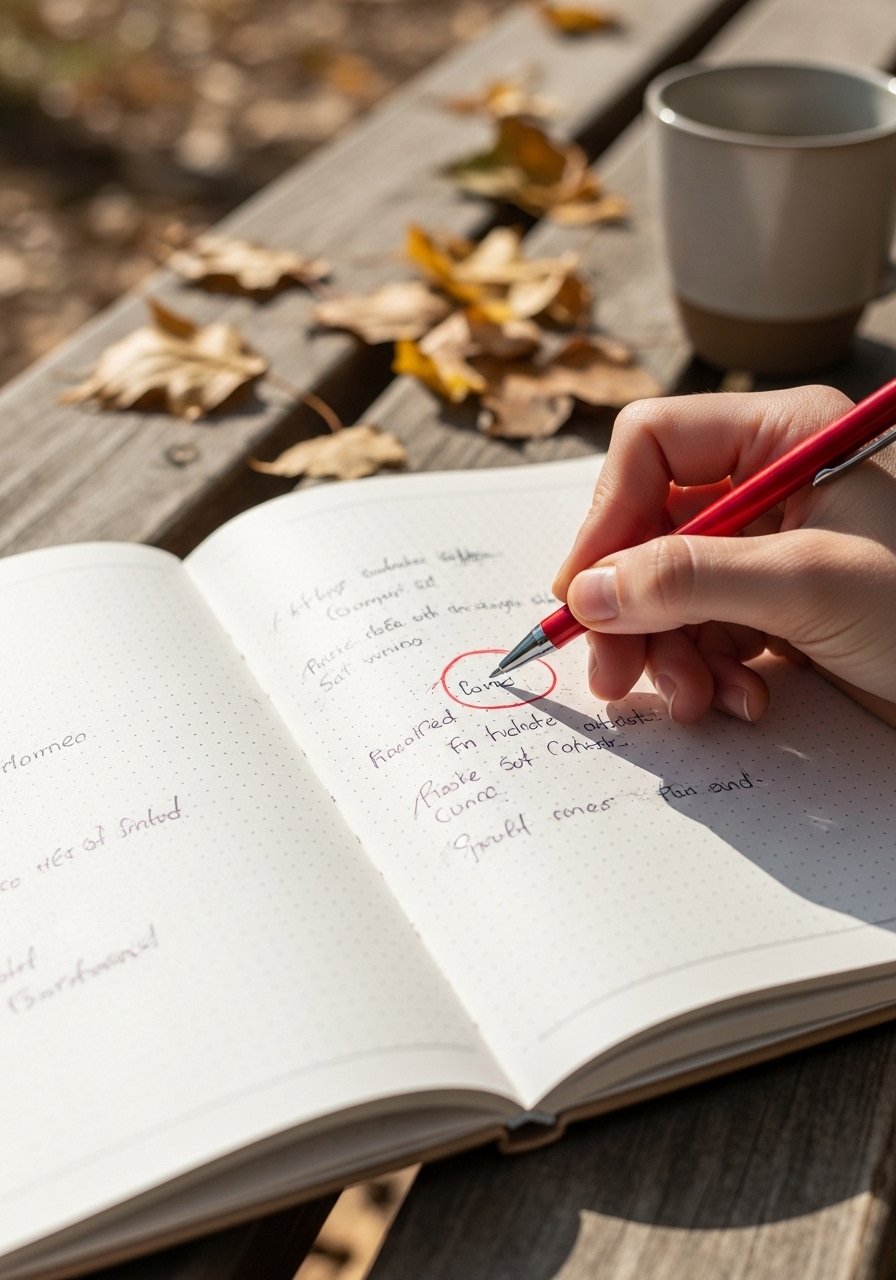
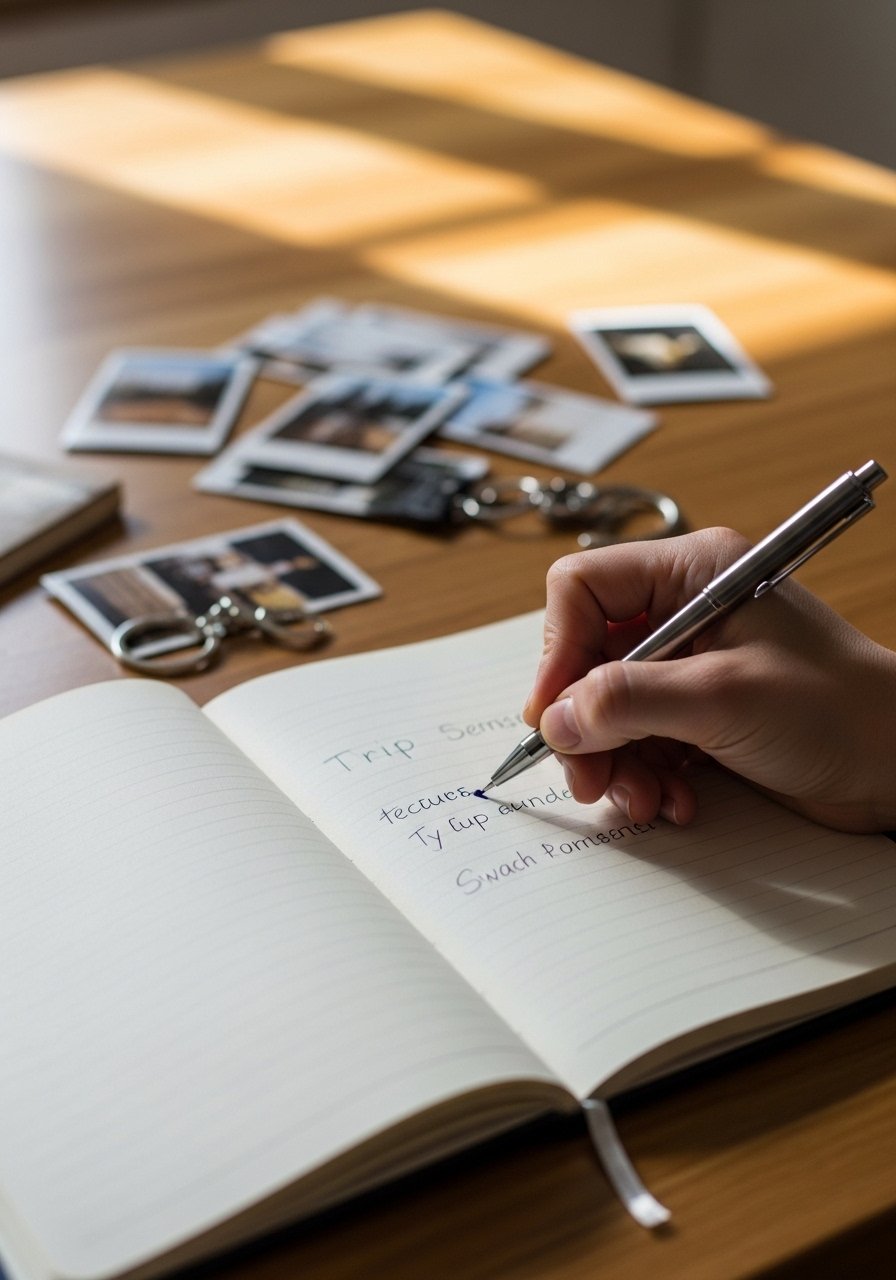
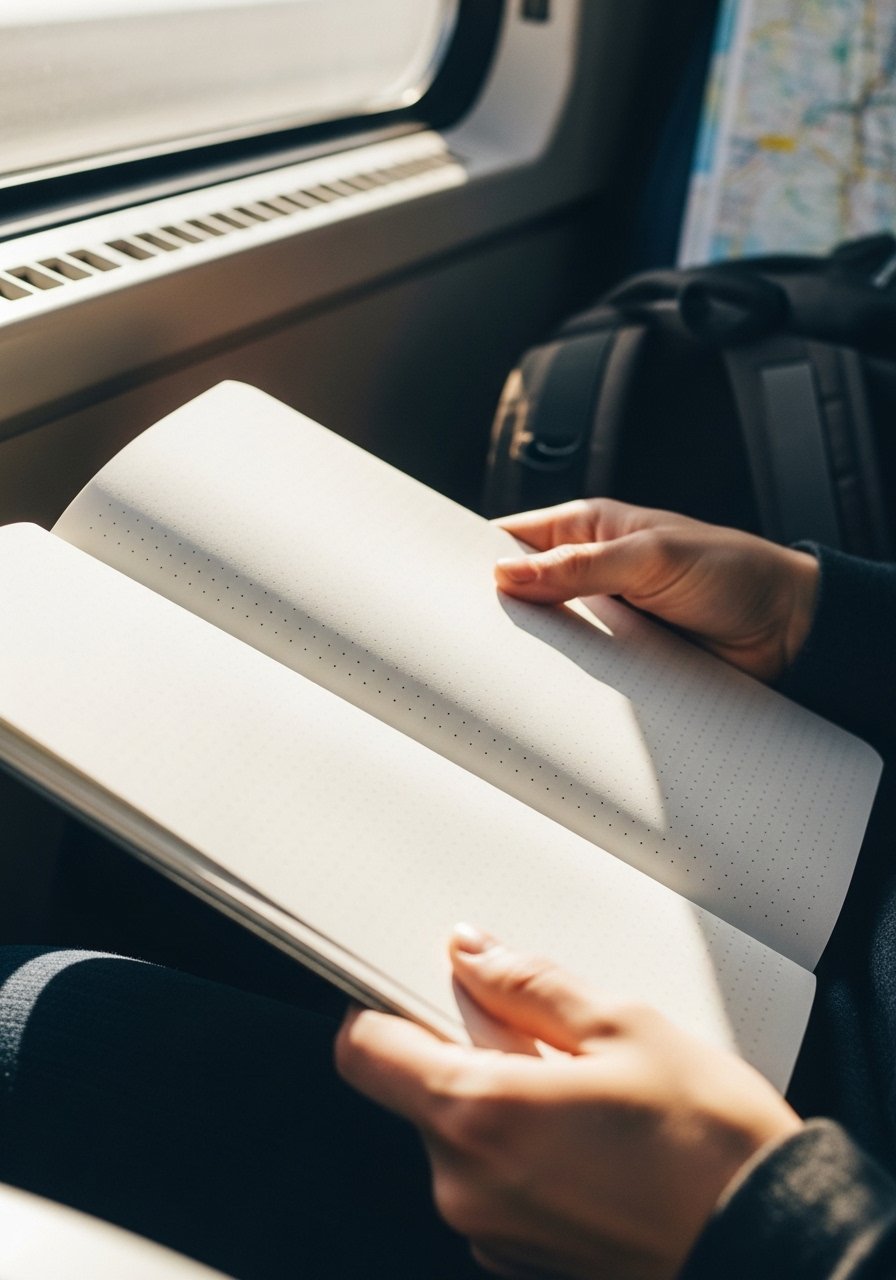
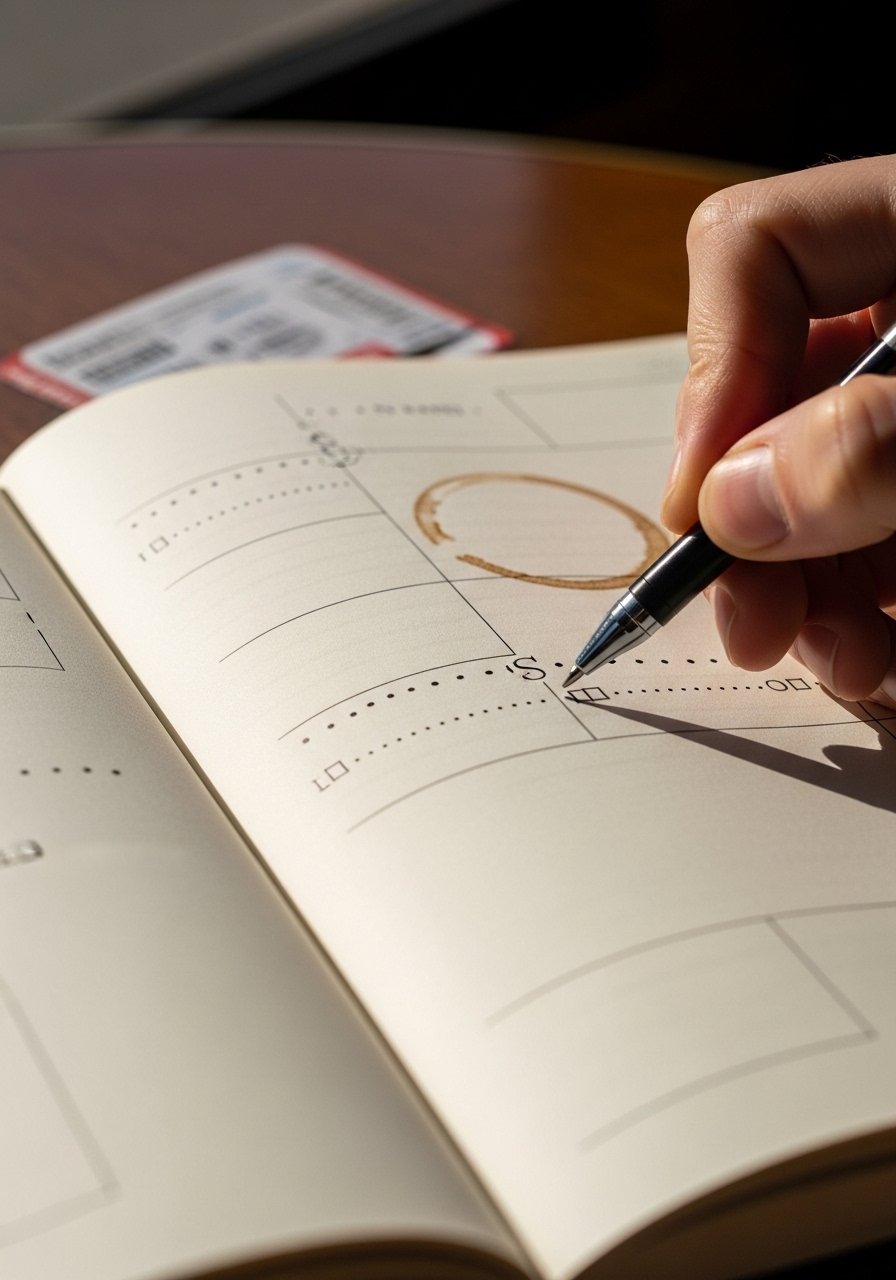
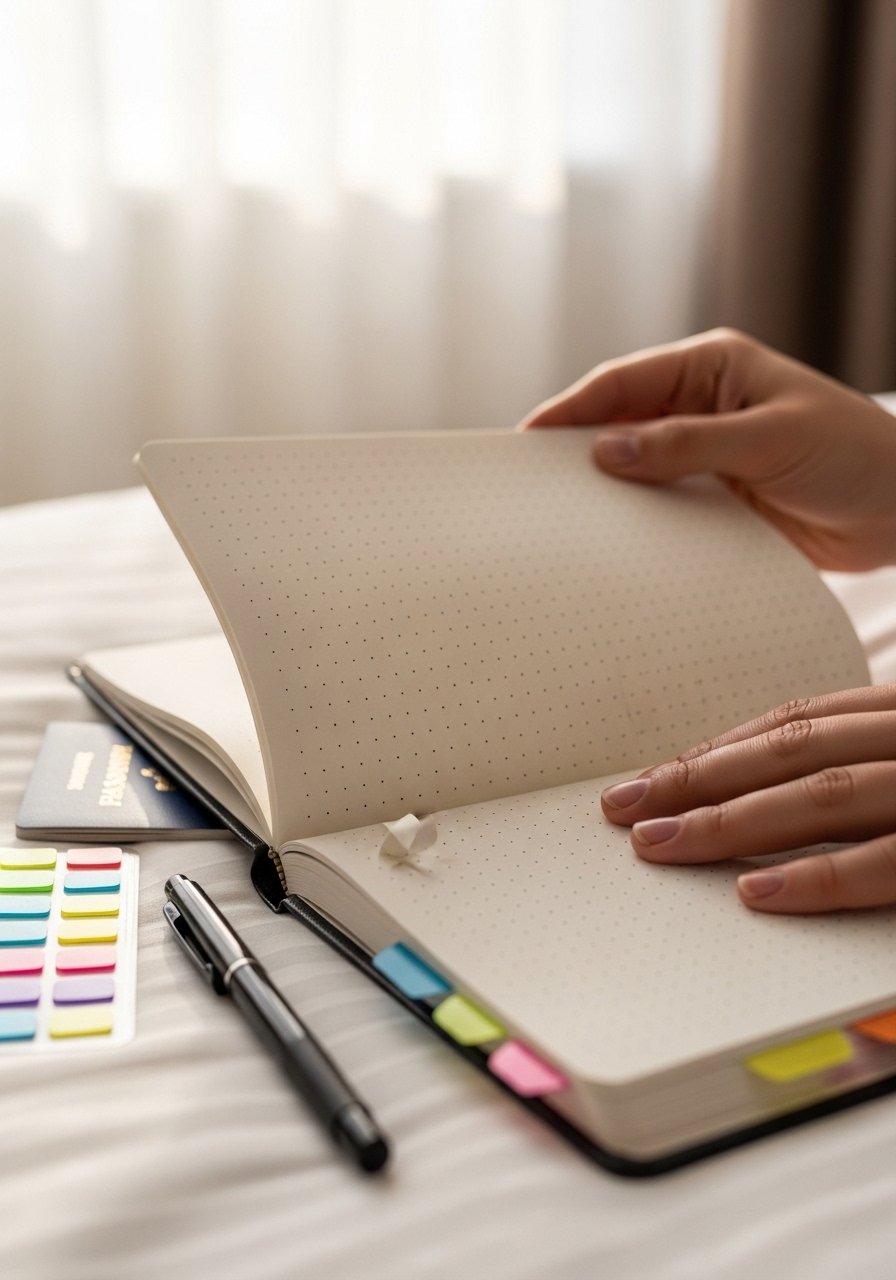
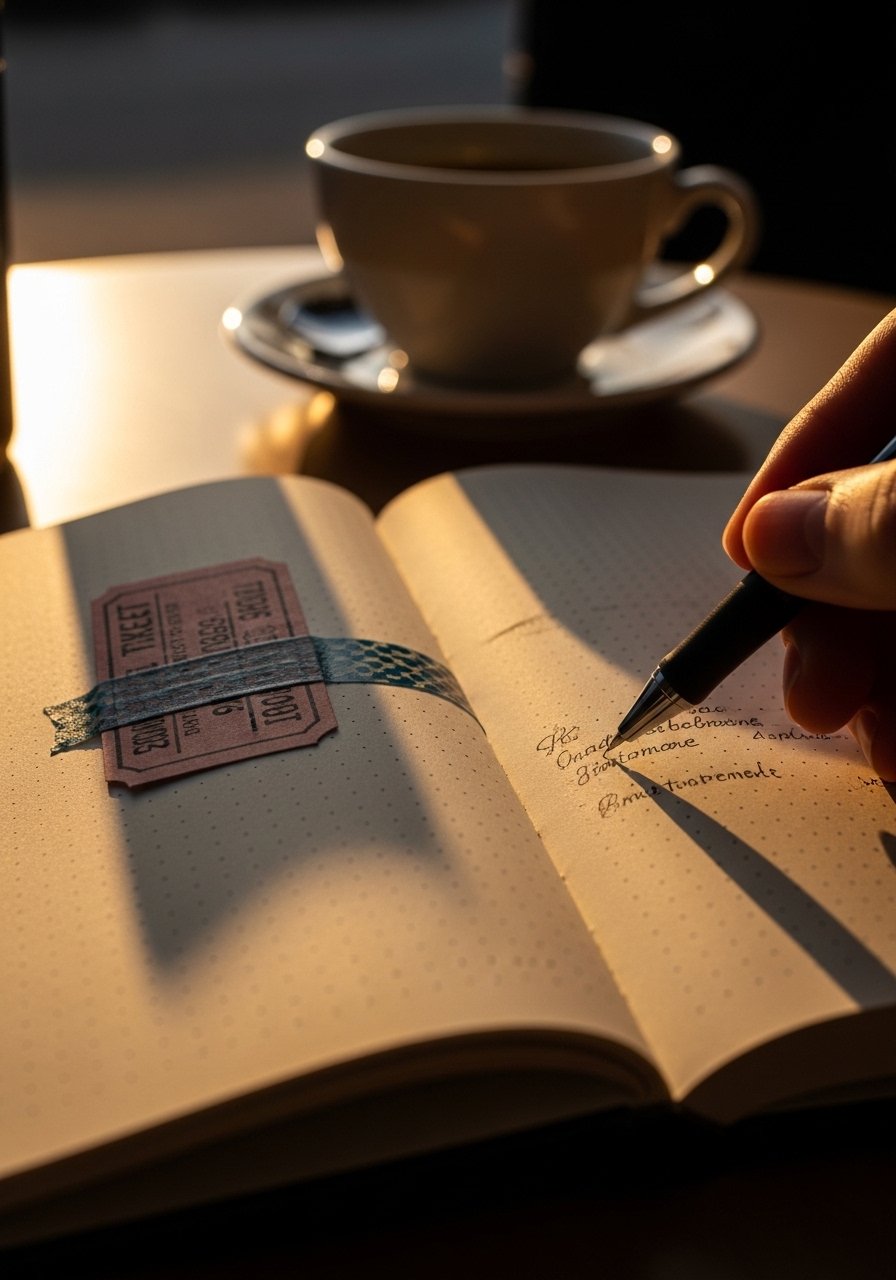
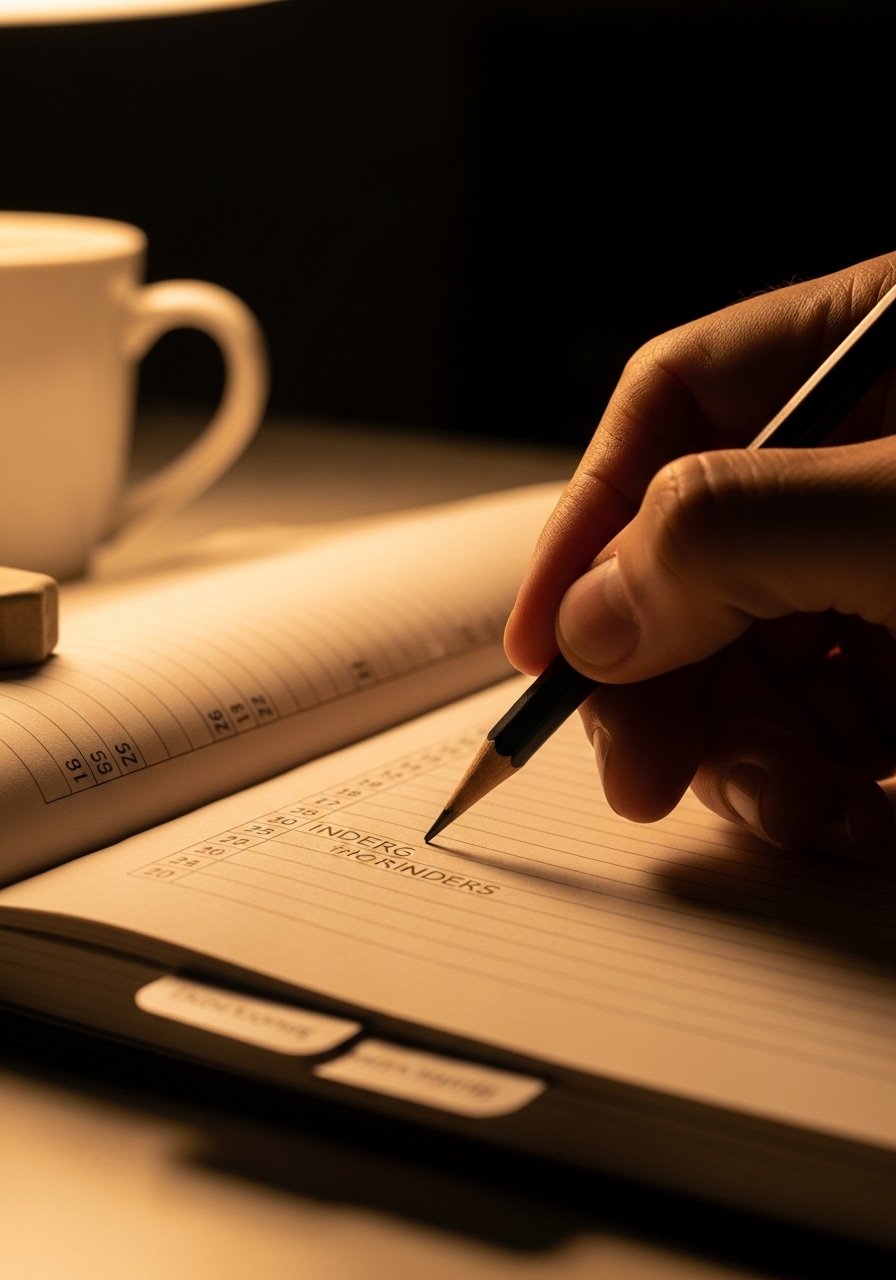
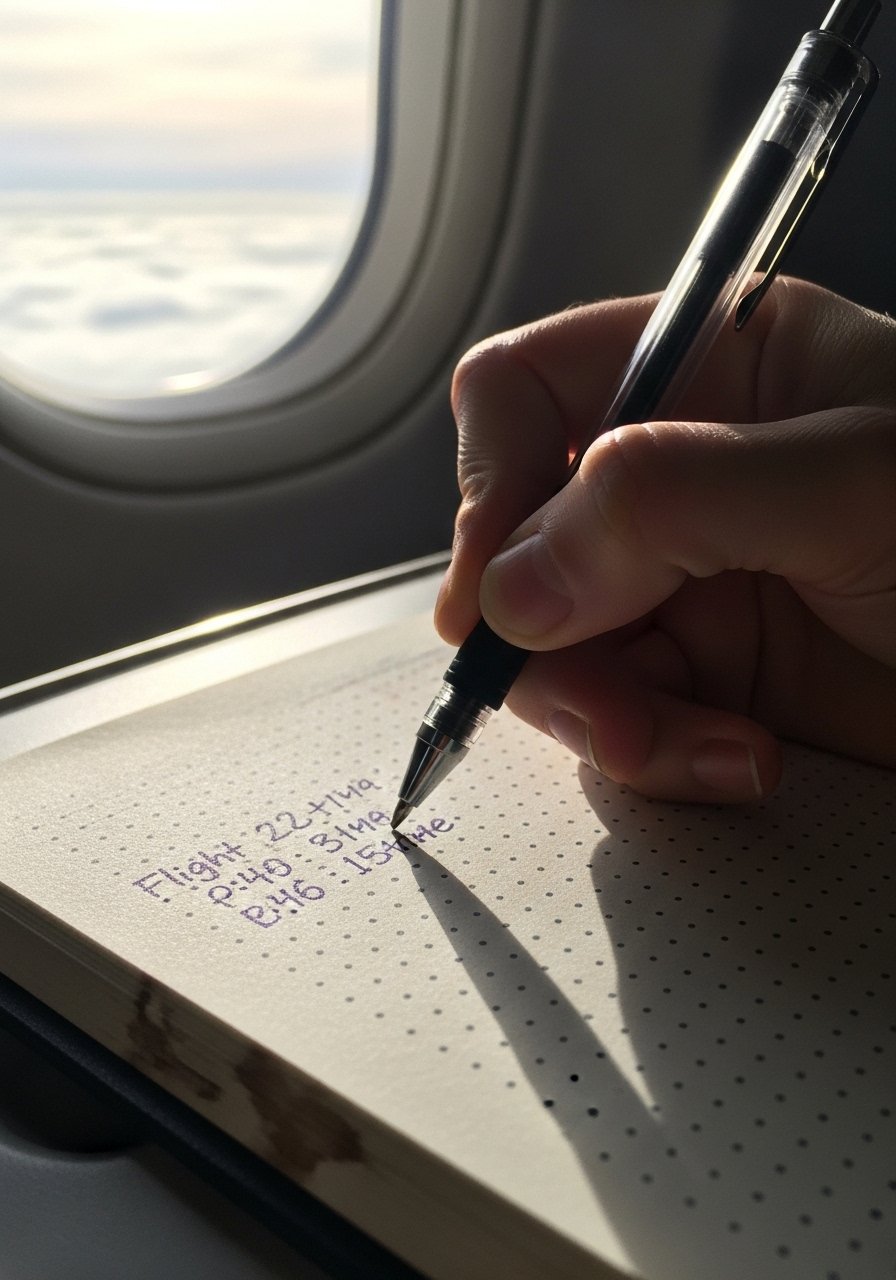
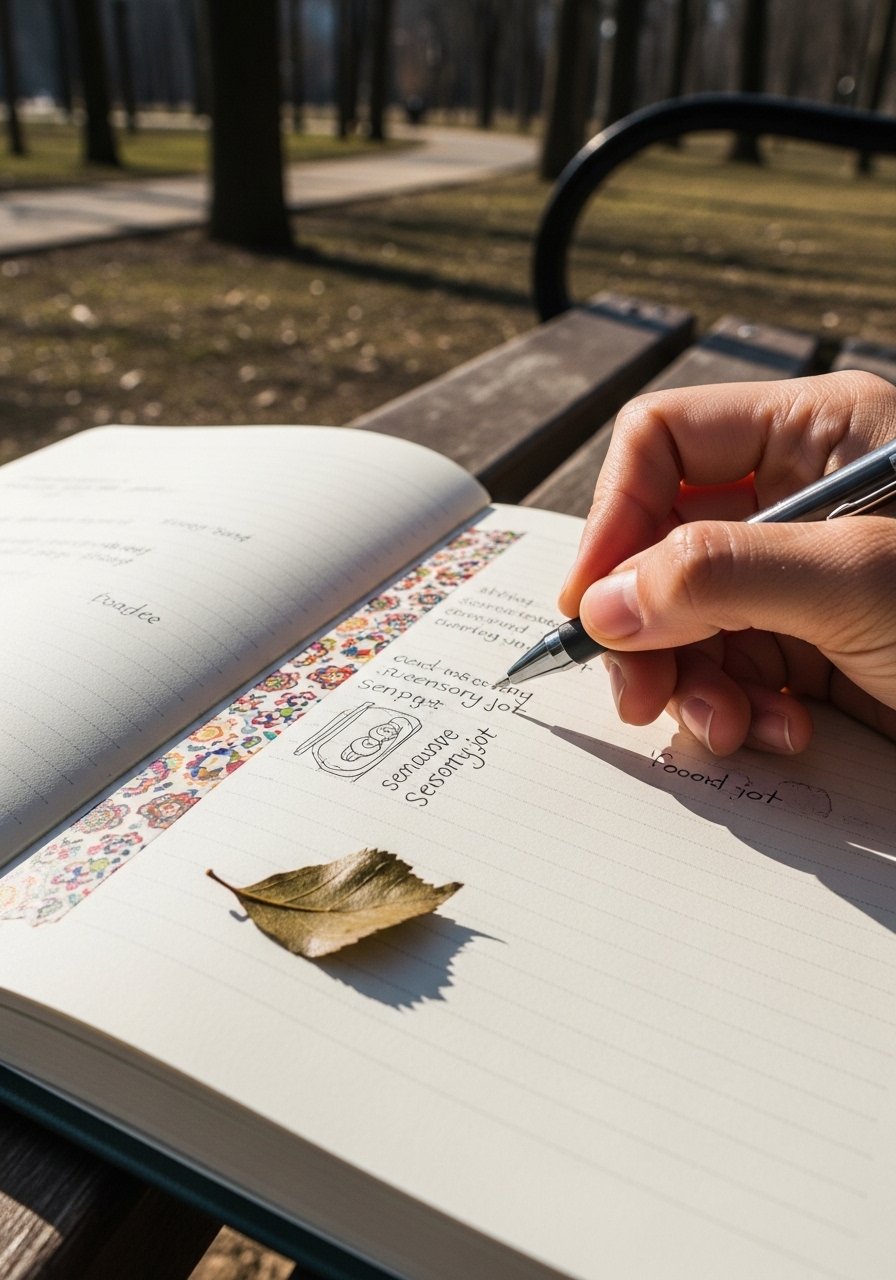
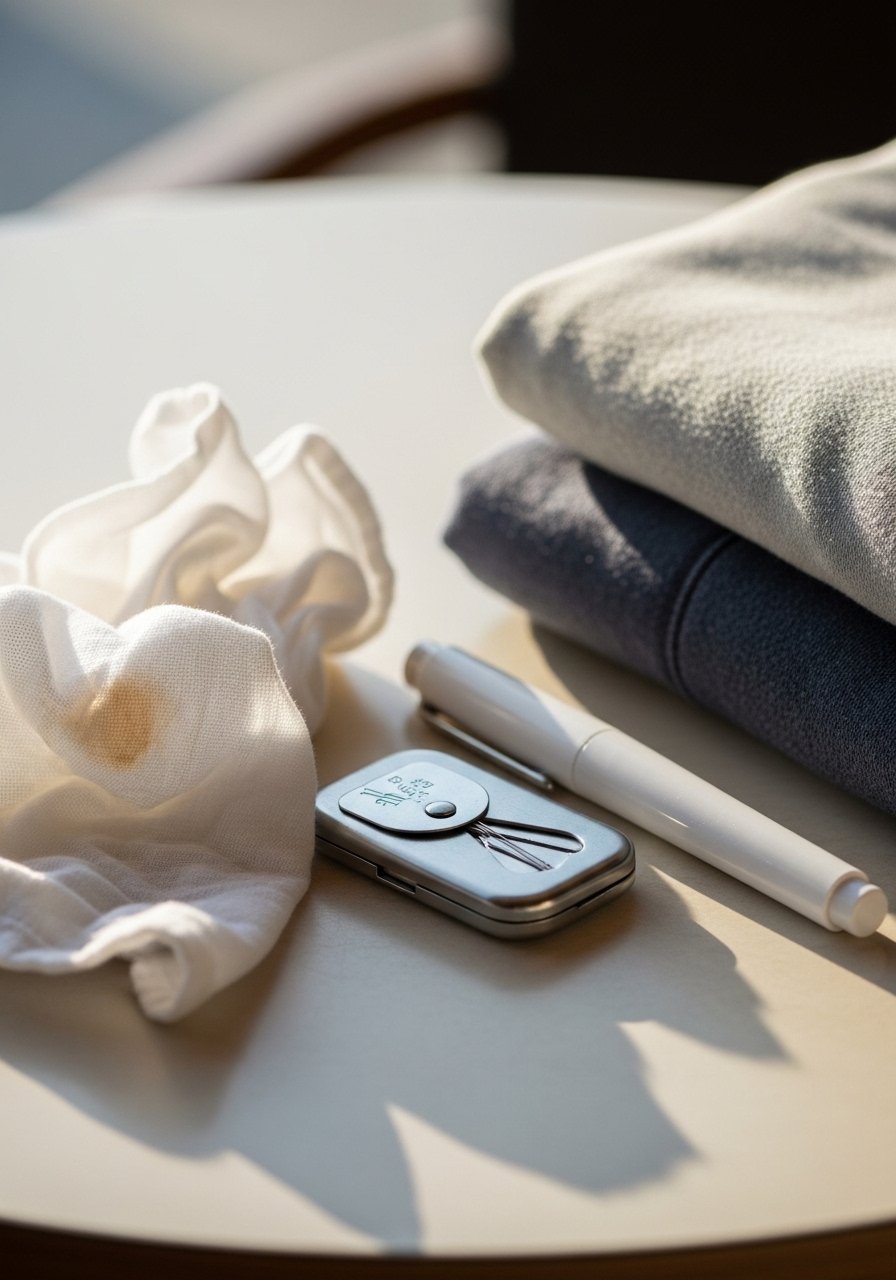
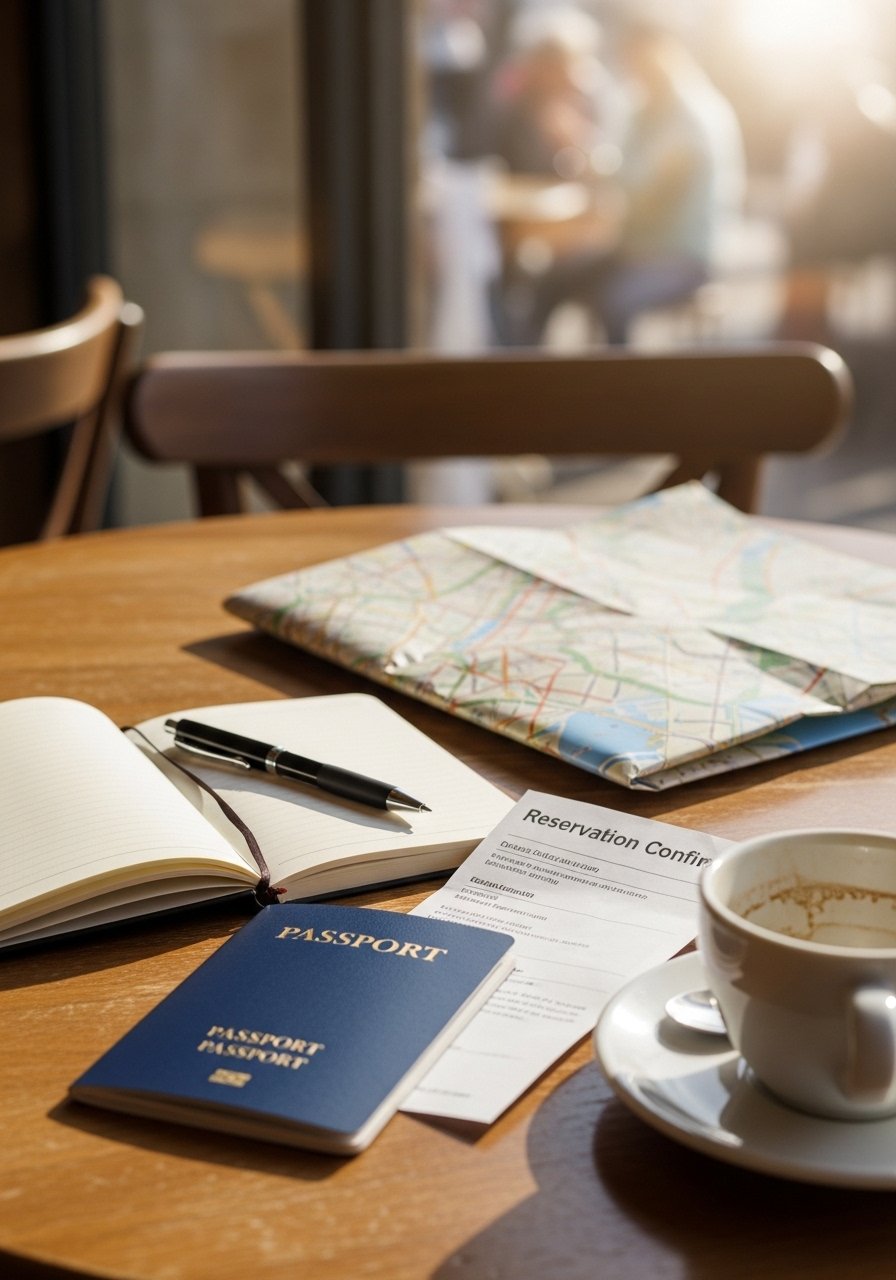
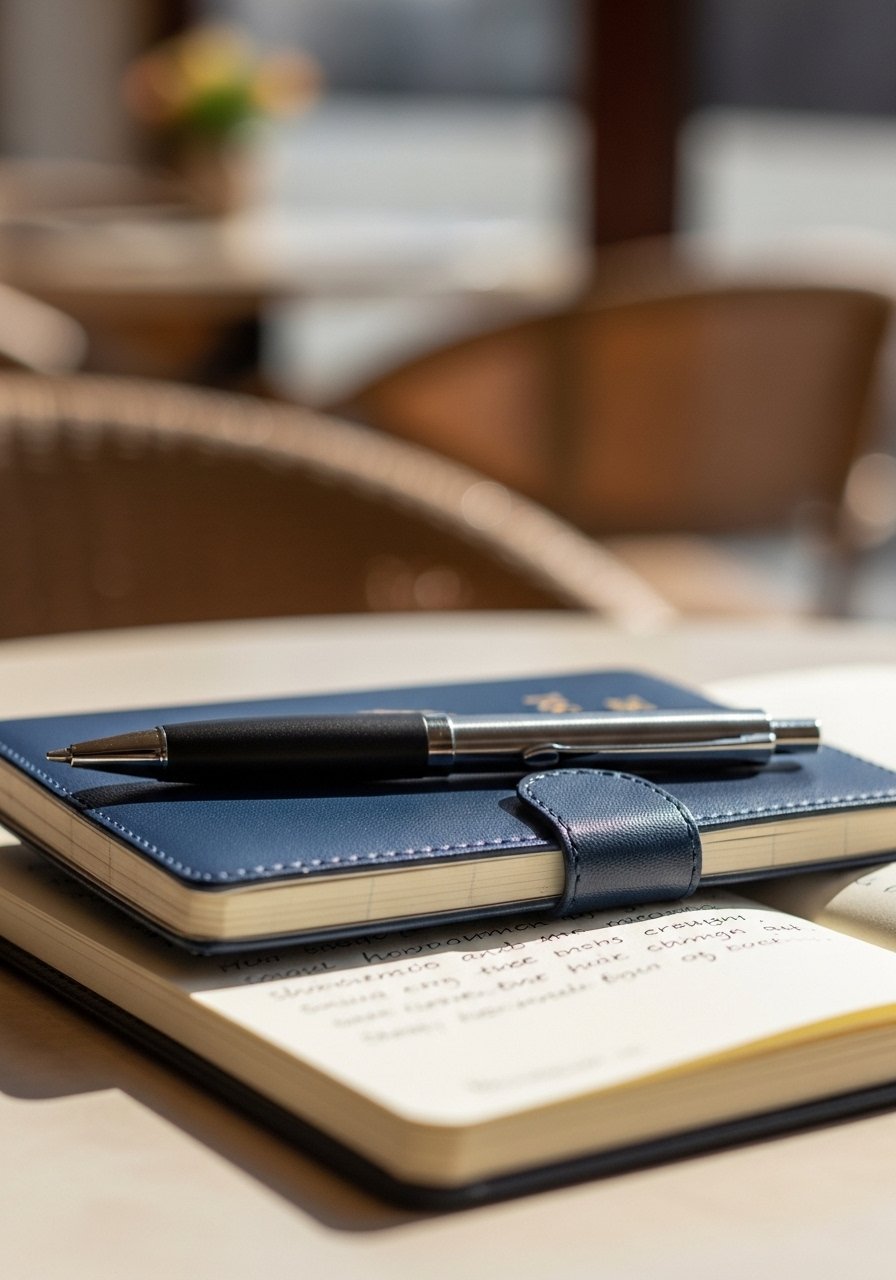
    22. Pen, Small Notebook, and Printouts of Key Info

    I always carry a pen and a small notebook for quick notes, contact numbers, or filling customs forms. Digital notes are great, but a pen helps with sign-ins and scribbled directions.

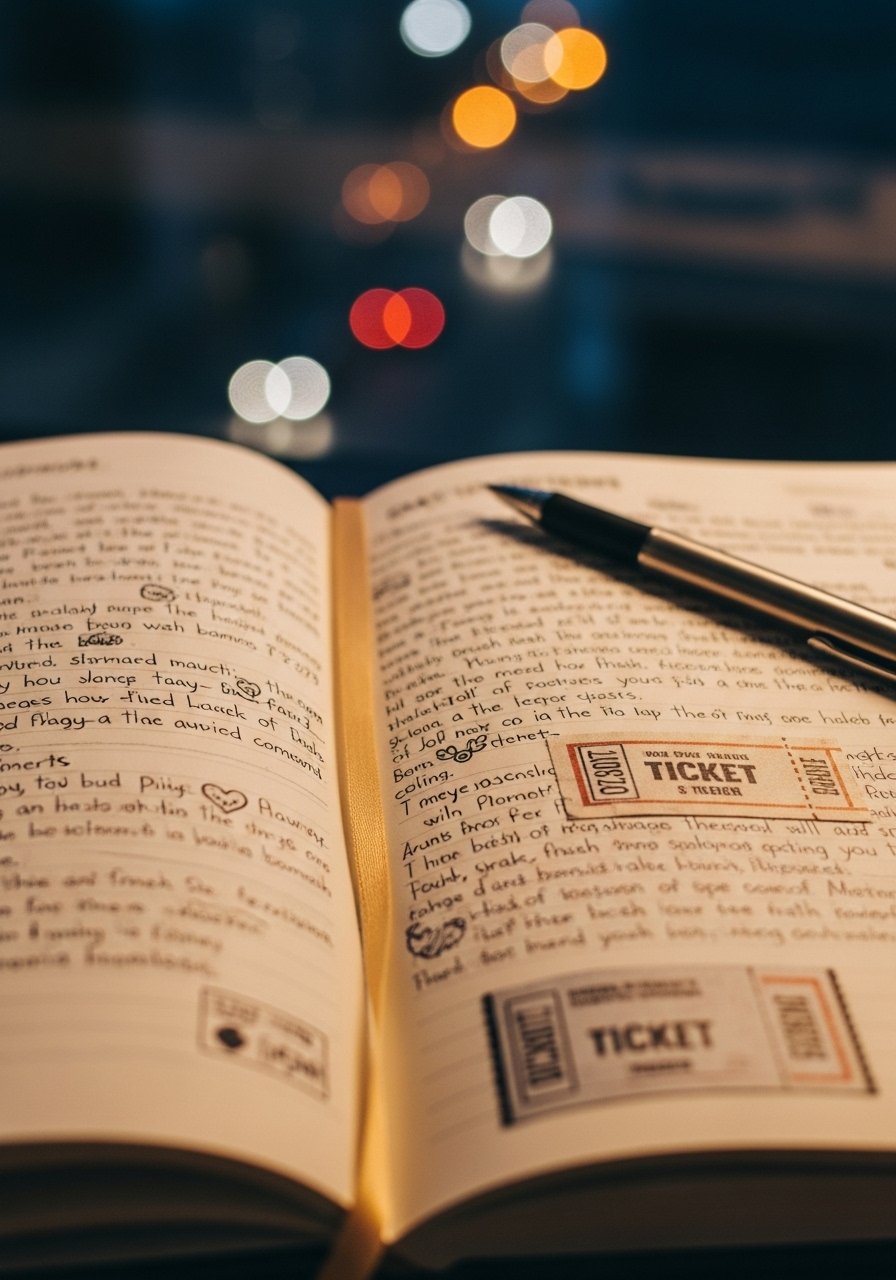
    I keep printed copies of reservations and an emergency contact sheet. Screens die; paper doesn’t.

    People often forget a pen when a queue needs documentation. You’ll be grateful you brought one.

    Why It Makes the List

    • Useful for forms, contact details, and quick notes.
    • Doesn’t rely on battery power.
    • Helps when you need to show written details fast.

    What You’ll Want for This


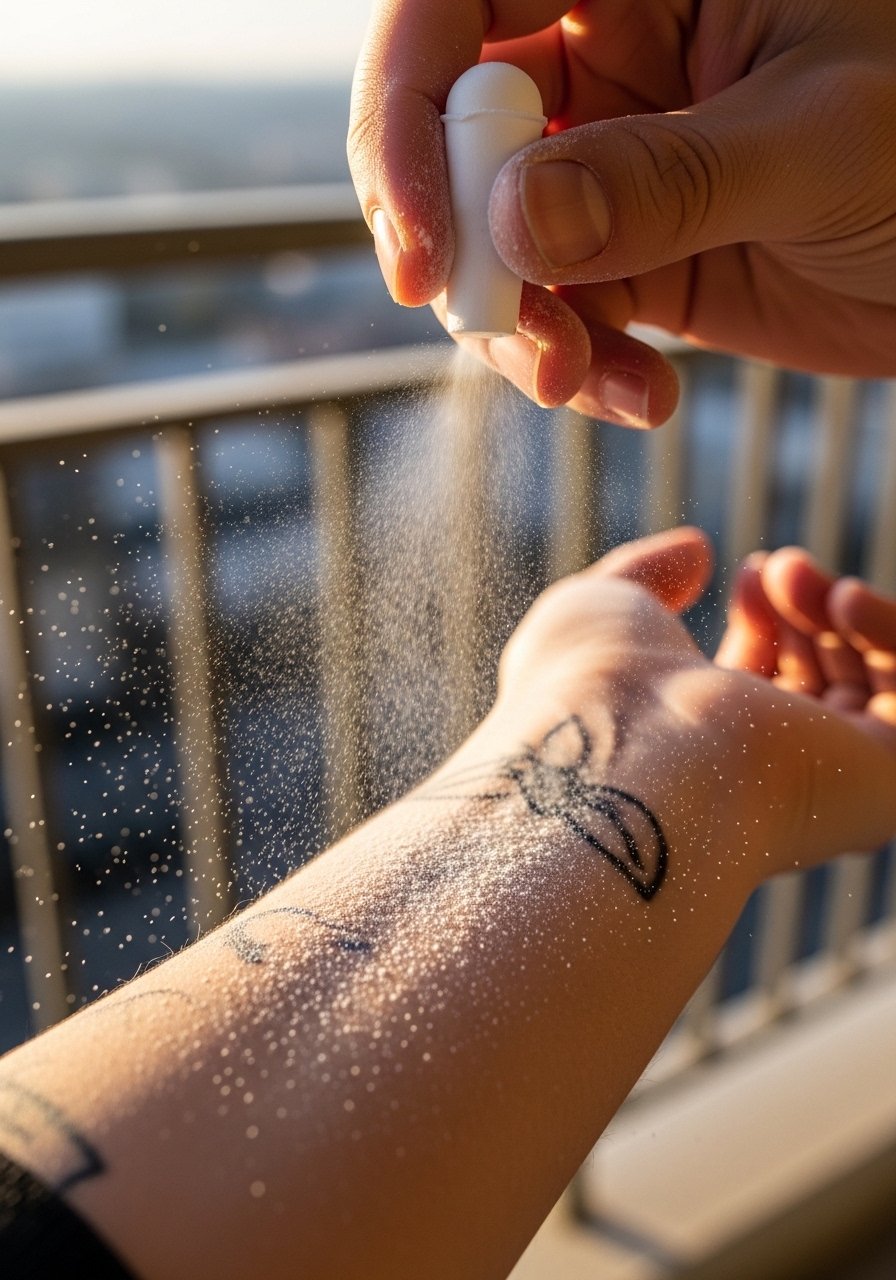
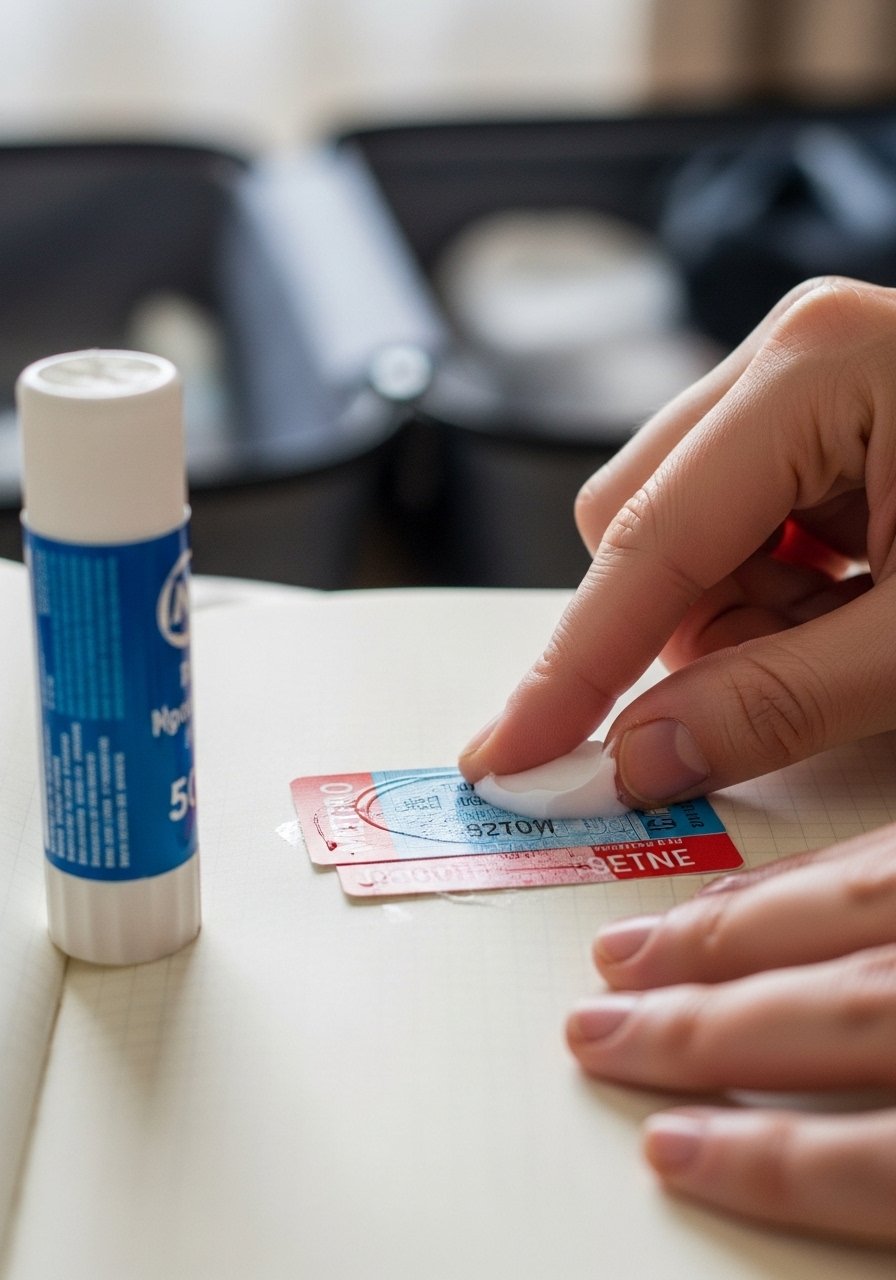
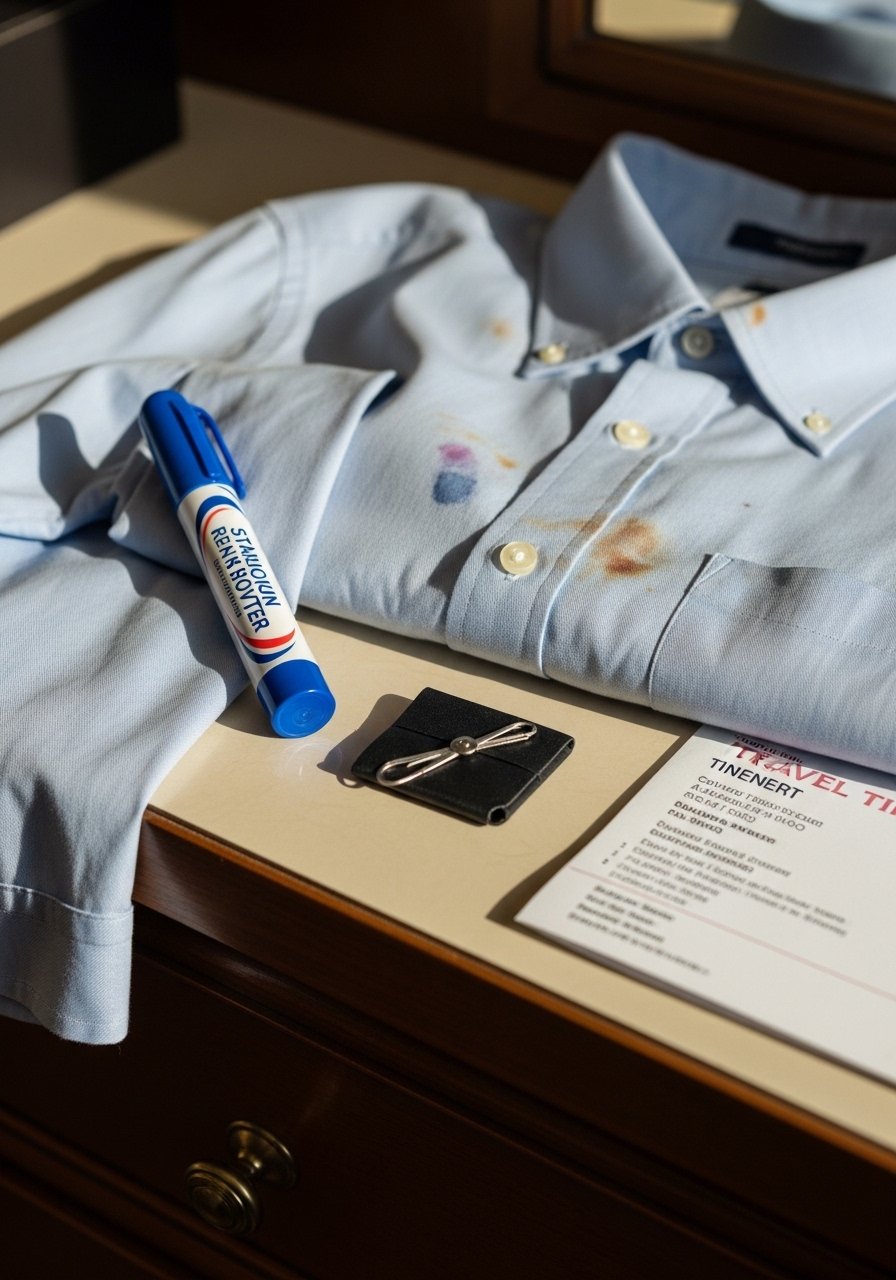
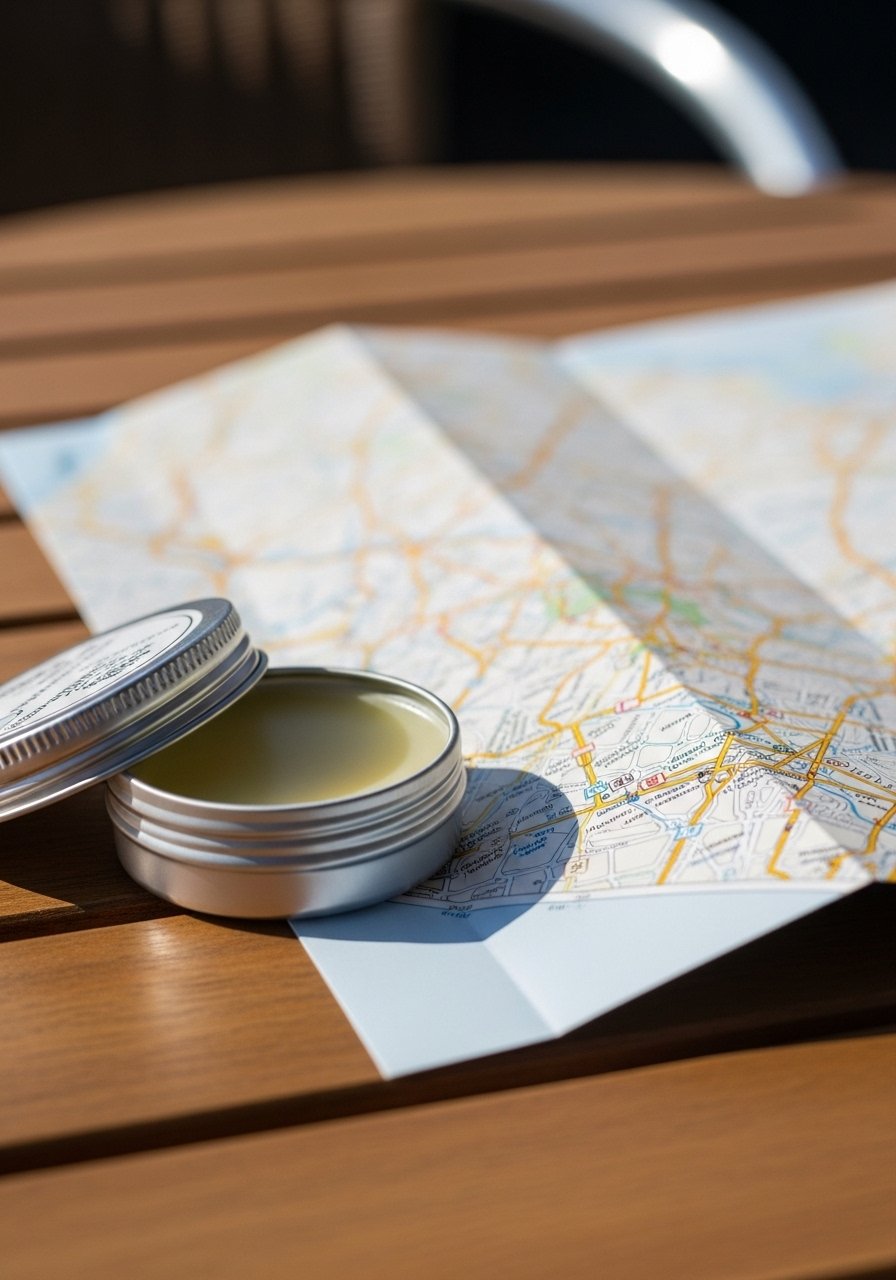
    23. Travel Stain Remover Pen and Small Sewing Kit

    A stain remover pen has saved outfits after spills at street food stalls. I carry a tiny sewing kit with a couple of needles, thread, and safety pins for quick repairs.

    Choose a compact kit with a simple pair of scissors or snips that comply with airline rules when checked—keep scissors out of carry-on.

    Many travelers panic over small tears. Quick fixes get you through a multi-day trip without a laundry trip.

    Why It Makes the List

    • Fixes stains and small clothing damage quickly.
    • Keeps outfits wearable without a tailor.
    • Small, inexpensive, and effective.

    What You’ll Want for This


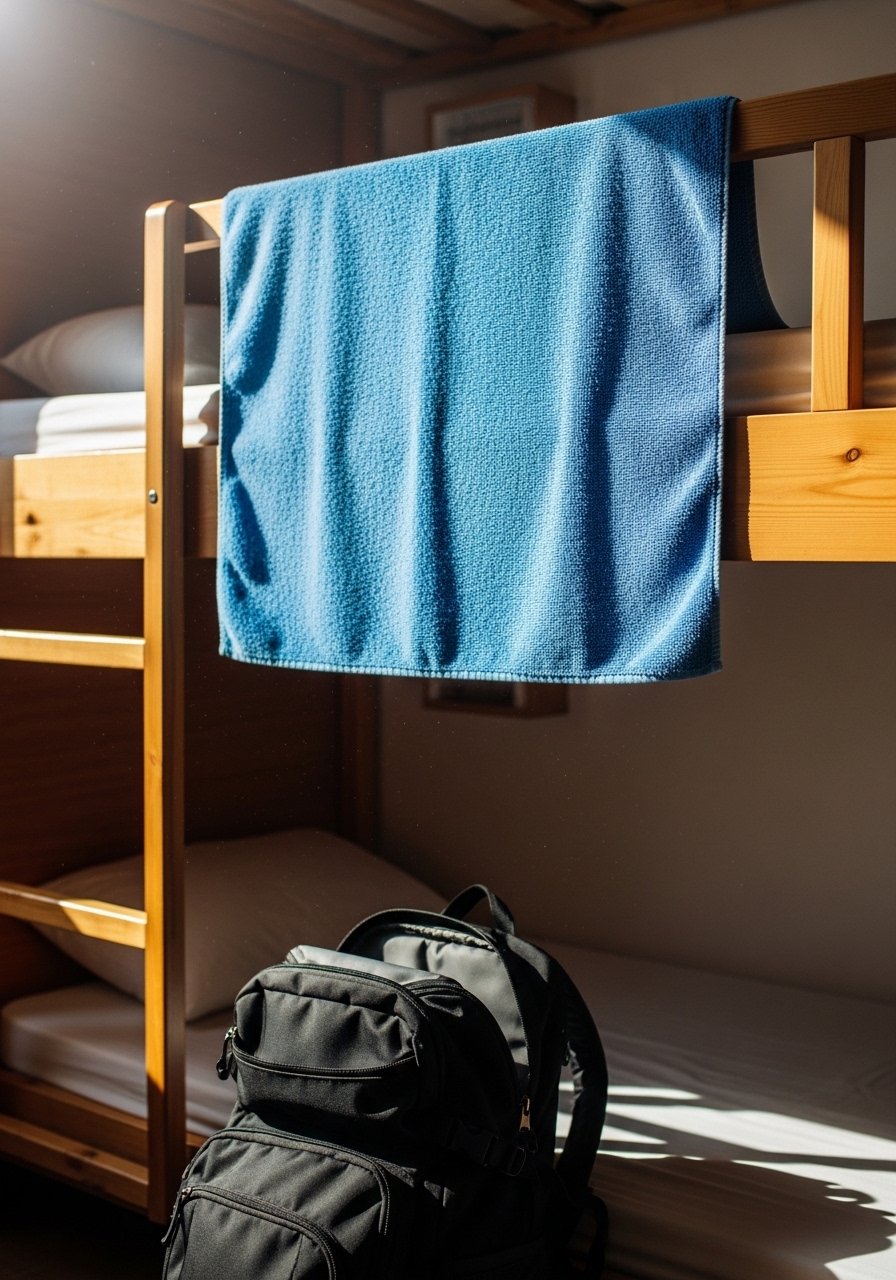
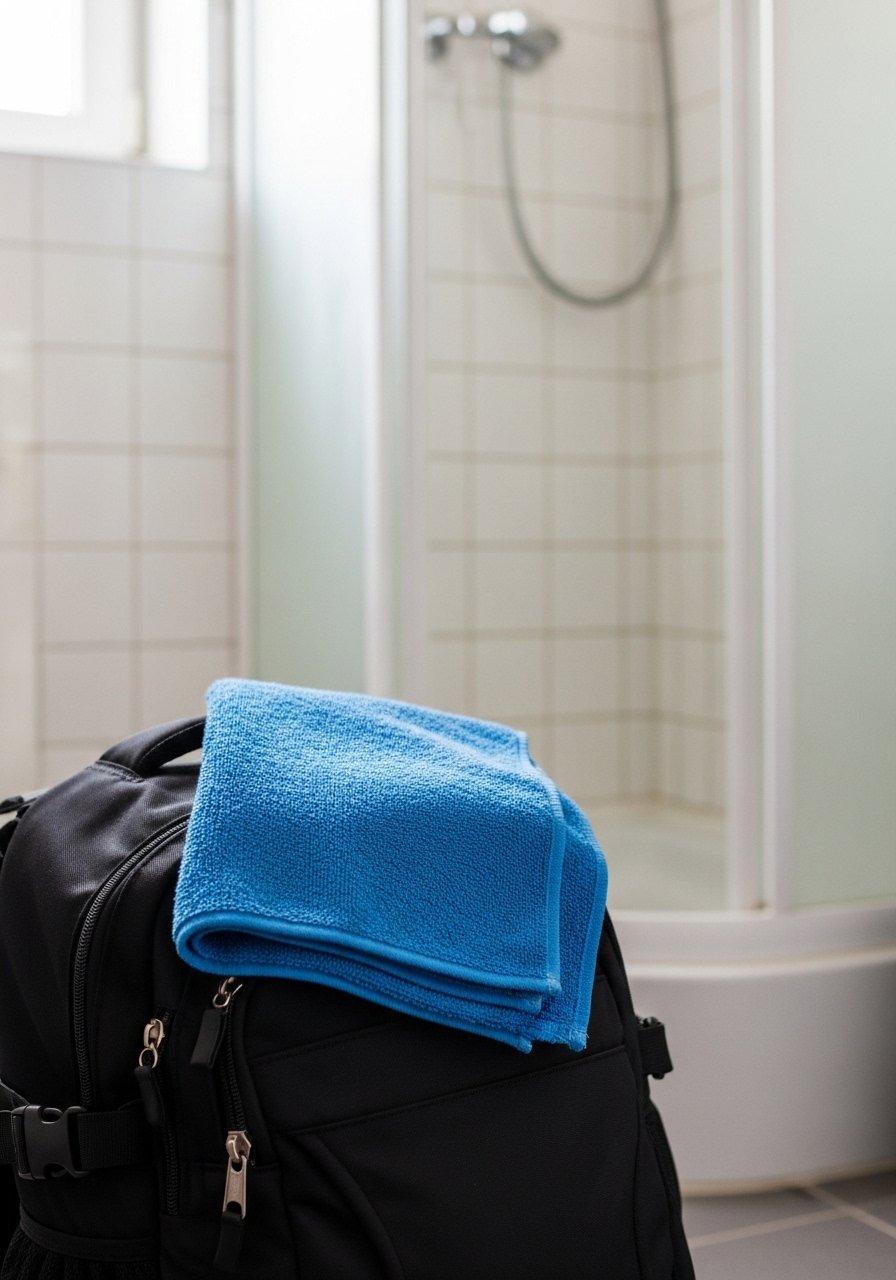
    24. Microfiber Quick-Dry Towel (Small) for Unexpected Needs

    I added a small microfiber towel to my carry-on after a hostel shower went sideways. It’s useful for drying off after unexpected rain, beach stops, or quick picnics.

    Pick a towel that’s compact, fast-drying, and lint-free. A corner loop to hang it helps a lot.

    People usually think towels are for overnight trips only. A small towel is surprisingly handy on day trips.

    Why It Makes the List

    • Fast-drying and multi-use for unexpected situations.
    • Compact and lightweight.
    • Handy for damp shoes, spills, or beaches.

    What You’ll Want for This


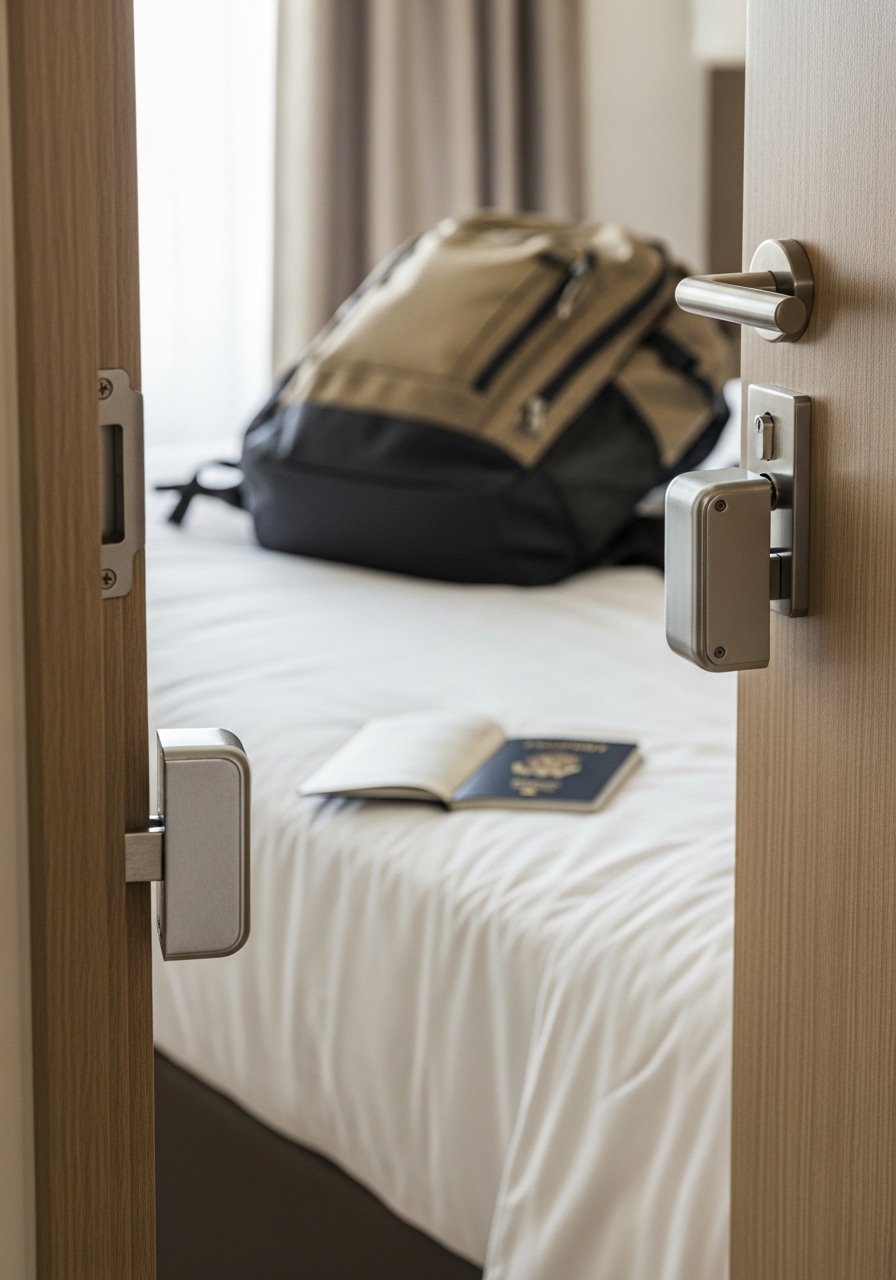
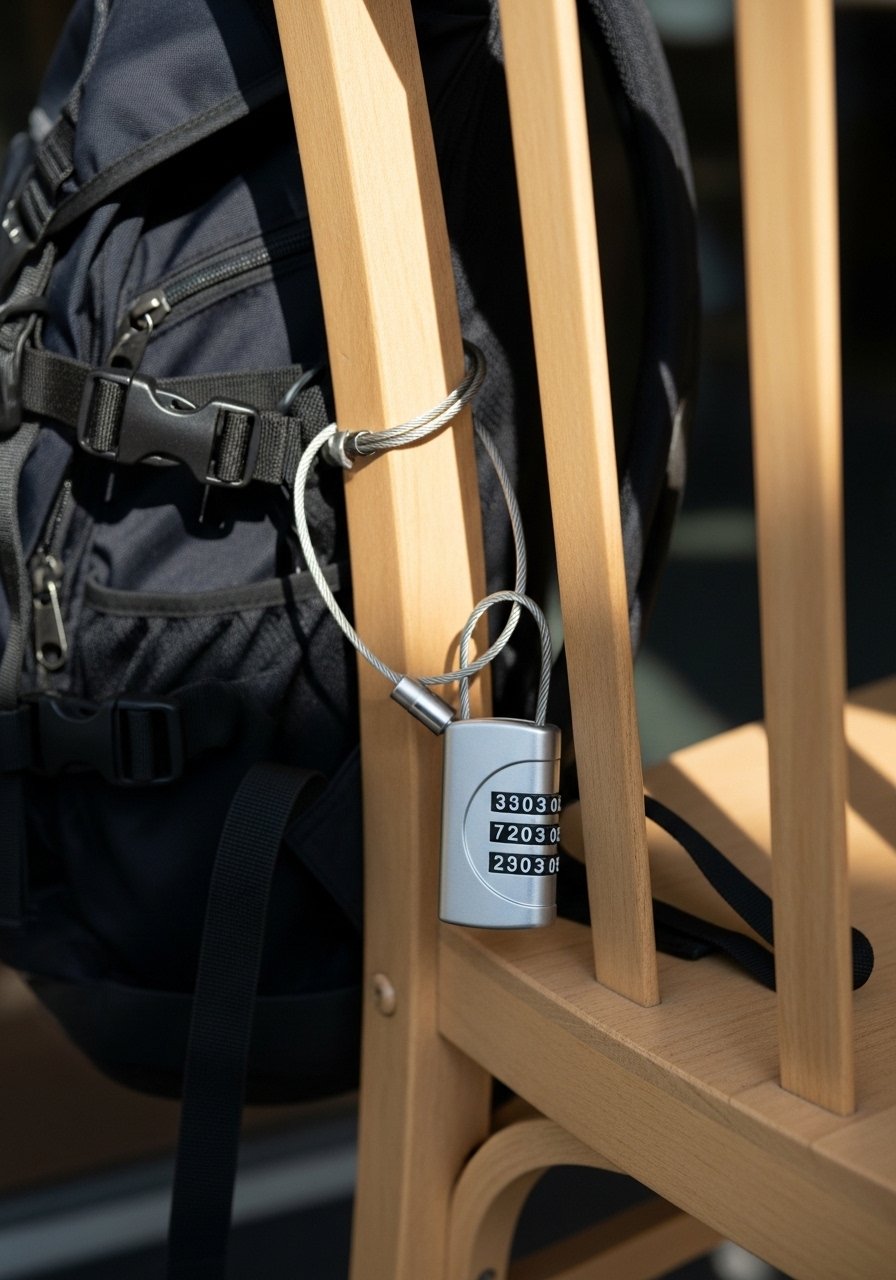
    25. Mini Travel Security: Cable Lock and RFID Card Sleeve

    I loop a small cable lock through my carry-on when I’m leaving it in a locker or hostel common area. An RFID-blocking sleeve protects cards when I’m in crowded transport hubs.

    Choose a lightweight lock and thin RFID wallet that fits inside your passport holder. The lock shouldn’t be your sole security, but it’s deterrent enough.

    People often leave valuables out in the open. A small security layer prevents easy grabs.

    Why It Makes the List

    • Adds a quick layer of security in shared spaces.
    • Protects credit cards from skimming.
    • Lightweight and easy to pack.

    What You’ll Want for This


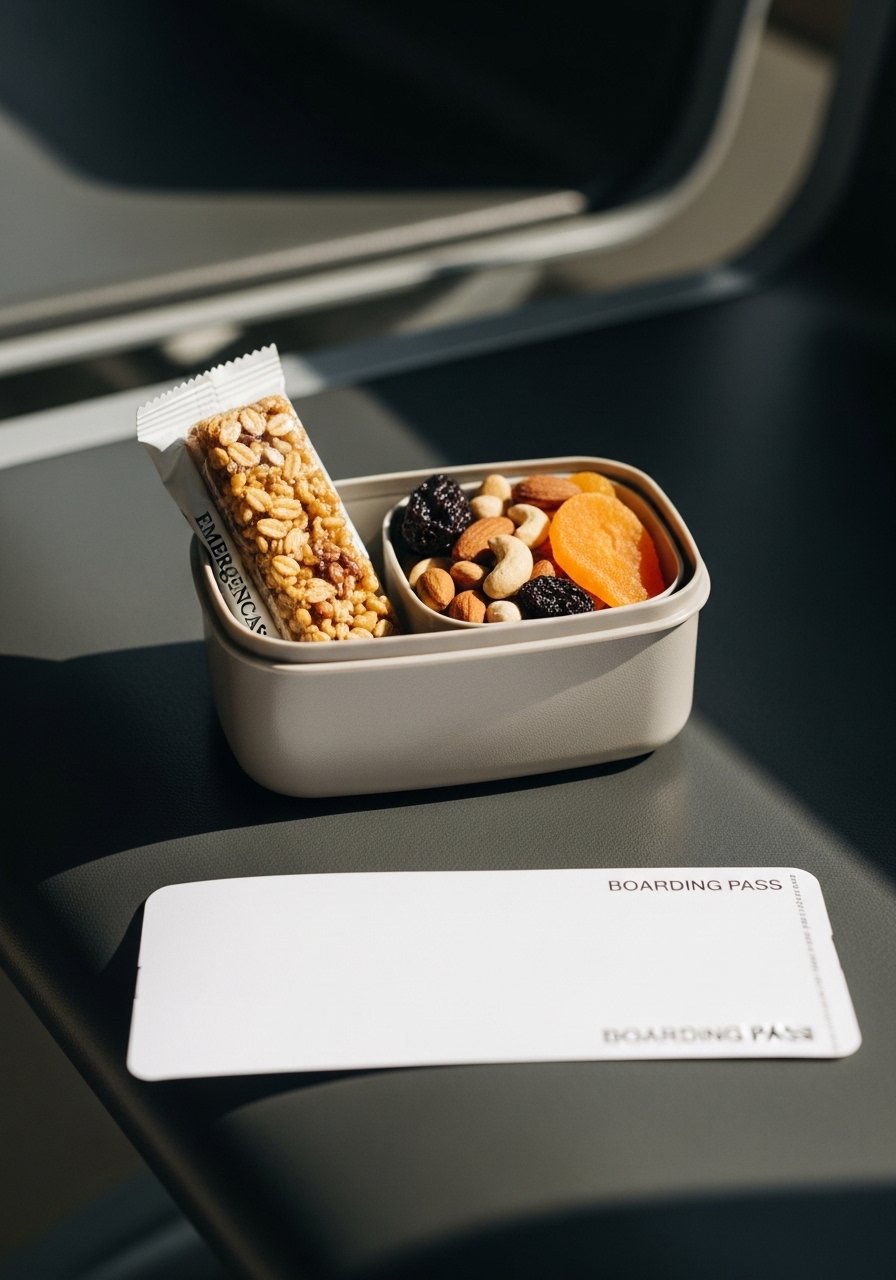
    26. Emergency Snack Pack and Reusable Snack Container

    I carry a small stash of snacks because airport shops close early and market runs fail. A resealable container keeps nuts and bars fresh, and it avoids noisy wrappers mid-flight.

    Include energy-dense items that won’t melt, like trail mix, jerky, or granola bars. I grab one for late arrivals and early tours.

    People rely on airport food and miss options. A snack saves money and moods.

    Why It Makes the List

    • Prevents hunger during delays and long transfers.
    • Saves money vs. overpriced terminal food.
    • Compact and reusable.

    What You’ll Want for This


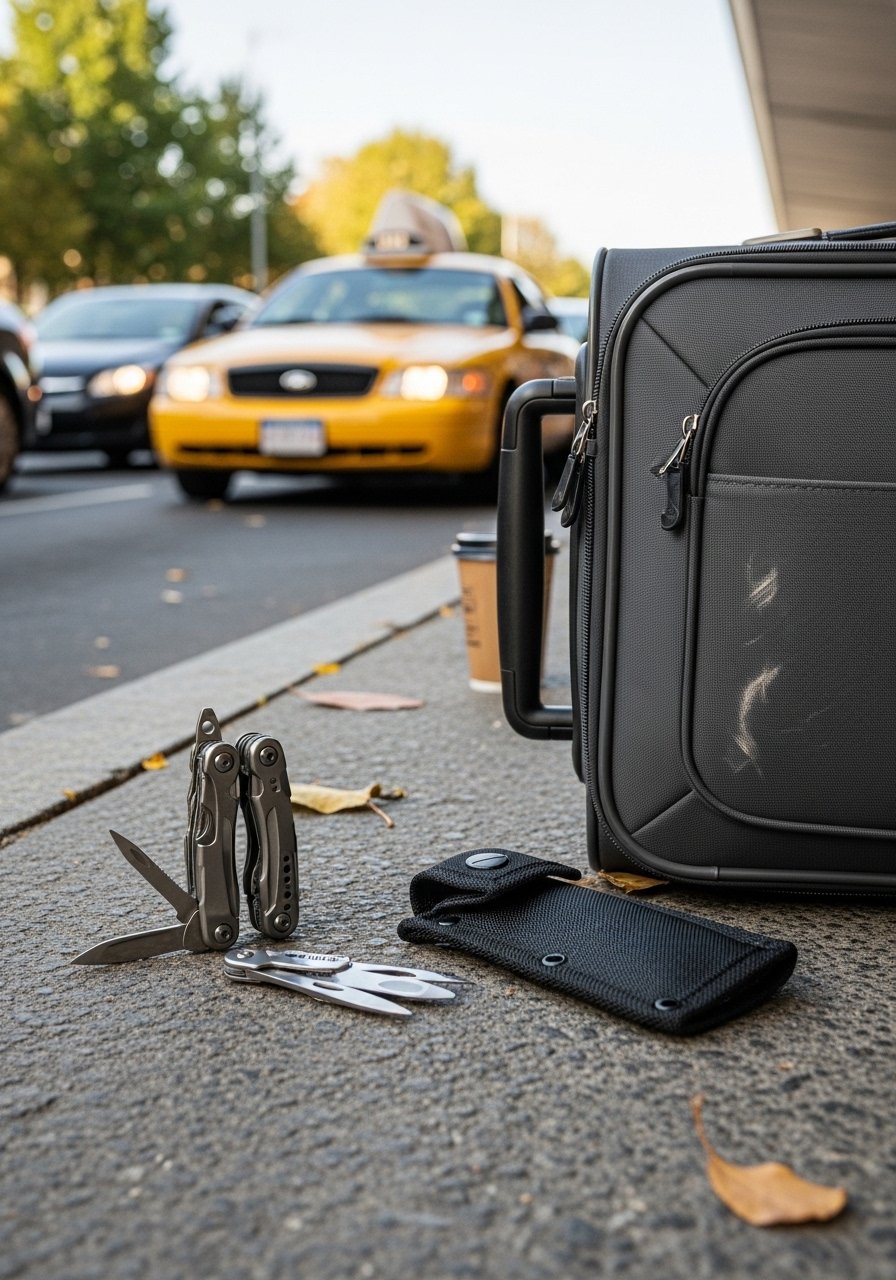
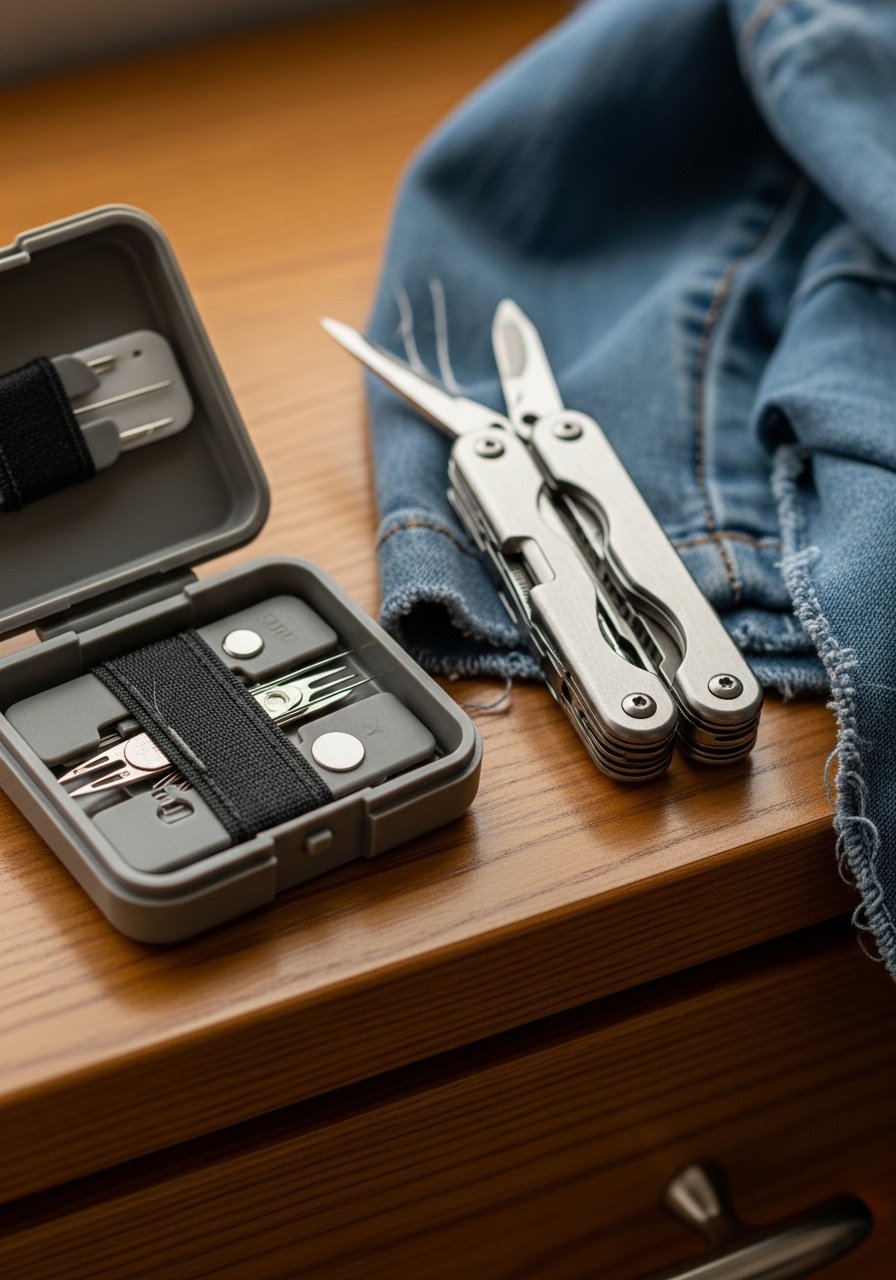
    27. Small Multi-Tool (Check TSA Rules) or Pocket Knife Alternatives

    I use a small multi-tool for quick fixes but I always check airline rules. If I can’t carry a knife, I bring a multi-function tool in checked luggage or rely on scissors and a mini screwdriver in my checked bag.

    The tool helps tighten a loose screw on a stroller or fix eyeglass arms. Keep it in checked baggage where required to avoid confiscation.

    Many travelers learn TSA rules too late. Know what can go in carry-on vs. checked to avoid losing tools at security.

    Why It Makes the List

    • Handy for small repairs and unexpected fixes.
    • Compact and worth the weight if checked when necessary.
    • Avoids last-minute kit shortages.

    What You’ll Want for This


    Final Thoughts

    This carry on bag essentials list covers the small things that make travel easier. I don’t use everything every trip, but I always pick the items that match the destination and length.

    Start with the basics—packing cubes, toiletries, power—and add one or two extras that fix your usual travel pain. You’ll travel lighter and with more confidence.

  • 22 Simple Minimalist Travel Bag Essentials For Light Packing

    22 Simple Minimalist Travel Bag Essentials For Light Packing

    I once lugged a heavy duffel through Brussels in 30°C and swore then I’d travel lighter. I kept the things I actually used. Small wins: comfortable shoes, a single versatile jacket, and a pared-down toiletry kit.

    This list is the result of those trips that went sideways and the ones that felt calm. I’ll tell you what I pack, what I regret, and what I always under-estimate.

    22 Simple Minimalist Travel Bag Essentials For Light Packing

    These 22 items are exactly what I fit into a slim carry-on for short trips or multi-city hops. They’re practical, not fancy. Each entry explains why it matters, what people usually forget, and what I bring. Expect gear suggestions and quick product links for easy shopping.

    1. Slim Carry-On That Actually Fits Overhead

    I stopped checking bags because waiting for luggage wastes time and patience. A slim carry-on with organized compartments keeps me mobile. I look for dimensions that meet common airline limits, a sturdy handle, and a front pocket for documents.

    The mistake I made: choosing a hard shell that added weight. Now I prefer lightweight nylon with a reinforced base. One bag for trains, planes, and occasional taxis keeps choices simple.

    Why It Makes the List

    • Keeps everything in one manageable place.
    • Forces deliberate packing choices.
    • Cuts transfer stress on arrival and departure.

    What You’ll Want for This

    1. Compression Packing Cubes That Keep a Bag From Becoming a Mess

    I used to unfold every shirt at hotels. Packing cubes changed that. They compress clothing, separate dirty items, and make security checks easier. I use small cubes for underwear and socks, a medium for shirts, and a large for pants or bulkier layers.

    Common oversight: buying cubes that are too bulky or hard-sided. Choose soft, breathable fabric with quality zippers. Color-code if you pack for multiple people — instant organization.

    Why It Makes the List

    • Saves space and time.
    • Keeps clean and dirty separate.
    • Reduces decision fatigue on the road.

    What You’ll Want for This

    1. Foldable Daypack for Walks and Last-Minute Errands

    I carry a daypack instead of a bulky day bag. It folds into a tiny pouch. I use it for markets, walking tours, and sudden beach trips. It’s light, water-resistant, and can handle a jacket and camera.

    What travelers miss: size and straps. Cheap foldables have thin straps that bruise shoulders. Pick one with reinforced straps. Also check volume — you want enough for a water bottle, camera, and a snack.

    Why It Makes the List

    • Flexible for daily use.
    • Saves space inside the main bag.
    • Good for impromptu side trips.

    What You’ll Want for This

    1. Universal Travel Adapter With USB Ports

    I’ve been in hostels with two outlets and three devices. A universal adapter with multiple USBs saves the day. I look for one that covers EU/UK/US/AU plugs and includes at least two USB-A and one USB-C.

    People often skip surge protection. If you’re charging expensive gear, get an adapter with basic surge protection. I also bring a short extension cable when outlets are awkwardly placed.

    Why It Makes the List

    • Lets you charge multiple devices.
    • Avoids searching for local adapters last minute.
    • Supports varied plug types in one compact unit.

    What You’ll Want for This

    1. Compact Power Bank That Fits a Pocket

    A dead phone is stress. I carry a compact power bank that fits in my jacket or daypack. I aim for 10,000 mAh — enough for a phone and light accessories without the weight of a massive pack.

    I used to buy the cheapest ones. That cost me reliability. Pay for a reputable brand and USB-C fast charge if you rely on quick top-ups between stops.

    Why It Makes the List

    • Keeps maps, tickets, and communication alive.
    • Avoids hunting for plugs during long travel days.
    • Lightweight and reliable charging.

    What You’ll Want for This

    1. Quick-Dry Underwear and Socks That Pack Small

    I travel with three to four pairs of quick-dry underwear and two pairs of socks. They dry overnight in a sink or on a radiator. That cuts down on what I pack and lets me re-wear items comfortably.

    People underestimate fit. Thin, cheap options ride up or wear out fast. Spend a little more on merino or technical blends. They smell less, dry faster, and need washing less often.

    Why It Makes the List

    • Reduces number of garments packed.
    • Easier to manage laundry on the road.
    • Comfortable and odor-resistant.

    What You’ll Want for This

    1. Packable, Weather-Ready Jacket That Doubles as a Pillow

    I choose a packable jacket that’s water-resistant and light. On chilly nights, it layers under a coat. On wet days, it keeps me dry for the essentials. Bonus: some compress into a pillow for trains.

    The error I made: buying a heavy insulated coat for all trips. It added bulk and wasn’t versatile. Look for lightweight insulation or a technical shell with a small pack size.

    Why It Makes the List

    • Versatile layer for changing weather.
    • Packs small and can double as a cushion.
    • Keeps you comfortable without bulk.

    What You’ll Want for This

    1. Minimal Travel Toiletry Kit With Refillable Bottles

    I pared my toiletry bag down to a few refillable bottles and a small pouch. Solid shampoo bars, a travel toothbrush, and a multipurpose balm cover 80% of situations. A clear, leakproof pouch keeps liquids contained.

    Most travelers overpack full bottles. I refill from hotel dispensers or transfer into small bottles. Also, pack a nylon travel soap saver to keep bars tidy and dry.

    Why It Makes the List

    • Cuts weight and keeps liquids compliant.
    • Lowers risk of leaks.
    • Makes airport security smoother.

    What You’ll Want for This

    1. Slim Travel Wallet / Document Organizer

    I keep passports, a primary card, a backup card, and some cash in a slim travel wallet. It lives in my bag’s front pocket. When I leave the hotel, I grab the wallet and go.

    A common mistake: carrying everything in a bulky clip wallet. That draws attention and gets uncomfortable on long walks. Go slim, and keep a photocopy of your passport somewhere separate.

    Why It Makes the List

    • Quick access to travel documents.
    • Reduces pickpocket risk when worn in a secure pocket.
    • Encourages minimal cash and card carrying.

    What You’ll Want for This

    1. Lightweight, Supportive Walking Shoes That Don’t Look Bulky

    I wear one pair of supportive walking shoes that pass for city cafes and light hikes. They’re breathable, have decent tread, and look tidy enough for nicer meals. I avoid bulky trail boots unless I’m hiking.

    What people overlook is break-in time. New shoes cause blisters mid-trip. Wear them for a few walks before departure. A pair that balances comfort and low weight saves space and pain.

    Why It Makes the List

    • Keeps feet happy on long walking days.
    • Looks acceptable in casual restaurants.
    • Cuts the need for multiple shoes.

    What You’ll Want for This

    1. Compact Travel First-Aid Kit Tailored to You

    I keep a small first-aid kit with blister pads, painkillers, antihistamine, and a few prescription meds. It sits in an easy-access pocket. I’ve used it for scraped knees, headaches, and travel tummy fixes.

    People either overpack or forget essentials. Tailor the kit to your needs and the destination. If you’re traveling to remote areas, add antiseptic wipes and a compact suture kit only if trained.

    Why It Makes the List

    • Solves minor issues immediately.
    • Prevents small problems from ruining a day.
    • Compact and customizable.

    What You’ll Want for This

    1. E-Reader or Small Tablet for Downtime

    Long layovers and slow ferries are better with an e-reader. It saves space compared to paper books. I load guidebooks, novels, and a few offline maps. Battery life is excellent and it’s lightweight.

    I once brought a full-size laptop for reading. It was heavier than necessary. If you only intend to read, pick an e-reader or a compact tablet with a keyboard case only if you need typing.

    Why It Makes the List

    • Reduces paper bulk.
    • Keeps entertainment and guides in one device.
    • Long battery life and light weight.

    What You’ll Want for This

    1. Noise-Isolating Earplugs and Compact Headphones

    I use foam earplugs for overnight hostels and compact noise-isolating headphones for flights. They’re small but improve sleep and concentration. Noise reduction matters more than brand name.

    People underestimate comfort for long use. Try foam earplugs before a trip and choose headphones with soft pads or in-ear tips that fit your ears well.

    Why It Makes the List

    • Better sleep in noisy accommodations.
    • Easier focus on long journeys.
    • Compact and light.

    What You’ll Want for This

    1. Collapsible Water Bottle With a Carabiner

    Hydration is underrated. I carry a collapsible bottle that clips to my bag. It saves space when empty and keeps me from buying plastic bottles constantly. Many cities let you refill at fountains.

    New travelers forget taste and smell. Cheap collapsible bottles can retain odors. Choose BPA-free food-grade silicone and rinse it daily.

    Why It Makes the List

    • Saves money and reduces waste.
    • Packs down when not in use.
    • Easy to clip and access on the go.

    What You’ll Want for This

    1. One Pair of Multipurpose Sandals or Slip-Ons

    I pack one pair of sandals that are sturdy enough for long walks but light enough for packing. They’re great for hostels, quick beach visits, and flats-for-nicer-outings. They dry fast and save space.

    Mistake: bringing both heavy hiking sandals and sneakers. One good pair does most jobs. Check sole grip and arch support for all-day comfort.

    Why It Makes the List

    • Versatile footwear for varied situations.
    • Saves the need for multiple shoe pairs.
    • Easy to air out and dry.

    What You’ll Want for This

    1. Small Combination Lock and Cable for Security

    I carry a small combination lock and a thin cable to secure my bag in shared spaces or dorms. It’s more of a deterrent than foolproof, but it buys time and peace of mind.

    People assume locks stop theft. They don’t stop determined thieves but do prevent opportunistic grabs. Choose a lightweight lock and memorize the code. Don’t write it on the bag.

    Why It Makes the List

    • Adds a layer of deterrence in shared spaces.
    • Very low weight for the reassurance it offers.
    • Useful for locking bags on ferries or in hostels.

    What You’ll Want for This

    1. Lightweight Packable Rain Layer or Poncho

    Weather changes fast. I bring a packable rain layer that fits in a pocket. It keeps me moving when plans can’t shift. A poncho folds small and covers a daypack too.

    Many travelers buy flimsy ponchos that tear. Invest in a slightly sturdier design with taped seams. Even a thin shell is better than nothing for short showers.

    Why It Makes the List

    • Keeps you dry and moving.
    • Compact and simple.
    • Useful for sudden weather shifts.

    What You’ll Want for This

    1. Travel-Sized Laundry Kit and a Few Pins

    I wash underwear and a shirt halfway through a trip. A travel laundry kit with a sink stopper, soap strips, and a few pins makes it simple. Drying overnight is usually enough.

    Passengers often forget a lightweight way to dry clothes. A few plastic pins and a compact clothesline solve that. They also help when accommodation lacks drying options.

    Why It Makes the List

    • Cuts what you need to pack.
    • Keeps clothes fresh without laundromats.
    • Inexpensive and space-efficient.

    What You’ll Want for This

    1. Multipurpose Balm (Lips, Cuts, Dry Skin)

    I use one small multipurpose balm for lips, small cuts, and dry patches. It’s compact and replaces several bulky creams. I keep it in the toiletry pouch and use it more than I expected.

    Travelers often overpack multiple tiny creams. A single, high-quality balm does more and takes less space. Look for balm with SPF for sunny trips.

    Why It Makes the List

    • Consolidates several products into one.
    • Small and long-lasting.
    • Good for unpredictable climates.

    What You’ll Want for This

    1. Digital Copies of Important Documents and Offline Maps

    I store PDFs of passports, insurance, and reservations in a secure cloud and keep offline copies on my device. Offline maps saved to my phone have saved me in low-signal areas.

    I once relied purely on spotty hotel Wi‑Fi and learned the hard way. Always download maps for the area you’ll be in before you head out.

    Why It Makes the List

    • Prevents being stranded without directions.
    • Speeds up bureaucratic needs if documents are lost.
    • Simple, zero-weight safety net.

    What You’ll Want for This

    1. Small Multi-Tool (No Blade for Airports) or Travel Sewing Kit

    I carry a tiny travel sewing kit and a non-blade multi-tool. It fixed a popped button and reattached a strap mid-trip. These repairs saved clothes and headaches.

    People either ignore small repairs or overpack backups. Small repairs keep clothes wearable and avoid emergency shopping. Keep bladed tools checked or left at home for flights.

    Why It Makes the List

    • Fixes small clothing failures instantly.
    • Prevents ruined plans from minor gear issues.
    • Very low weight and high value.

    What You’ll Want for This

    1. A Tiny Notebook and Pen for Notes and Receipts

    I keep a small notebook and pen for quick notes: train times, host recommendations, or sketching a map. Digital notes are great, but a physical jot can be faster and more reliable when phones die.

    The oversight is underestimating the convenience of paper. I’ve had moments where writing down a street name saved a long search. Keep it tiny and easy to access.

    Why It Makes the List

    • Quick capture of information without tech.
    • Useful when battery or connectivity fails.
    • Small, lightweight, and surprisingly handy.

    What You’ll Want for This

    Final Thoughts

    Minimalist travel bag essentials aren’t about deprivation. They’re about choosing small, reliable items that reduce stress and weight. I pack these items based on trip length and activities, not impulse.

    Start with the bag, then add items you’ll actually use. You don’t need everything on day one. Travel lighter, and you’ll move faster, think clearer, and enjoy more.